Smartphone Shooting
1. Introduction
While smartphones make it easy to take photos and videos, when editing them on a PC, you may need to adjust the image size to suit your intended use or change the file format to one that your PC can handle. This guide explains how to make those adjustments. Please note that some of the settings described here may increase the amount of data stored on your smartphone, so it’s best to revert to the original settings after transferring the data to your PC.
2. iPhone Video Recording Settings
2.1 Setting the Image Size
Open Camera > Settings. Tap “Video” as shown below.
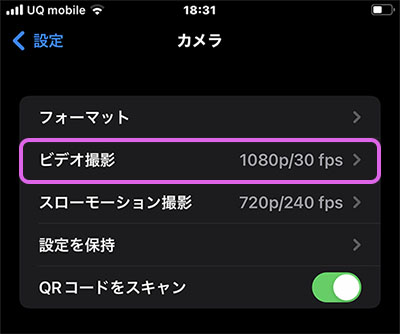
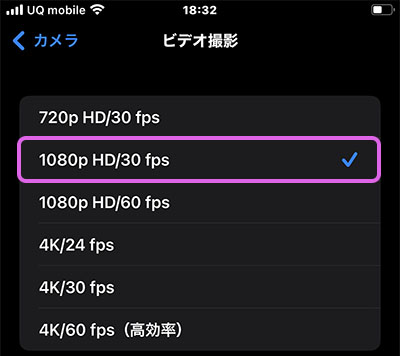
Set it to 1080p HD/30 fps (standard Full HD resolution for TVs). The image below shows the settings screen for an iPhone 8 Plus, so it may look slightly different.
2.2 Configuring File Formats (Optional)
*If you can edit the video on a PC using the default settings (High Efficiency, H.265), no changes are necessary. While this is possible on Mac OS, on Windows it requires a paid option (though it can be done for free by installing VLC Player).
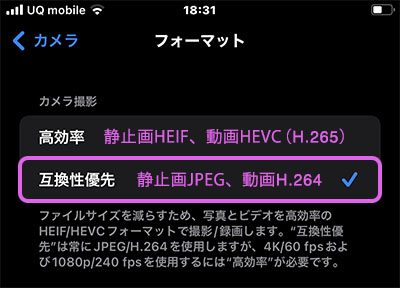
Open Camera > Settings. Tap “Format” as shown below.
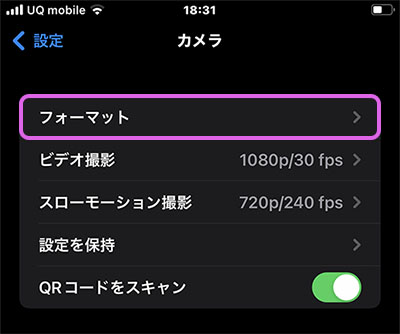
Change the setting to “Prioritize Compatibility” as shown below. Videos will be saved in H.264 (MPEG-4). Both formats use the .MOV extension and the QuickTime format, but “High Efficiency” uses the H.265 codec, while “Prioritize Compatibility” uses the H.264 codec. Please note that this format setting applies to both videos and still images.
3. Android Video Recording Settings
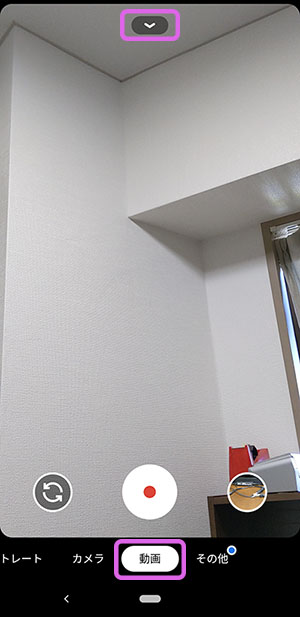
This is the settings screen for the Google Pixel 3a, so it may look slightly different.
3.1 Accessing the Camera Settings Screen
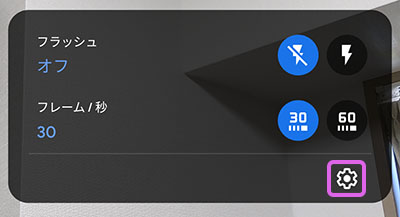
Switch the camera app to video mode and tap the icon at the top (see below).
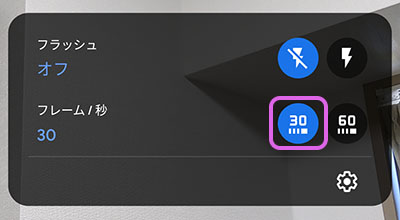
3.2 Setting the Frame Rate
Click on “30” (30 fps) in the figure below.
3.3 Setting Image Size (Resolution)
Click the gear icon in the lower-right corner of the screen below. Alternatively, go to Settings > Camera Settings.
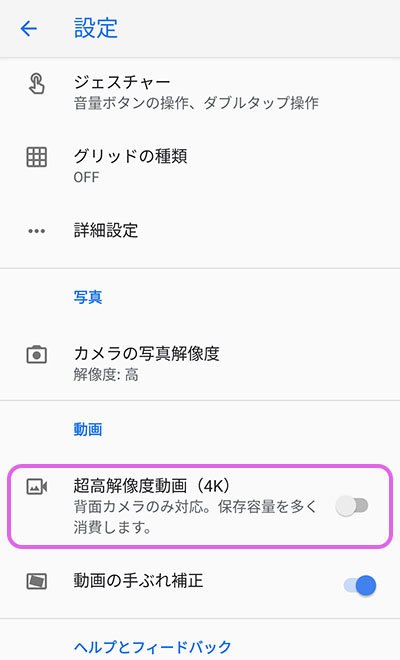
If you turn off the ultra-high-resolution video (4K) shown below, the resolution will default to 1920 x 1080 px, even though this is not explicitly stated. Please note that this is different from the camera’s photo resolution (still images).
3.4 Configuring File Formats (Optional)
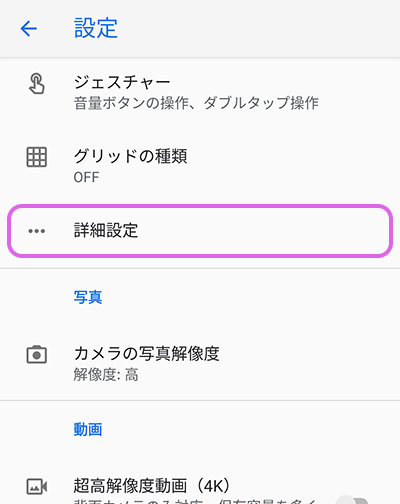
Tap Camera Settings > Advanced Settings.
Turn off “Save video to device.” Is this turned off by default?

4. Transferring Data Between Android and Mac
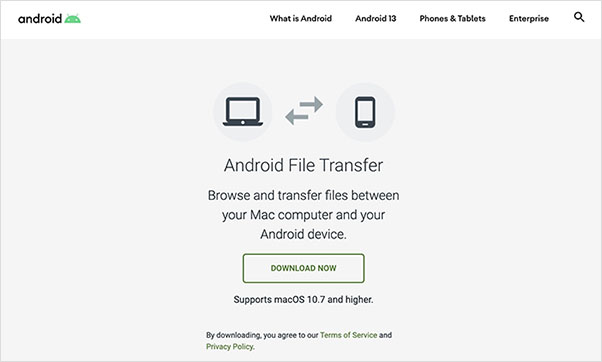
4.1 Installing Android File Transfer
You’ll need Android File Transfer to transfer data between your Android smartphone and Mac. Download and install it from the URL below.
https://www.android.com/filetransfer/
4.2 How to Use
- Connect your Android device to your Mac using a USB cable.
- Enable file transfer in your Android device’s USB settings (Settings > Connected devices > USB).
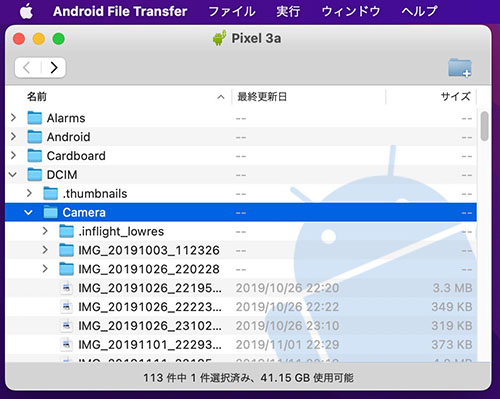
- Launch Android File Transfer on your Mac.
- You can retrieve your photos from DCIM > Camera.
5. How to Check the Video File Format
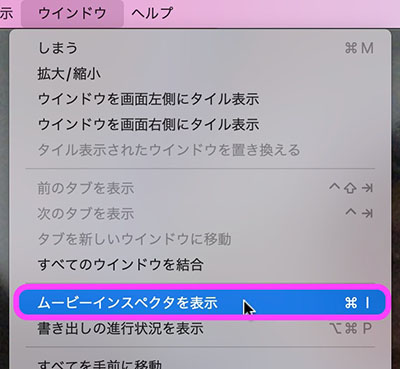
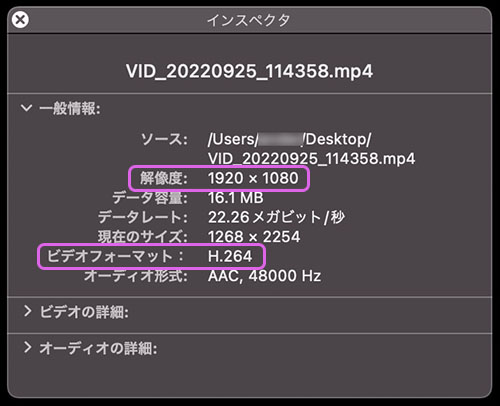
You can check the format of the recorded video data (such as resolution and codec) using QuickTime Player on a Mac or Media Player on Windows.
The following is an example of QuickTime Player.
6. Websites and Videos on How to Use Your Smartphone Camera
There are also many easy-to-understand videos available on the basics of photography.
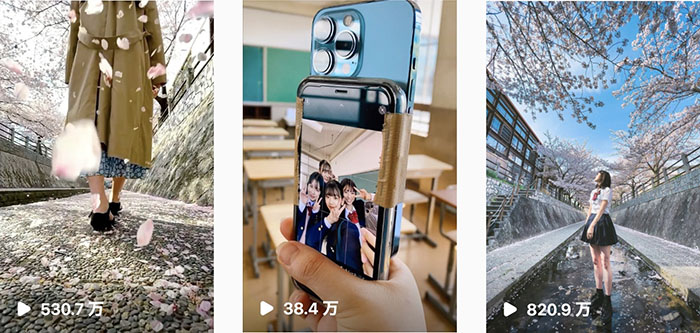
7. Smartphone Video Creator
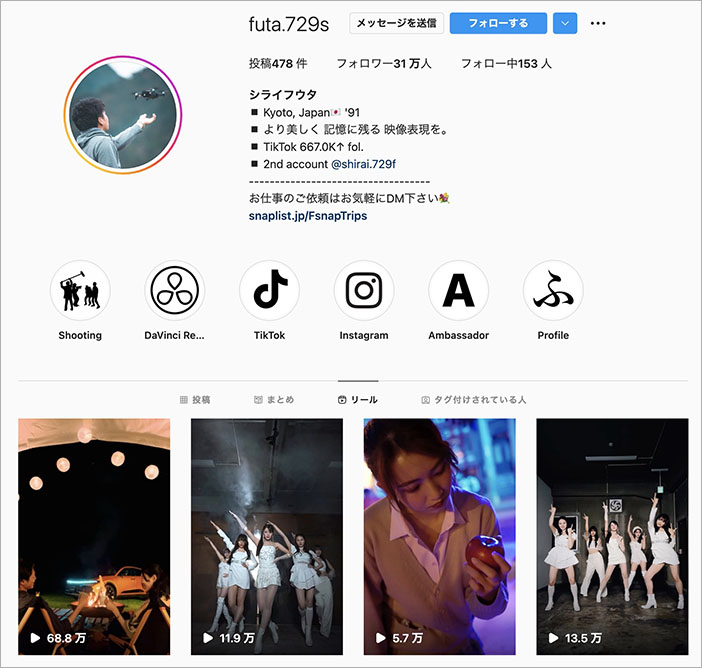
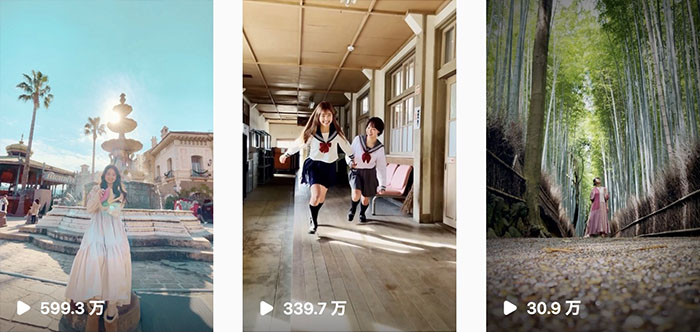
7.1 futa.729s
https://www.instagram.com/futa.729s/reels/?hl=ja
- iPhone x Flower https://www.instagram.com/reel/CaNCBIKlvxj/?hl=ja
- School Paradise https://www.instagram.com/reel/Cb_oFXglRHF/?hl=ja
- The Place Where It All Began for Me https://www.instagram.com/reel/CQ00NShloZE/?hl=ja
7.2 aaa_tsushi_
https://www.instagram.com/aaa_tsushi_/
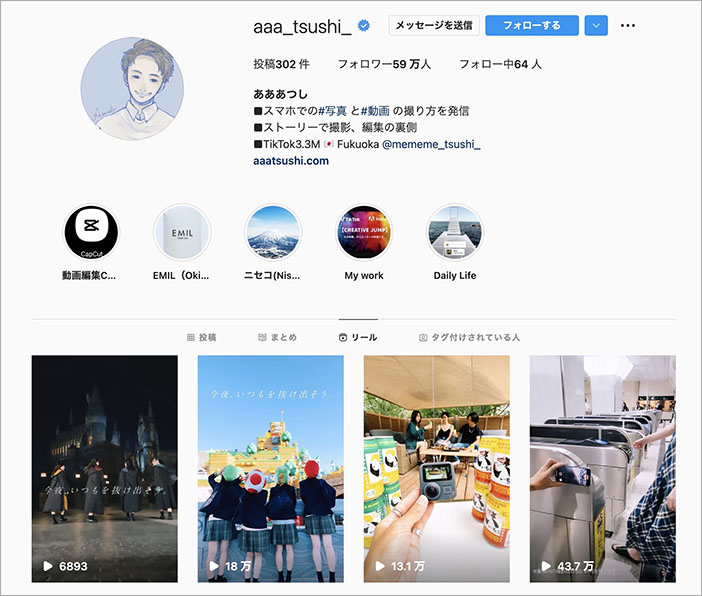
- Reverse Regeneration https://www.instagram.com/reel/CNAEXhEJM6U/
- What lies beyond the school gates…?? https://www.instagram.com/reel/CjC95Vkg5Ma/
- Sakura × Reverse Play https://www.instagram.com/reel/Cb5CSmjANpg/
Depending on your smartphone model, the video quality may decrease when using slow motion (e.g., the difference between 1080p and 720p), so be sure to check your settings.