After Effects Part 3
1. Other Transform Properties
1.1 Scale
Just as with the Position property, add two keyframes to the Scale property. In the video below, the keyframes are placed at the same time positions as those for the Position property. The first keyframe sets the scale to 100%, and the second keyframe sets it to 200%.
1.2 Rotation
In addition, add two keyframes for the rotation property. In the video below, the first keyframe is set to 0 degrees of rotation, and the second keyframe is set to 2 degrees of rotation.
1.3 Opacity
Add two keyframes for the opacity property. Place the first keyframe at a time position roughly halfway between the other keyframes. Place the second keyframe at the same time position as the second keyframe among the others. Set the opacity of the first keyframe to 100% and the opacity of the second keyframe to 0%.
1.4 Shortcuts for Displaying Properties
In After Effects, you adjust numerous properties for each of the many content layers. If you display all properties, the timeline becomes very long vertically, as shown in the figure below; therefore, shortcuts are provided to display only specific properties.
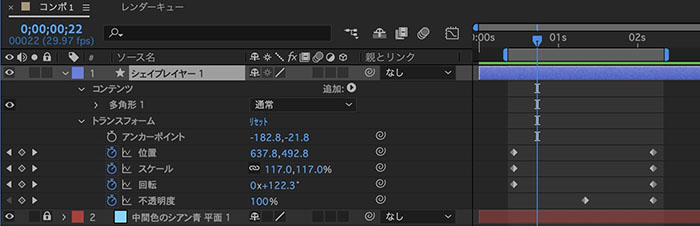
With a layer selected, pressing the shortcut key displays only the properties for that layer. Press the same key again to hide them.
a: Anchor point

p: Position

s: Scale

r: Rotation

t: Opacity

u: All properties with keyframes

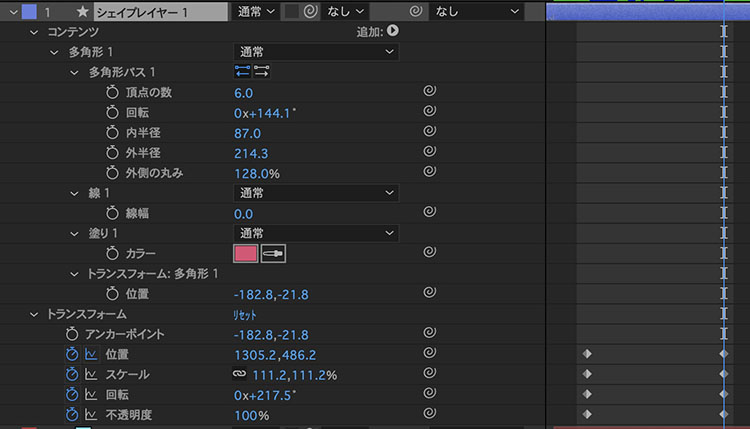
u2 times: All properties whose values have been changed *Since the shape layer creates custom shapes, all properties related to shape and color are also opened
(References)
- [27 Essential Shortcuts: Recommended After Effects Shortcuts by Skill Level]
- Adobe Official - After Effects Keyboard Shortcuts
2. Easing (Speed Adjustment)
2.1 What Is Easing?
Instead of moving at a constant speed, you can vary the pace by gradually accelerating or slowing down.
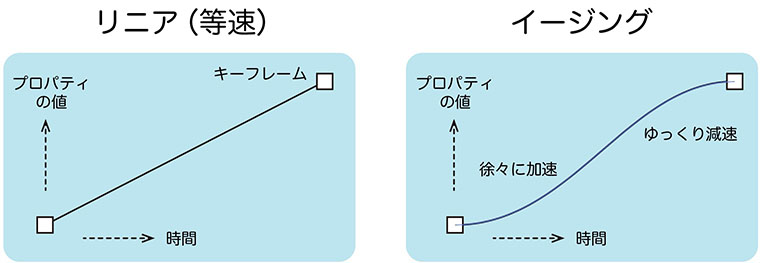
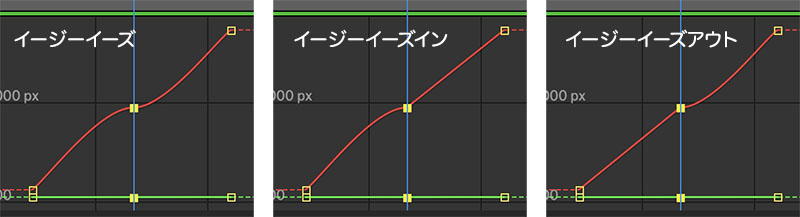
In After Effects, there are three types of ease: Easy Ease, Easy Ease In, and Easy Ease Out, and you should choose the appropriate one depending on the situation. The figure below shows the effect applied to the middle keyframe of the three keyframes (Graph Editor view). Until you get the hang of it, start by using only Easy Ease to get a feel for it.
(References)
- Let’s use easing to create natural animations! (This explanation is probably incorrect)
- Video Guide - Types of After Effects Easing and How to Apply Them
- fu-non - Adjusting Keyframe Speed Changes (Easing)
2.2 Applying Easing to Position Properties
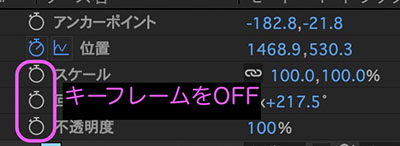
I’ll remove the keyframes for the other properties, as they make it difficult to understand the animation’s state.
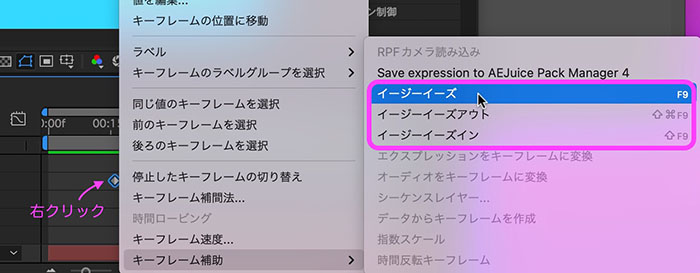
Right-click on ◆ to display the menu > Keyframe Assist > Easy Ease (F9 or fn+F9)
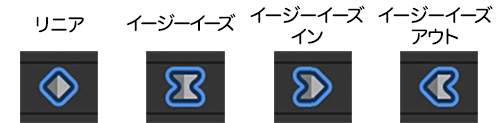
Key icons for each status.
If you apply Easy Ease Out after Easy Ease In, the result will be Easy Ease. The reverse procedure will also produce Easy Ease.
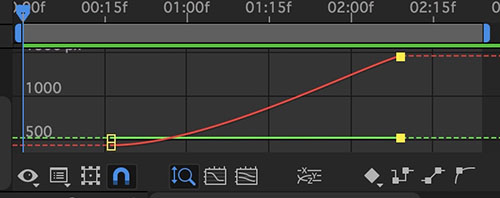
2.3 Easy-In (or Easy-Out) at the Starting Point
Graph Editor Status (For Reference Only)
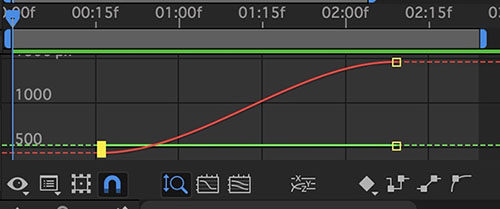
2.4 Easy Ease (or Easy Ease-In) at the End
Graph Editor Status (For Reference Only)
2.5 Resetting the Easing (Restoring to Linear)
You can switch to Linear (◆ icon) by clicking the Cmd key.
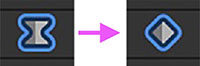
Clicking the Cmd key while clicking on a Linear (◆ icon) changes it to an Auto Bézier (● icon).
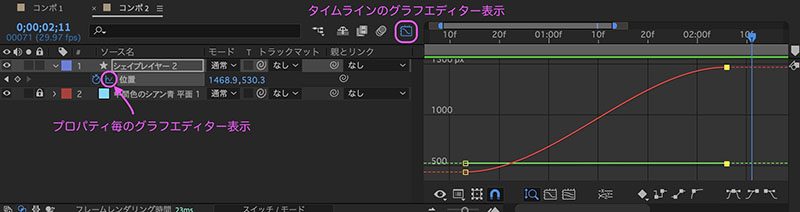
2.6 Using the Graph Editor (Introduction Only)
To fine-tune the pacing of an animation, use the Graph Editor. Simply configuring the easing settings makes it much easier to manage via the UI.
3. Various Timeline Operations
You can display switches and information on the timeline, but since there is too much to show all at once, you can switch between views by pressing the button in the lower-left corner of the timeline (see below) to navigate.

The buttons shown in the figure above (from left to right) control the following display settings:
- Switch
- Transfer Control
- In/Out/Duration/Stretch
- Render Time
The figure below shows all switches and information displayed.
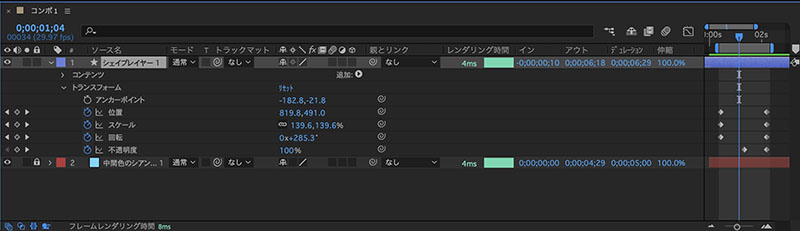
Introduction to the buttons and information on each layer.
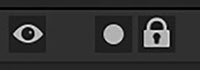
Display/Solo/Lock
Shading / Continuous Rasterization / Quality / Enable Effects / Frame Blend / Motion Blur / Enable Adjustment Layers / 3D Layers

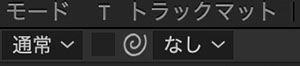
Blending Mode Link / Preserve Transparent Areas Below / Track Matte
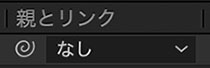
Link to Parents
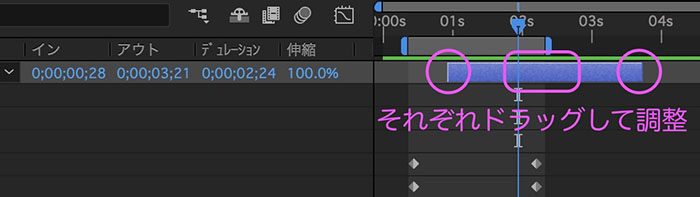
In/Out/Duration/Stretch

(References)
- [After Effects] Little-Known Features? A Complete Guide to Handy Toggle Controls!
- YouTube - [After Effects Toggle Controls Explained (Part 1)] Video, Audio, Solo, Lock, Label, Layer Name/Source Name, Comments/Key [For After Effects Beginners]
4. Adjusting the Start and End Positions of Layers
To adjust the start and end positions of a layer, drag the areas shown in the figure below.
In addition to the mouse controls described above, you can also adjust settings using keyboard shortcuts.
A shortcut to move the start and end points to the time indicator positions.
- Start point: [
- End point:]
Shortcuts for trimming.
- IN point: Option + [
- OUT point: Option + ]