Nonlinear Animation (NLA)
1. Introduction
Note: Blender 4.4 added a Slot feature to the Action Editor, but this article does not yet cover Slots.
Using Mixamo character data and motion data, this lesson walks through Blender’s NLA (Nonlinear Animation) editing workflow. We follow the YouTube tutorial below.
When animating with keyframes alone, connecting different animations requires fine-grained key adjustment. NLA automatically interpolates between keyframe data, dramatically cutting down work time.
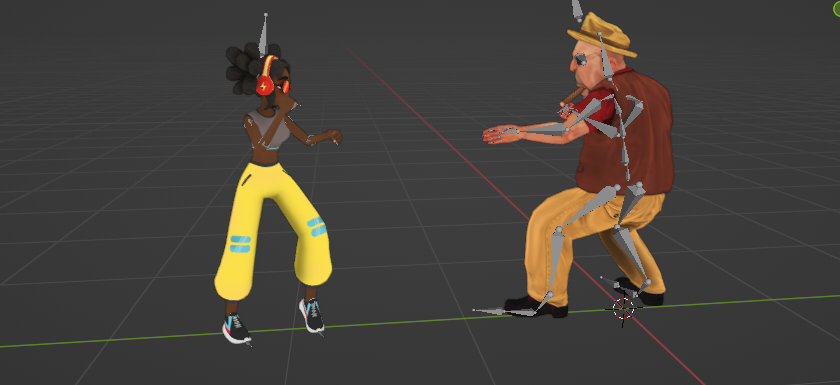
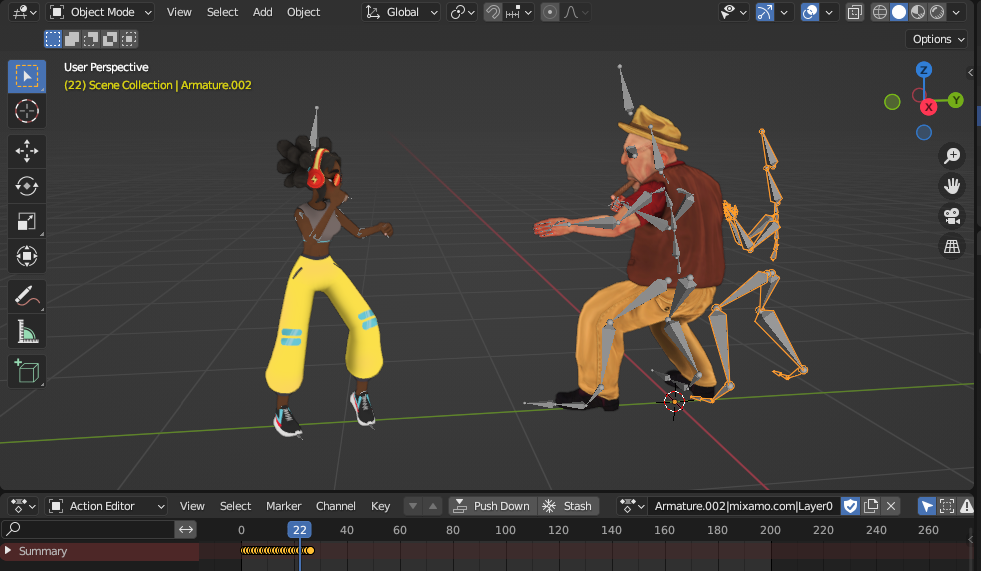
Final result:
2. Downloading Mixamo Data
From mixamo.com, download the following six animation/character files. For the character itself, you can use one from the Mixamo library or upload your own.
- Character being attacked: Fight Idle (with skin), Sweep Fall, Kip Up
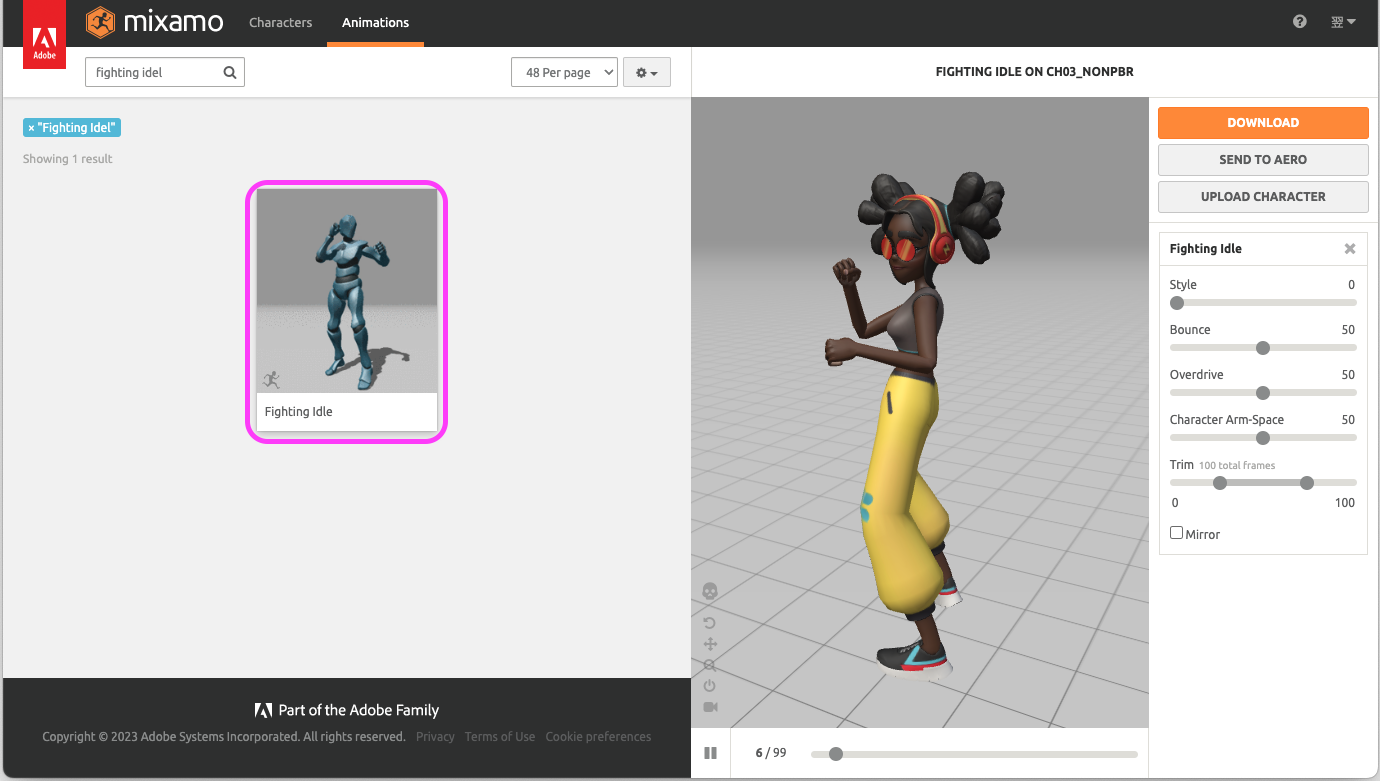
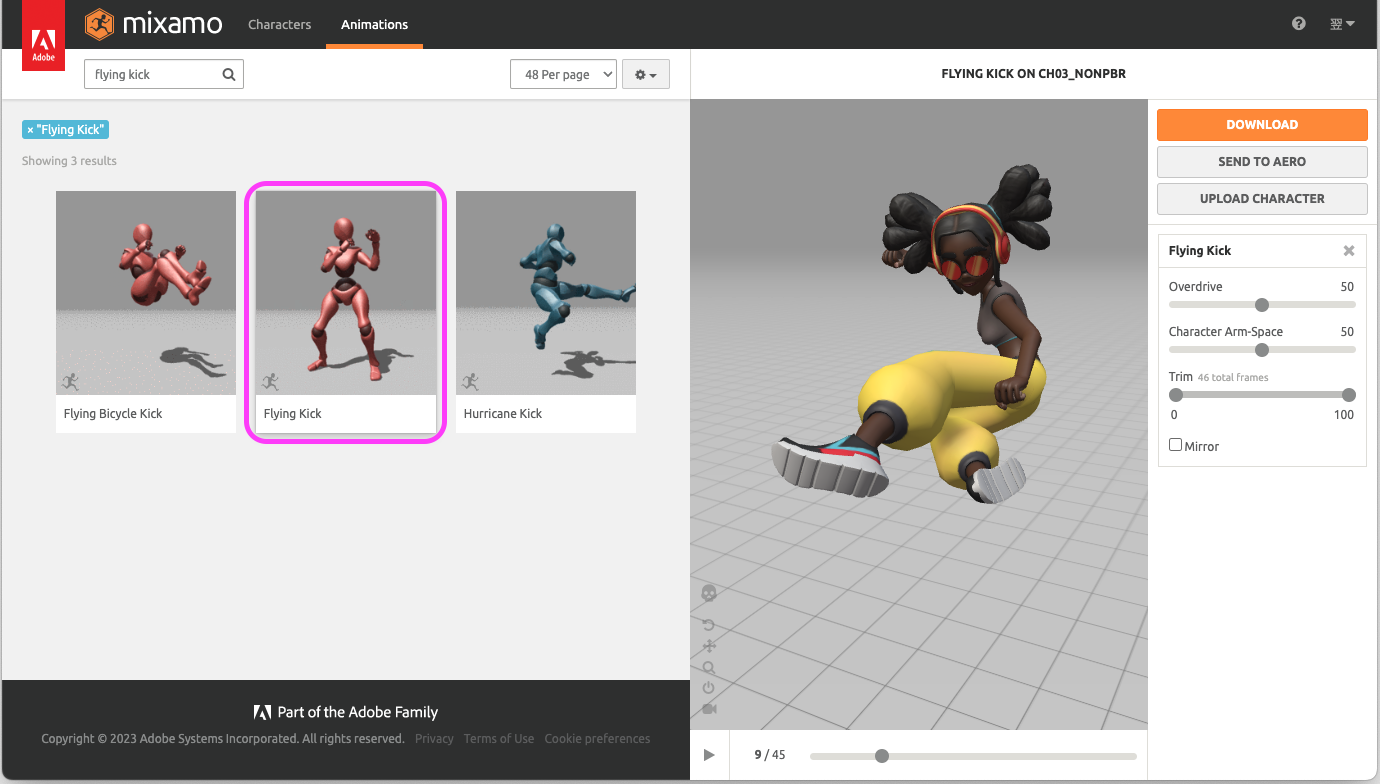
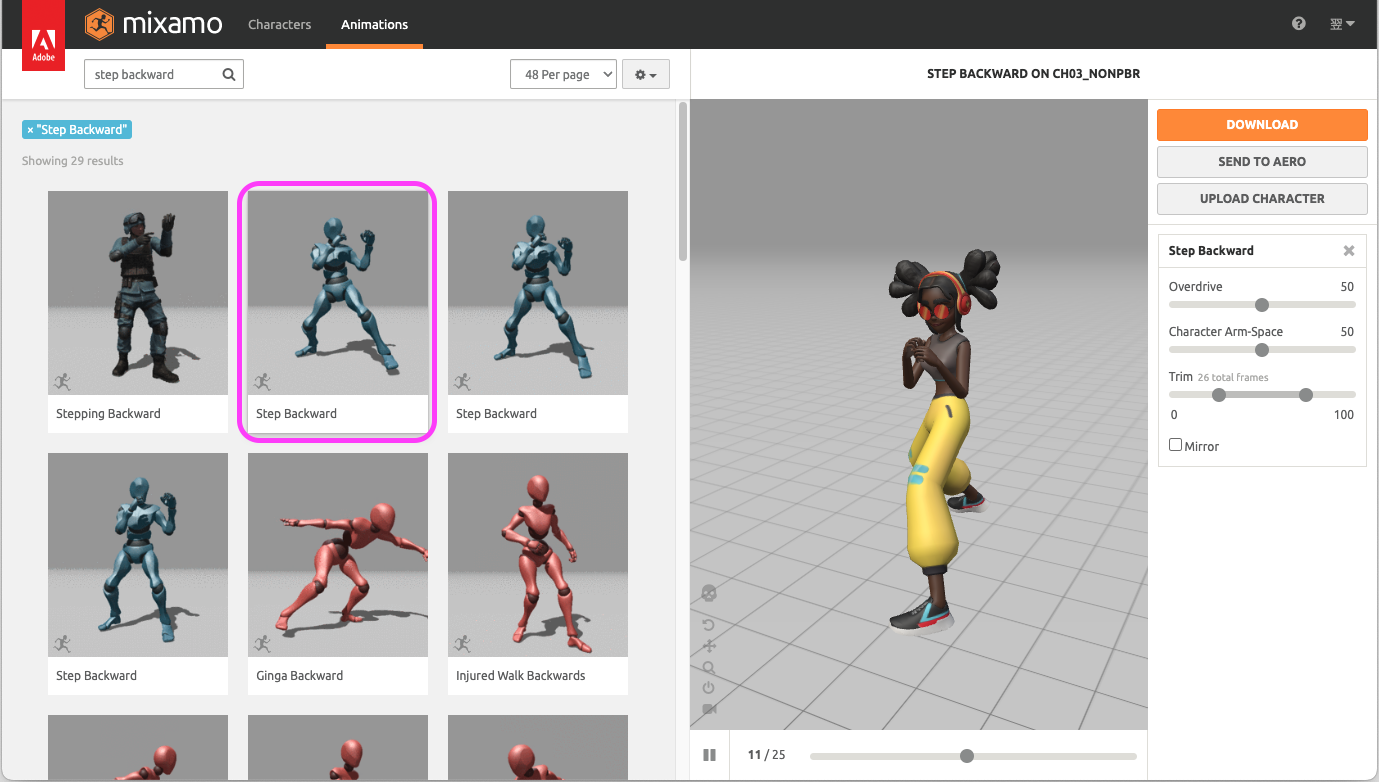
- Attacking character: Fighting Idle (with skin), Flying Kick, Step Backward
For Mixamo basics, see this lecture.
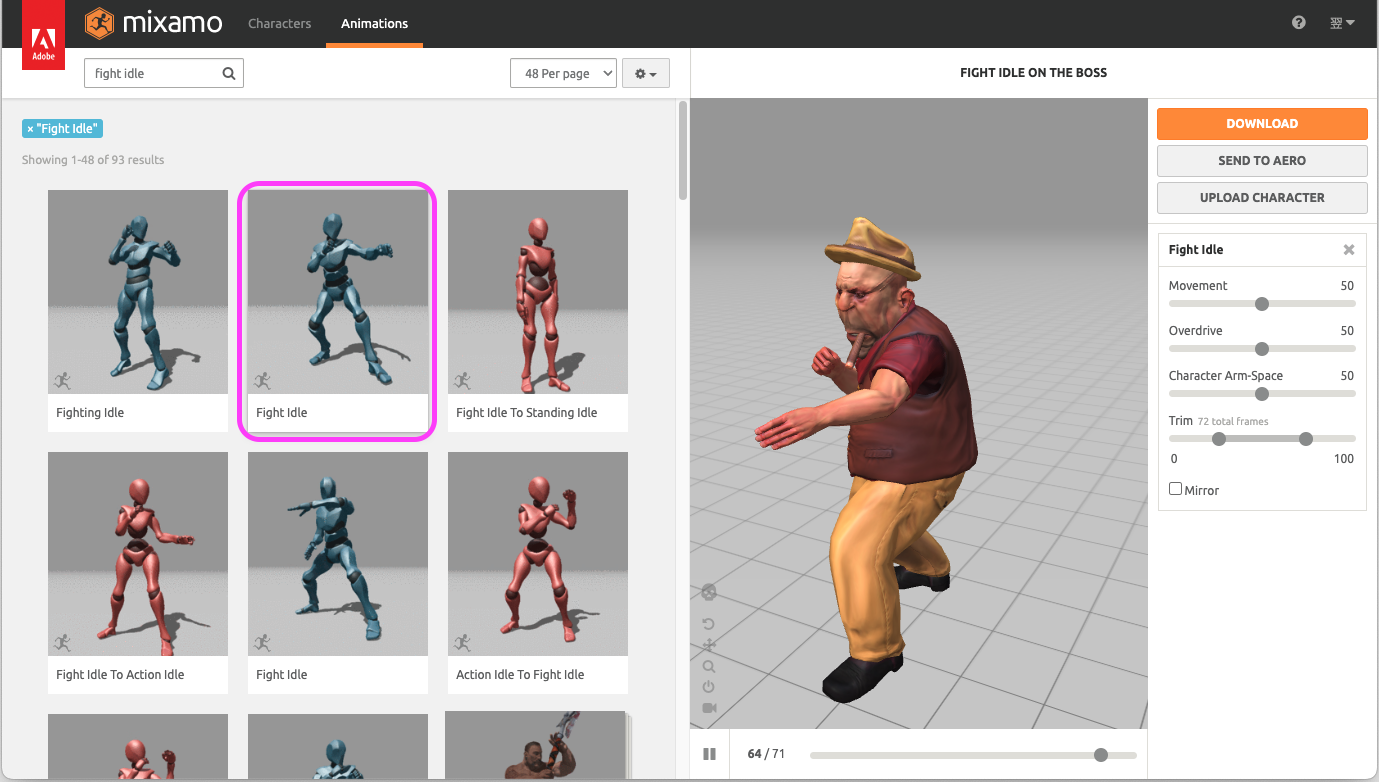
2.1 Fight Idle
- Search for
fight idle. - Apply Fight Idle to your chosen “victim” character (e.g., The Boss).
- Download settings: Format = FBX, Skin = with skin, 30 fps, Keyframe reduction = none.
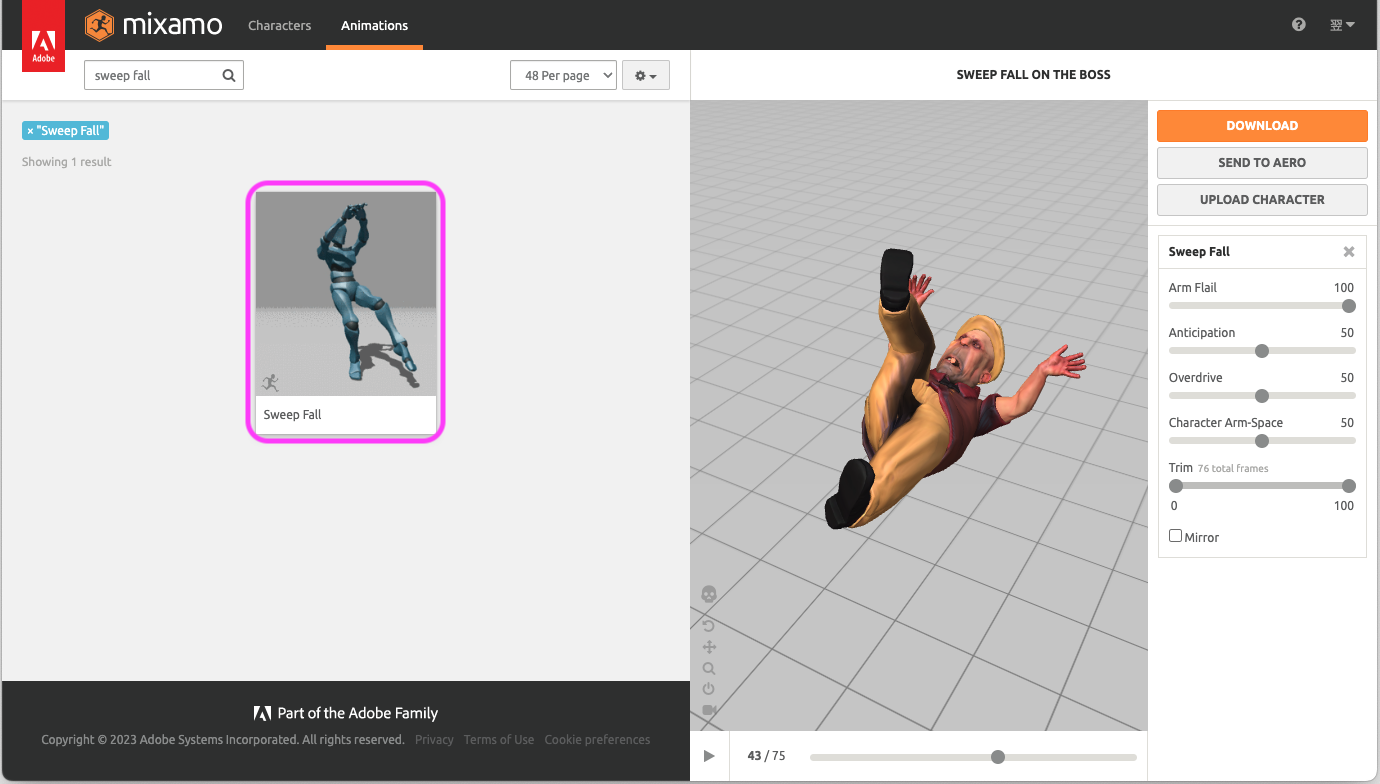
2.2 Sweep Fall
- Search for
sweep fall. - Download with Skin = without skin.
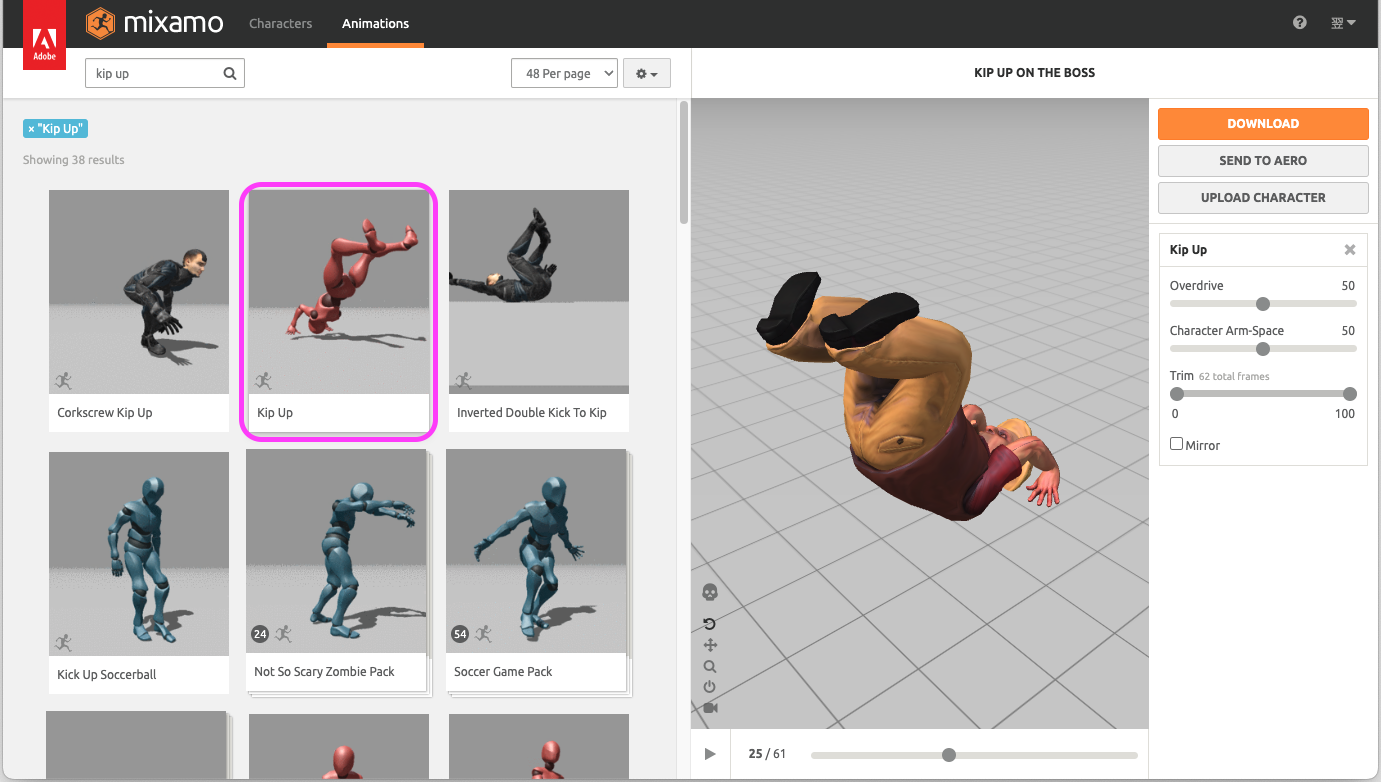
2.3 Kip Up
- Search for
kip up. - Download with Skin = without skin.
2.4 Fighting Idle
- Search for
fighting idle. - Apply Fighting Idle to your chosen “attacker” character (e.g., Michelle).
- Download settings: Format = FBX, Skin = with skin, 30 fps, Keyframe reduction = none.
2.5 Flying Kick
- Search for
flying kick. - Download with Skin = without skin.
2.6 Step Backward
- Search for
step backward(three variants exist — pick whichever you like). - Download with Skin = without skin.
3. Preparing Blender
- Delete the default Box.
- In the Outliner, hide the Camera and Light collections.
4. Loading the Defender
4.1 Importing Fight Idle
Use File > Import > FBX (.fbx) to import Fight Idle.fbx.
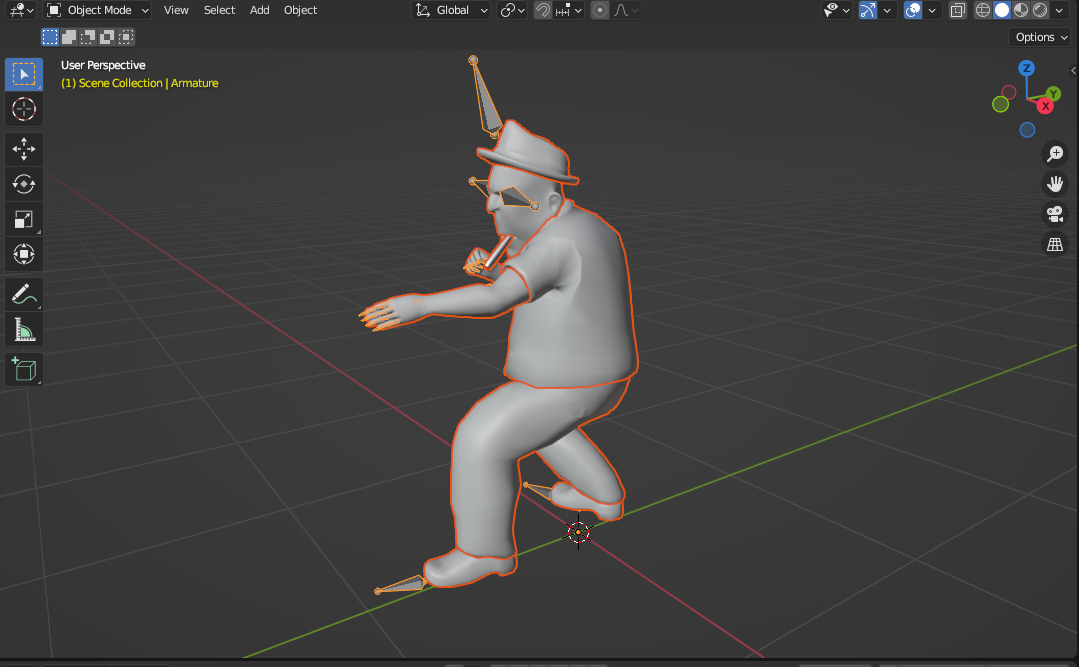
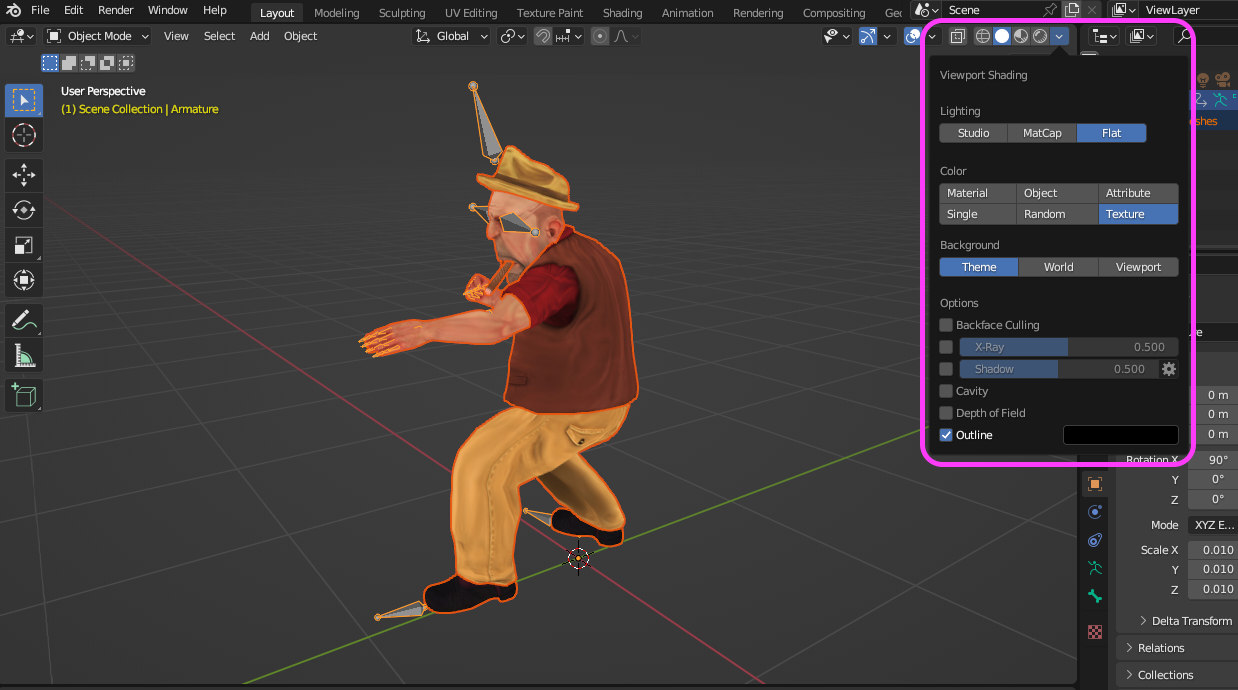
Set the Viewport Shading (Solid options):
- Lighting: Flat
- Color: Texture
4.2 Verifying the Keyframes
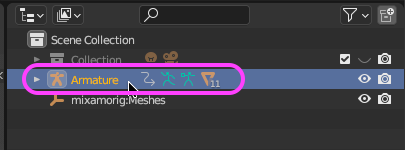
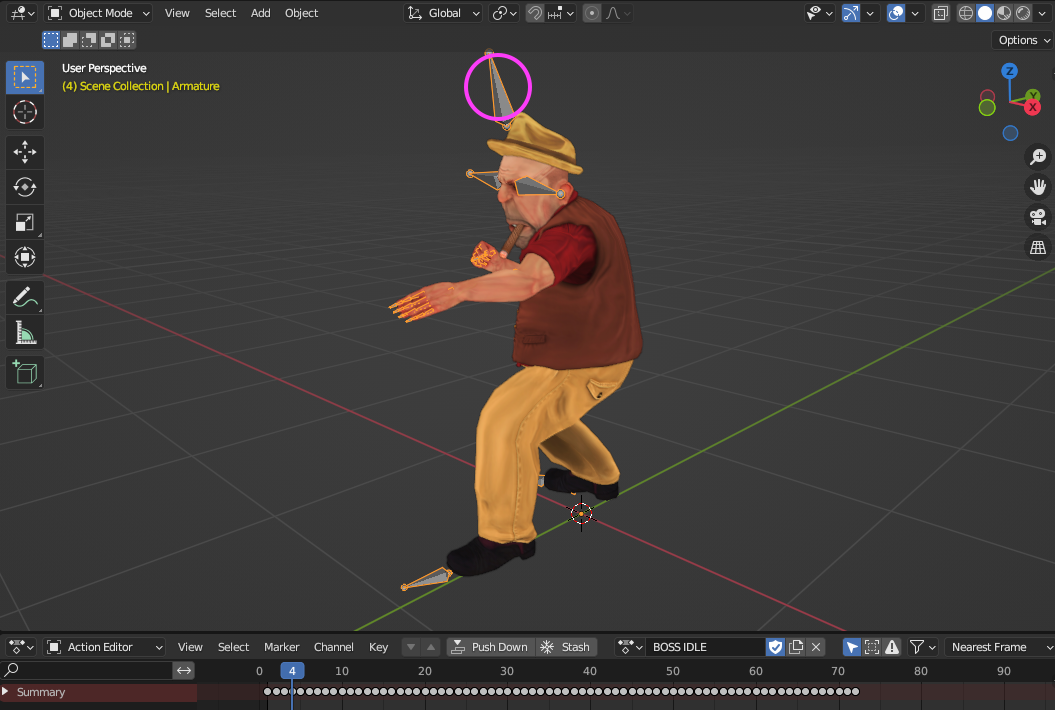
Select the Armature in the 3D Viewport.
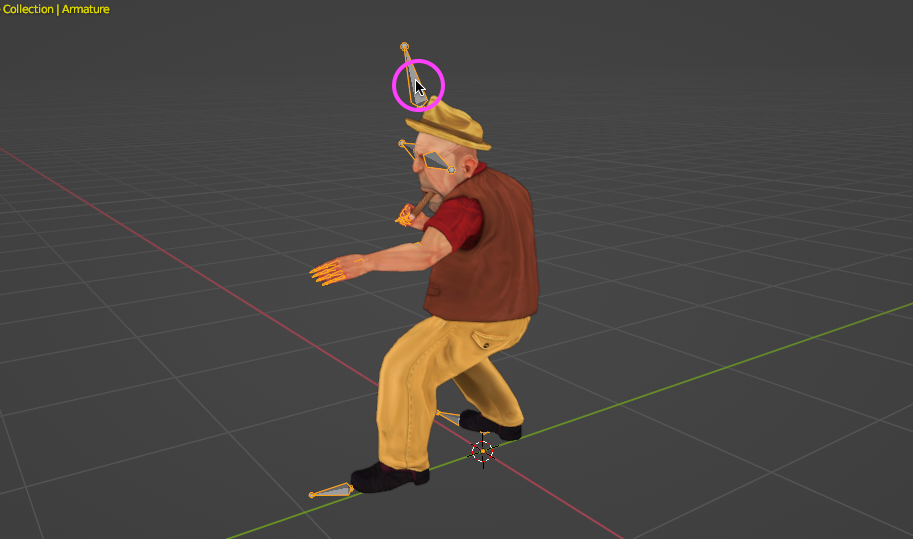
Or select the Armature in the Outliner.
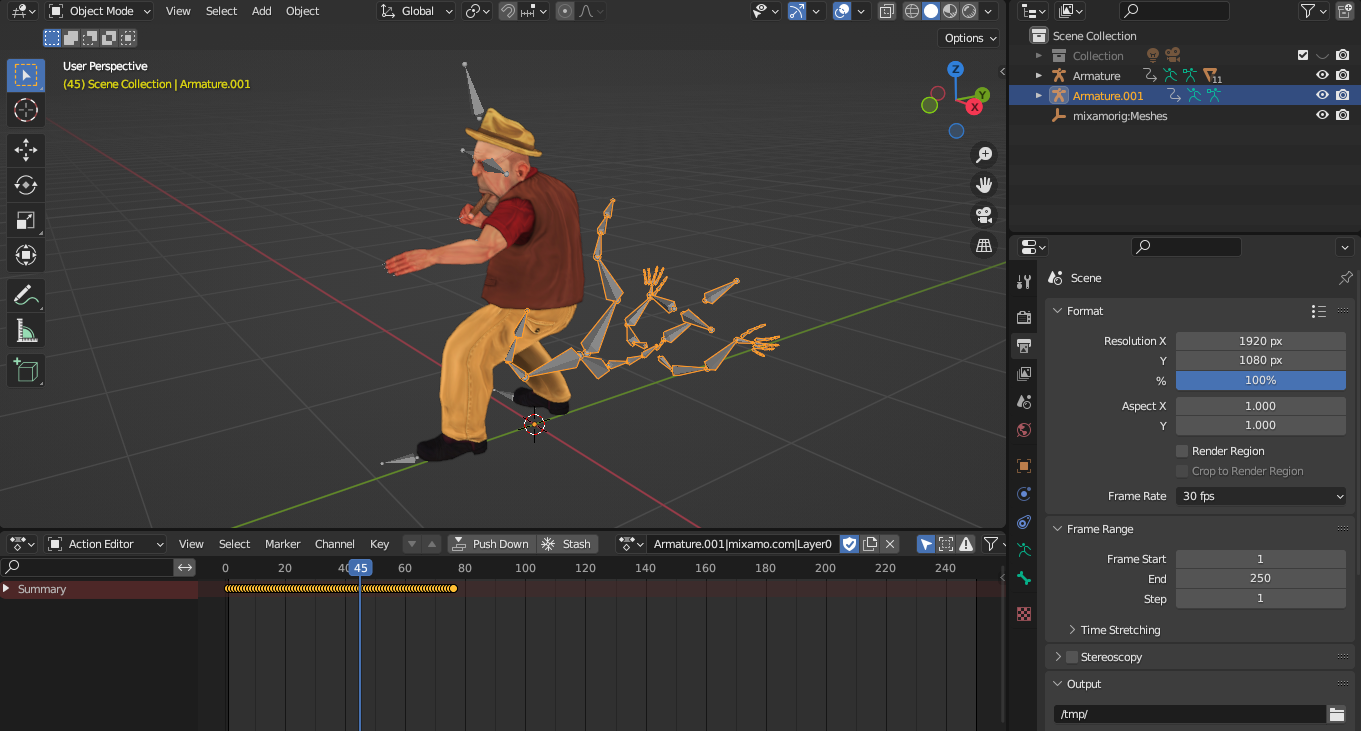
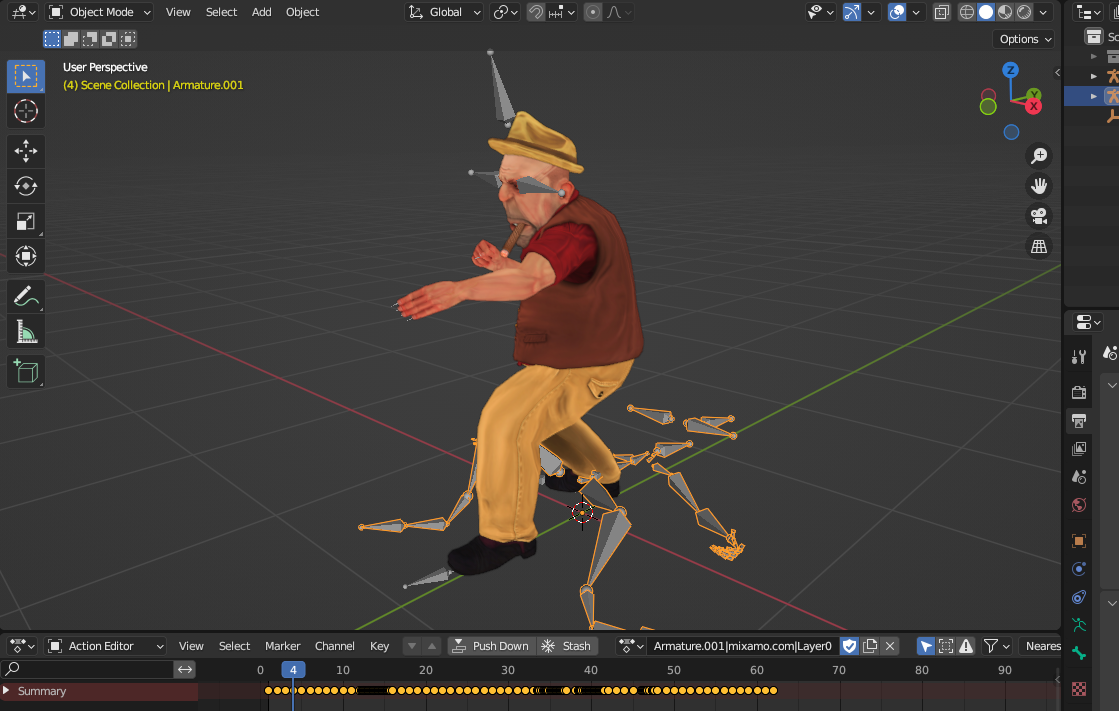
Check the keyframes in the Timeline.

4.3 Timeline Operations
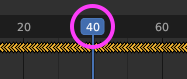
Drag the time indicator left/right, or use Option + mouse wheel.
Play / Stop with Space.

Configure the Start Frame and End Frame (playback range).

- Zoom timeline: mouse wheel.
- Pan timeline horizontally: Cmd + mouse wheel, or the bar at the bottom of the panel.
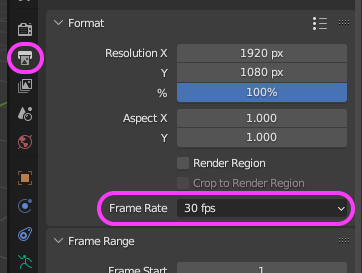
Confirm Frame Rate = 30 in Output Properties.
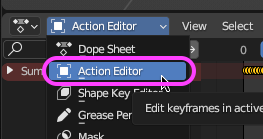
4.4 Switching to Dope Sheet and Action Editor
Switch to the Dope Sheet Editor.
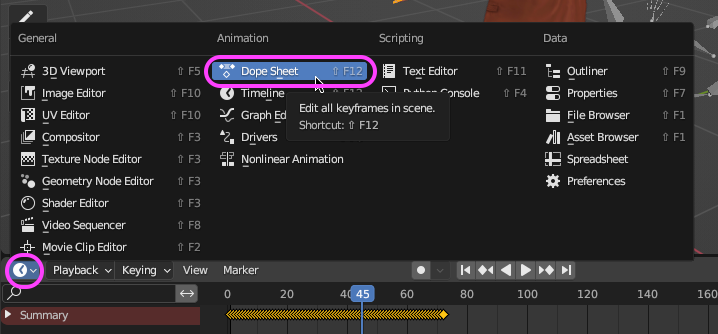
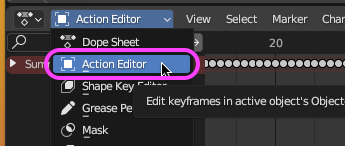
Then switch to the Action Editor.
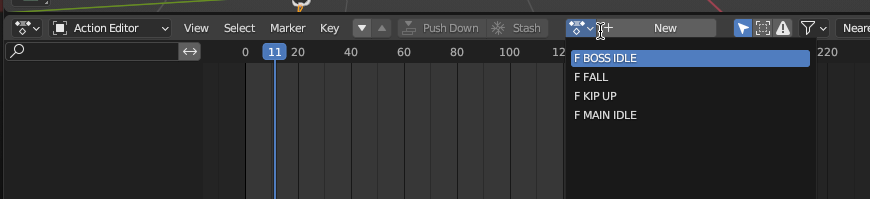
4.5 Renaming the Fight Idle Action (Action Registration)
Note: This article does not yet cover the Slot feature; in newer Blender you also need to specify the Action and Slot together.
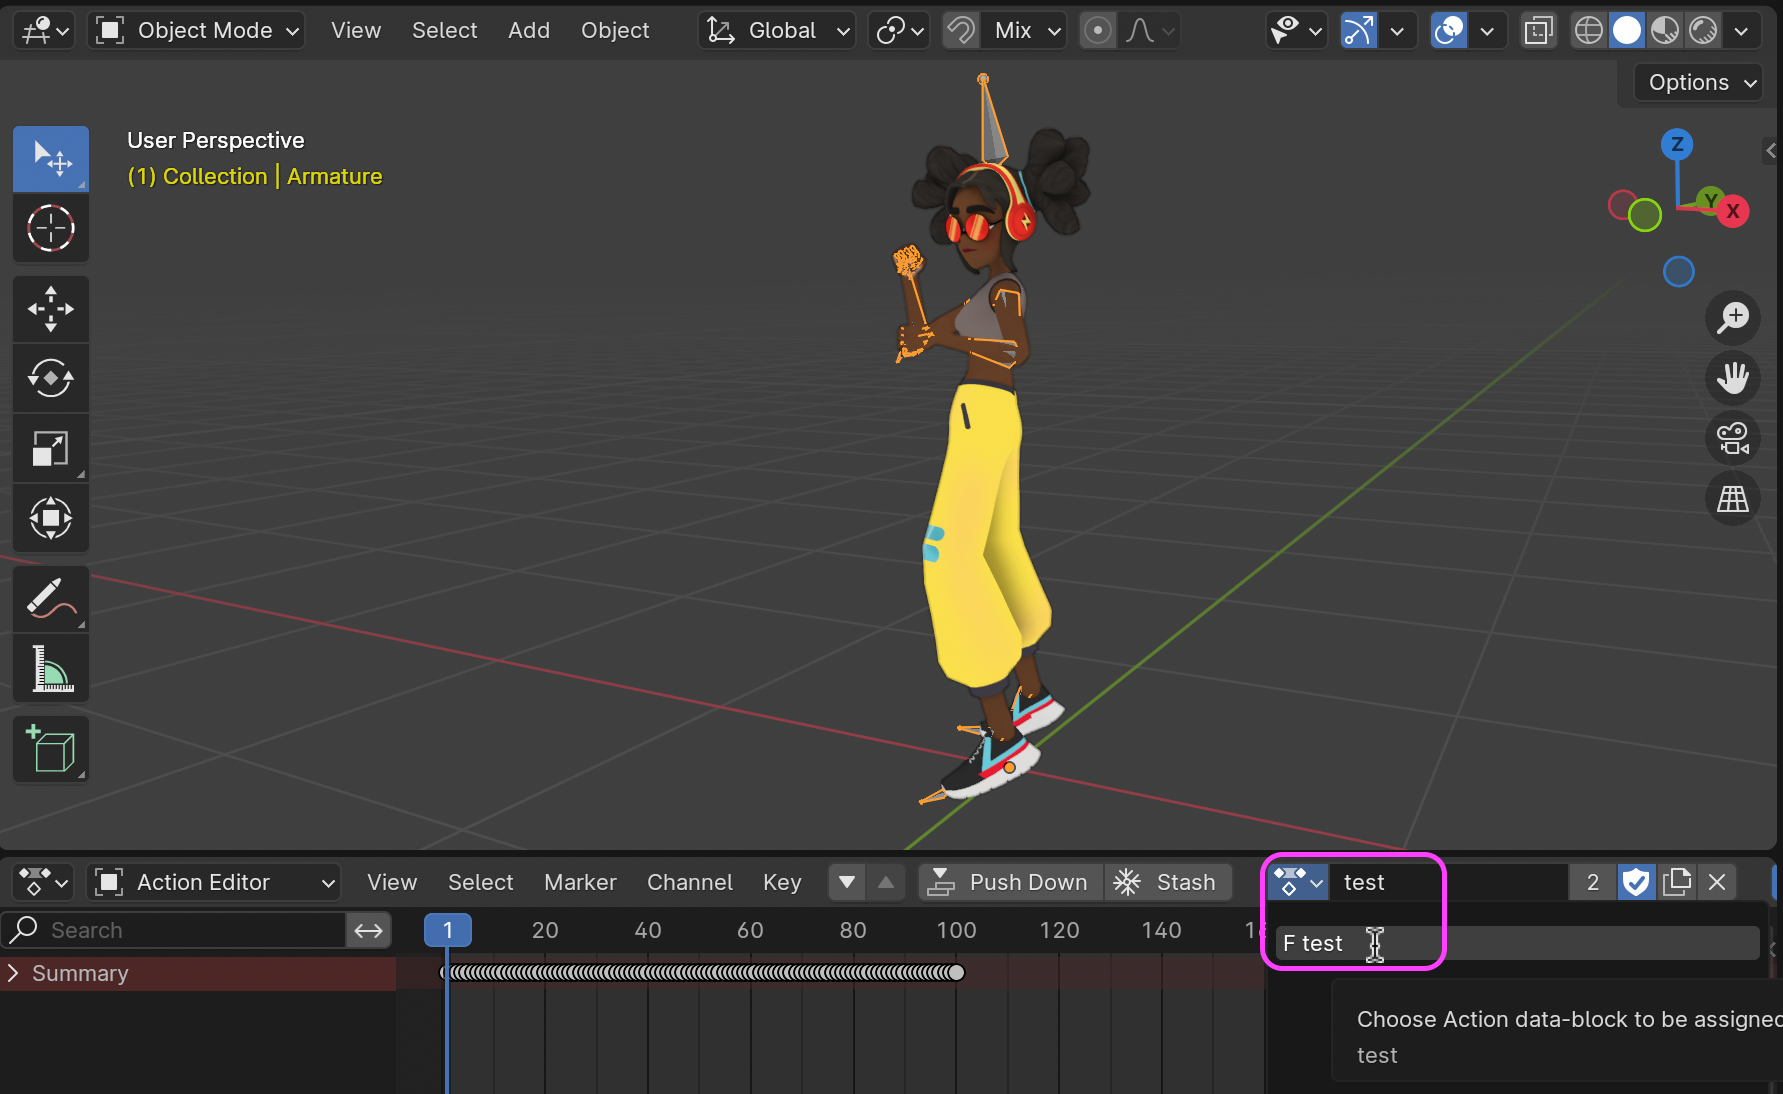
When the FBX is imported, an action name is assigned automatically.

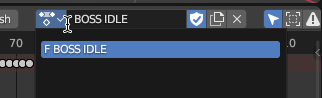
For clarity, rename the action to BOSS IDLE and press Enter to confirm.

To double-check, click Browse Action.
Reference: Dope Sheet
- The Timeline is mainly for playback, while the Dope Sheet is for various animation editing tasks.
- The Action Editor is only available from the Dope Sheet.
- Why You Should Use Blender’s Dope Sheet (JP)
- Blender Practice (21): Dope Sheet and Timeline (JP)
Reference: Deleting Actions
Reference: Fake User
4.6 Importing Sweep Fall and Renaming Its Action
Use File > Import > FBX to import Sweep Fall.fbx.
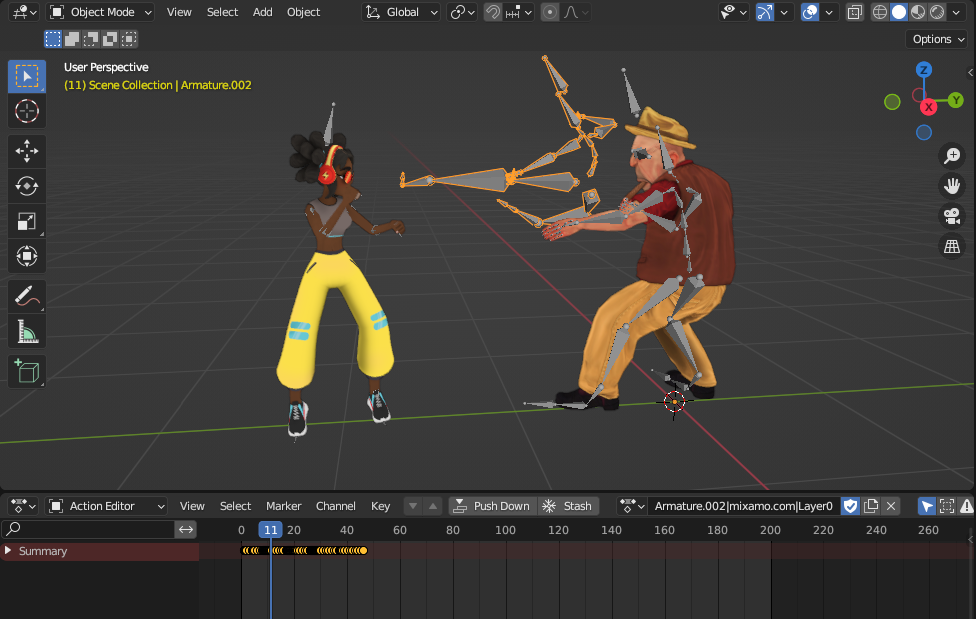
As shown above, with Sweep Fall’s Armature (Armature.001 in the Outliner) selected in the 3D Viewport (orange outline), confirm that its keyframes are displayed.
Rename the action to FALL and press Enter.

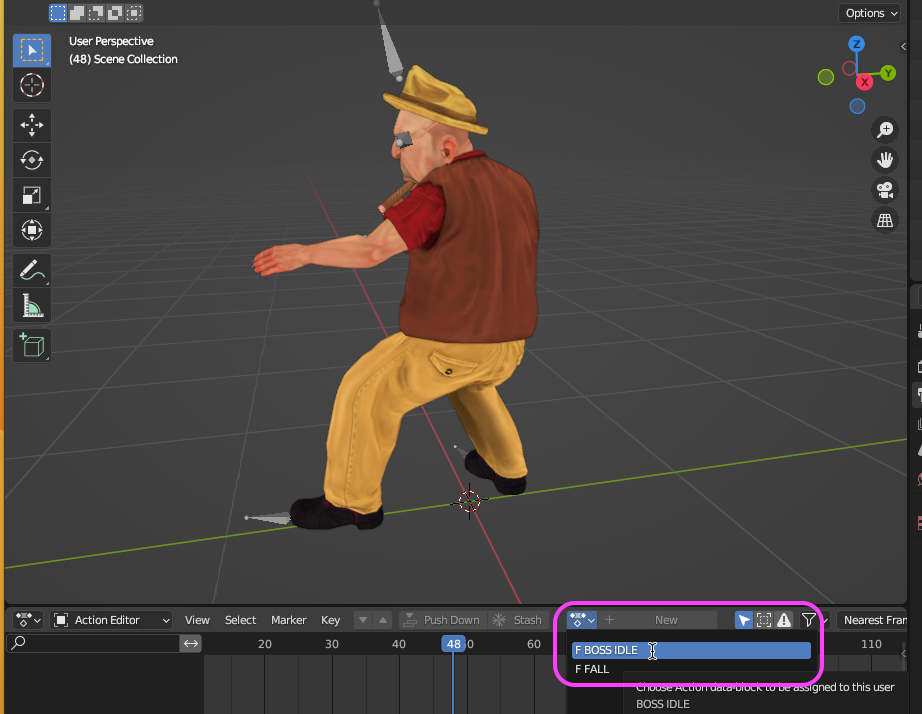
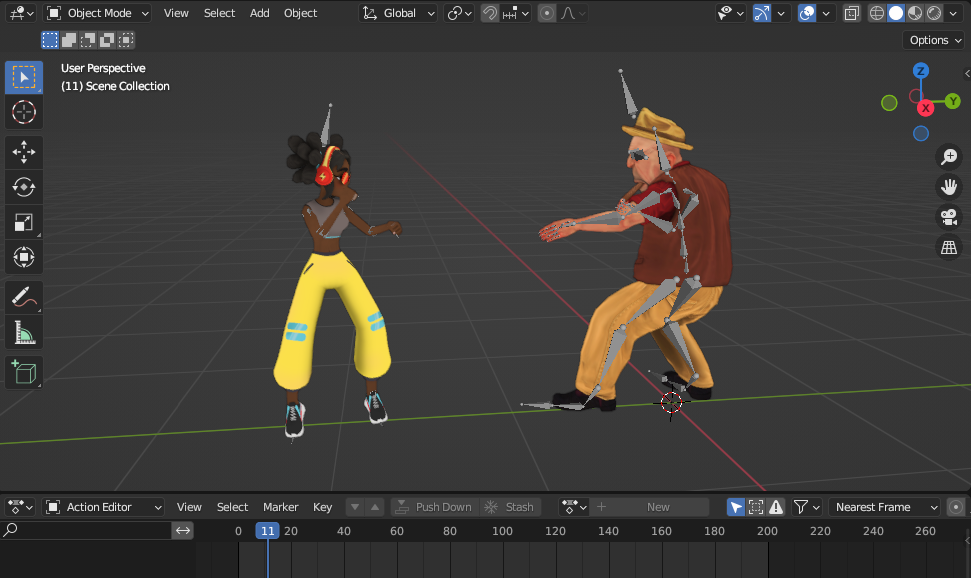
Select only Sweep Fall’s Armature (Armature.001) and delete it (fn + Backspace, or X). Click the Browse Action icon — even after deleting the Armature, the action remains.
4.7 Importing Kip Up and Renaming Its Action
Use File > Import > FBX to import Kip Up.fbx.
Rename the action to KIP UP and press Enter.
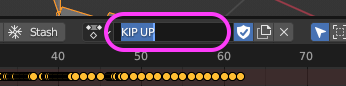
Select only Kip Up’s Armature and delete it. Browse Action shows that the three actions so far are still present.
Reference: When Keyframes Disappear (After Push Down or Unlink Action)
In the Dope Sheet’s Action Editor, after registering keyframes as an Action and then doing Push Down or Unlink Action (the × icon), the keyframes will not display even if the Armature is selected (see below). The Timeline shows the same state. After Unlink Action, the original FBX motion can play back, but it cannot be edited (equivalent to a T-Pose with no motion).
In that case, reload a specific Action to bring the keyframes back.
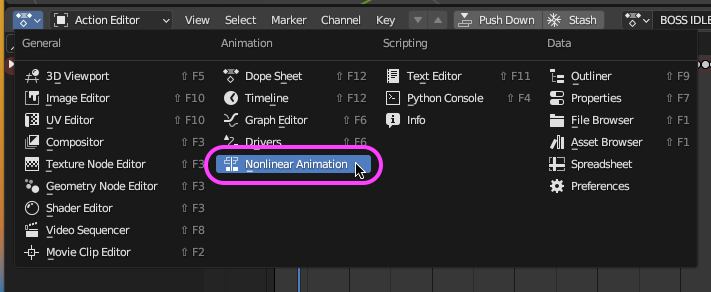
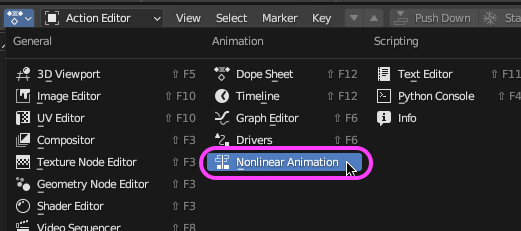
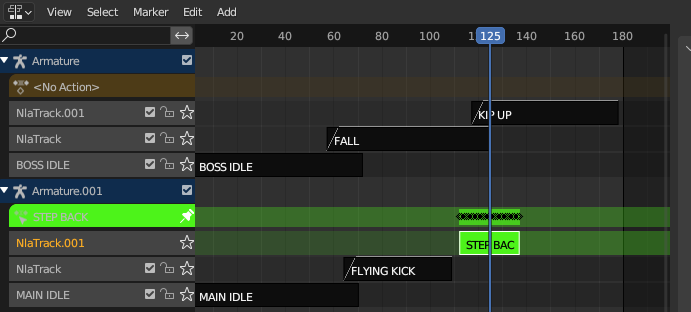
5. Switching to the Nonlinear Animation Editor
Select the Armature.
Switch from the Dope Sheet to Nonlinear Animation.
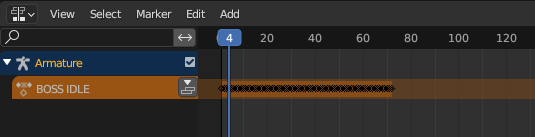
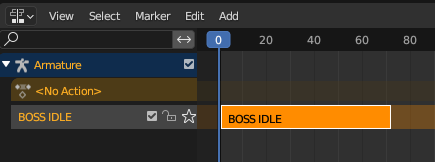
The view below is called the NLA Stack, displaying the BOSS IDLE action track. At this stage, the keyframes have not yet been converted into a strip (a container for the keyframe data).
Reference: Using NLA
- Blender 3.1 Action Feature Walkthrough (JP)
- Tracks — Blender Manual (JP)
- Strips — Blender Manual (JP)
6. Converting to Action-Clip Strips
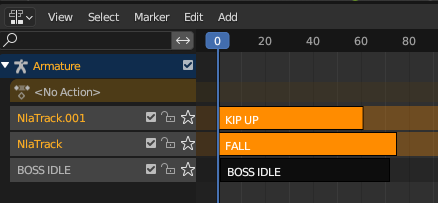
6.1 BOSS IDLE
Click the Push Down Action button shown below.
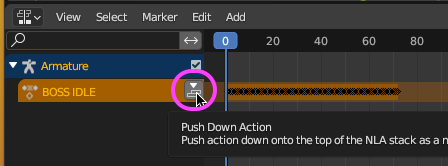
The keyframe data is converted into an Action-Clip Strip.
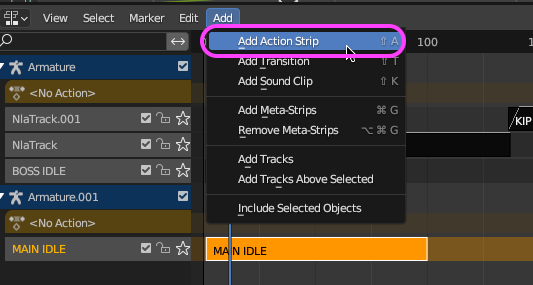
6.2 FALL
Click Add > Add Action (Blender 3 in the screenshot). Note: with an existing NLA track selected, a new Action-Clip Strip is added to it. If no NLA track is selected, first add a track via Track > Add, then do Add > Action.
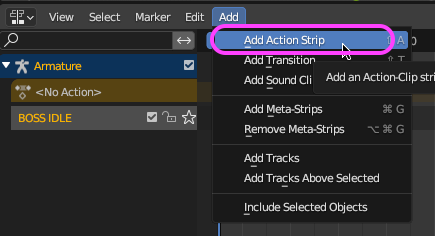
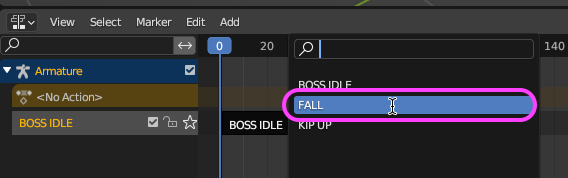
Choose FALL from the menu.
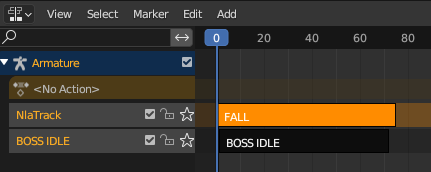
The FALL Action-Clip Strip is added. You can rename the track (NlaTrack) by clicking it; we’ll skip that here.
6.3 KIP UP
Add the KIP UP action strip the same way.
7. Manipulating Action-Clip Strips
7.1 Moving Strips
Just like editing video clips, you can drag Action-Clip Strips to adjust playback timing.
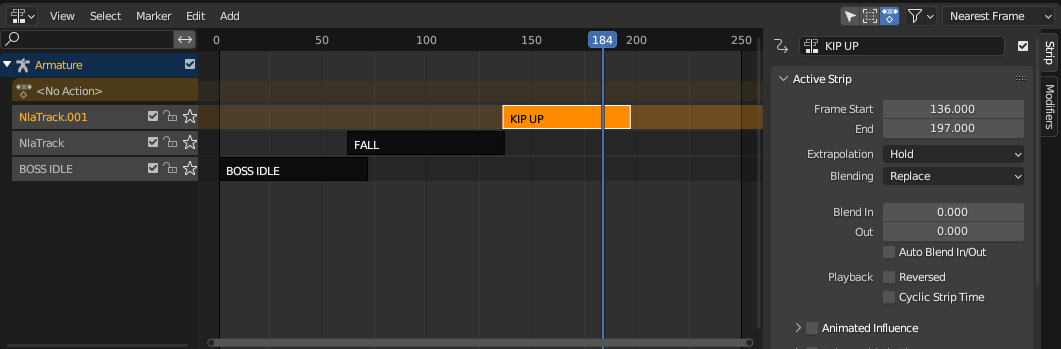
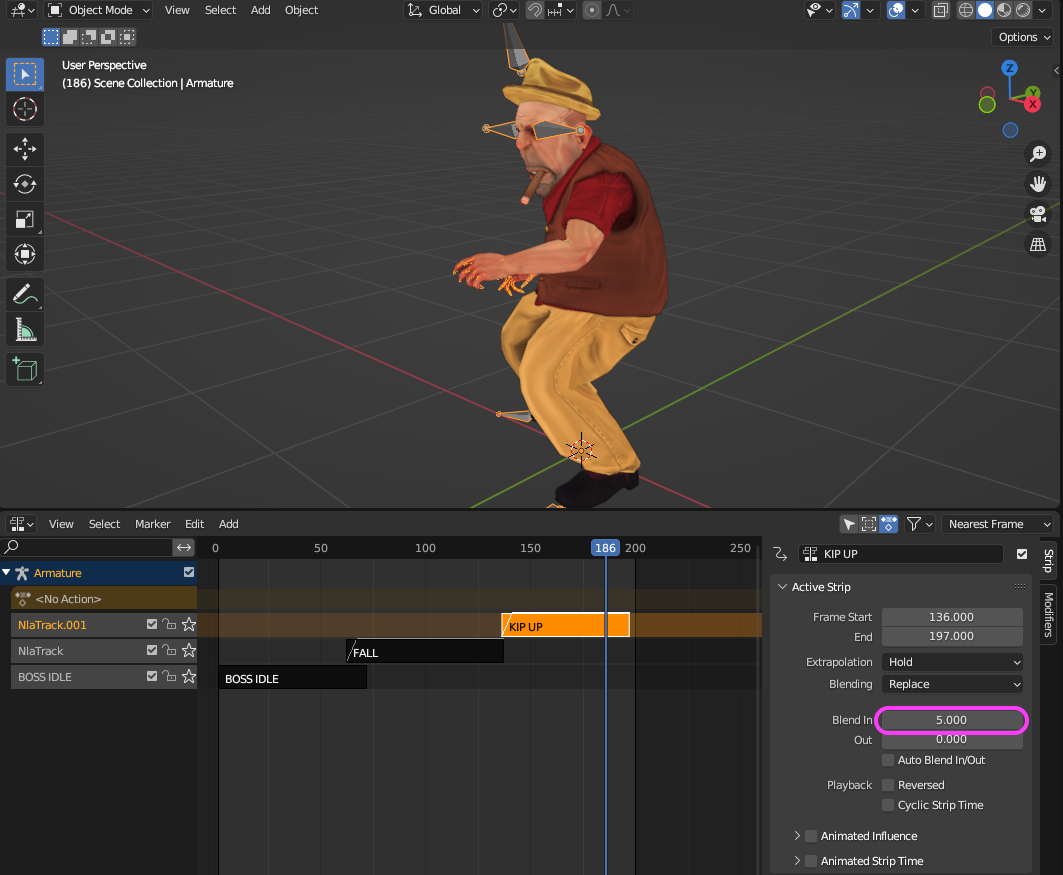
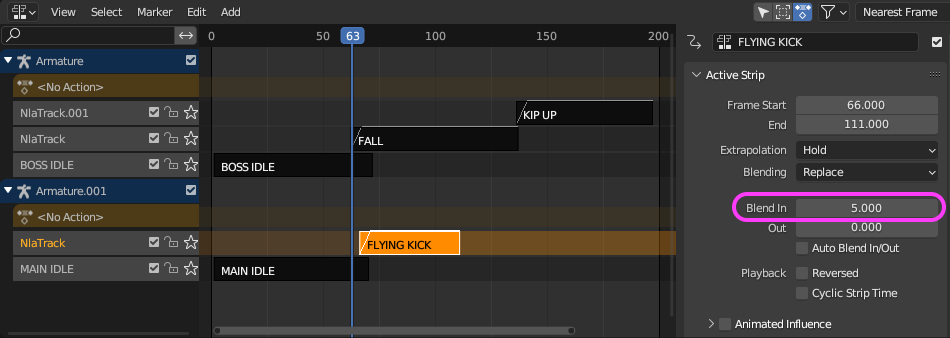
7.2 Blend In
For KIP UP and FALL, set the Action Strip panel’s Blend In (in the sidebar) to 5 frames (your call).
Reference: Showing the Lower Track Without Blend
- Setting the Action Strip panel’s Extrapolation > Hold to
Nothingexposes the lower track. By default, animation outside a strip’s IN/OUT is held in a stopped state. - Sidebar — Blender Manual (JP)
8. Adjusting Kip Up
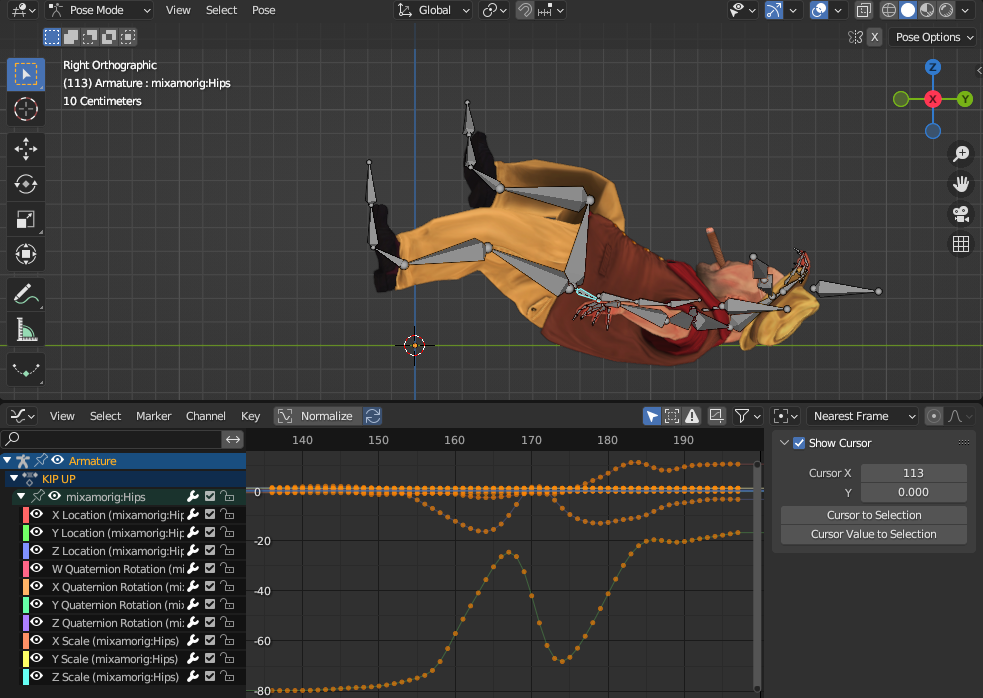
8.1 Side-View Misalignment in Kip Up
As shown below, FALL and KIP UP have different character (Hip bone) positions, so the back appears to slide along the floor. To fix this, we need to edit the Action Strip’s keyframes.
8.2 Adjusting the Hip Bone
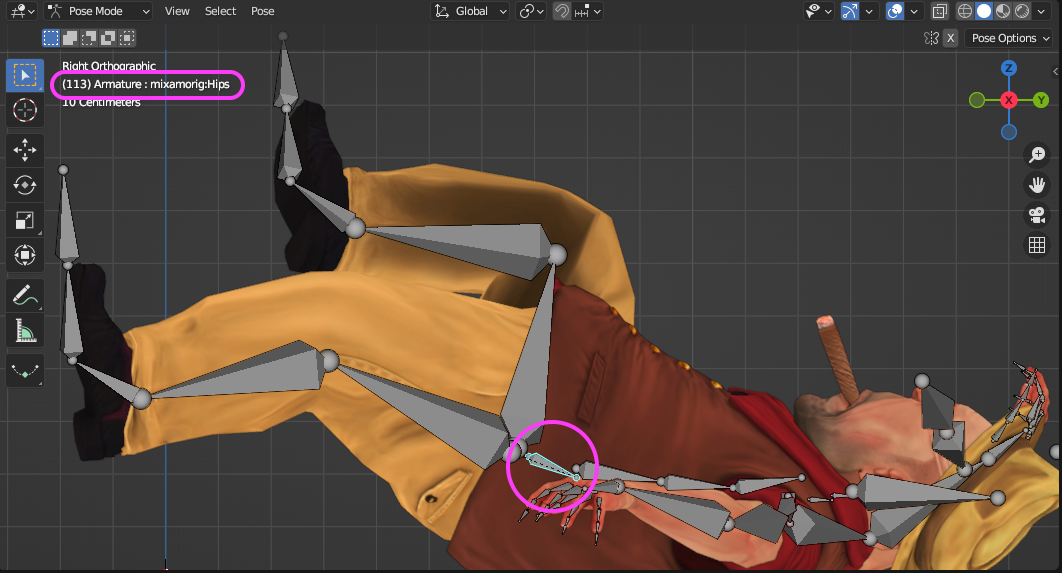
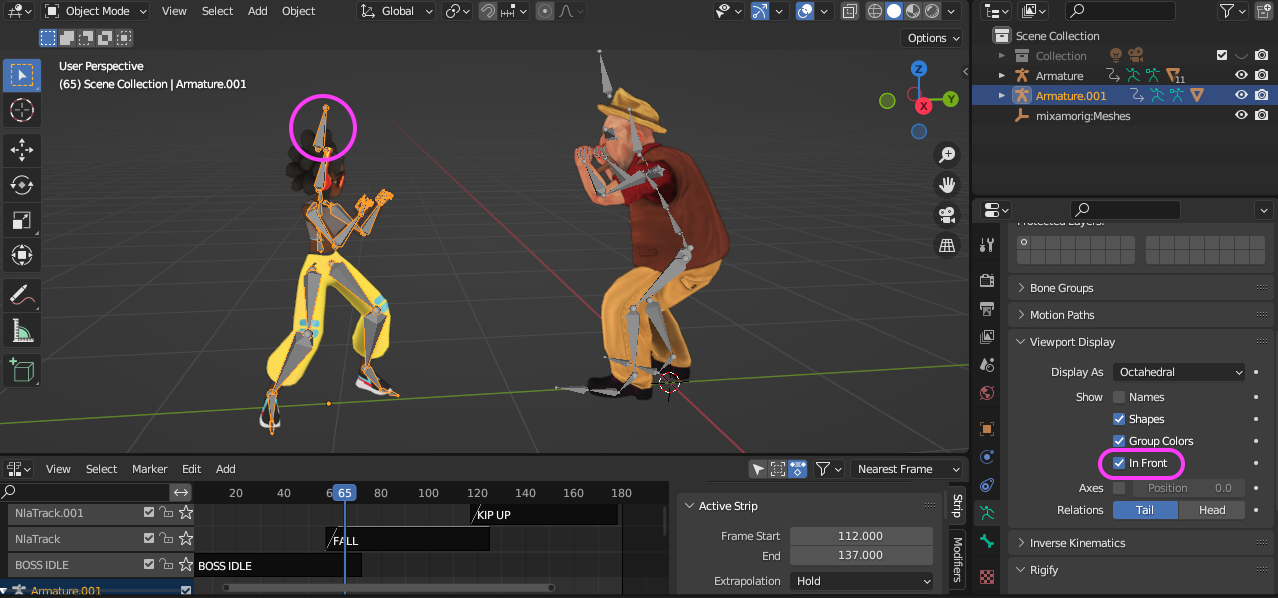
In Object Data Properties > Viewport Display, enable In Front so the bones display in front of the mesh.
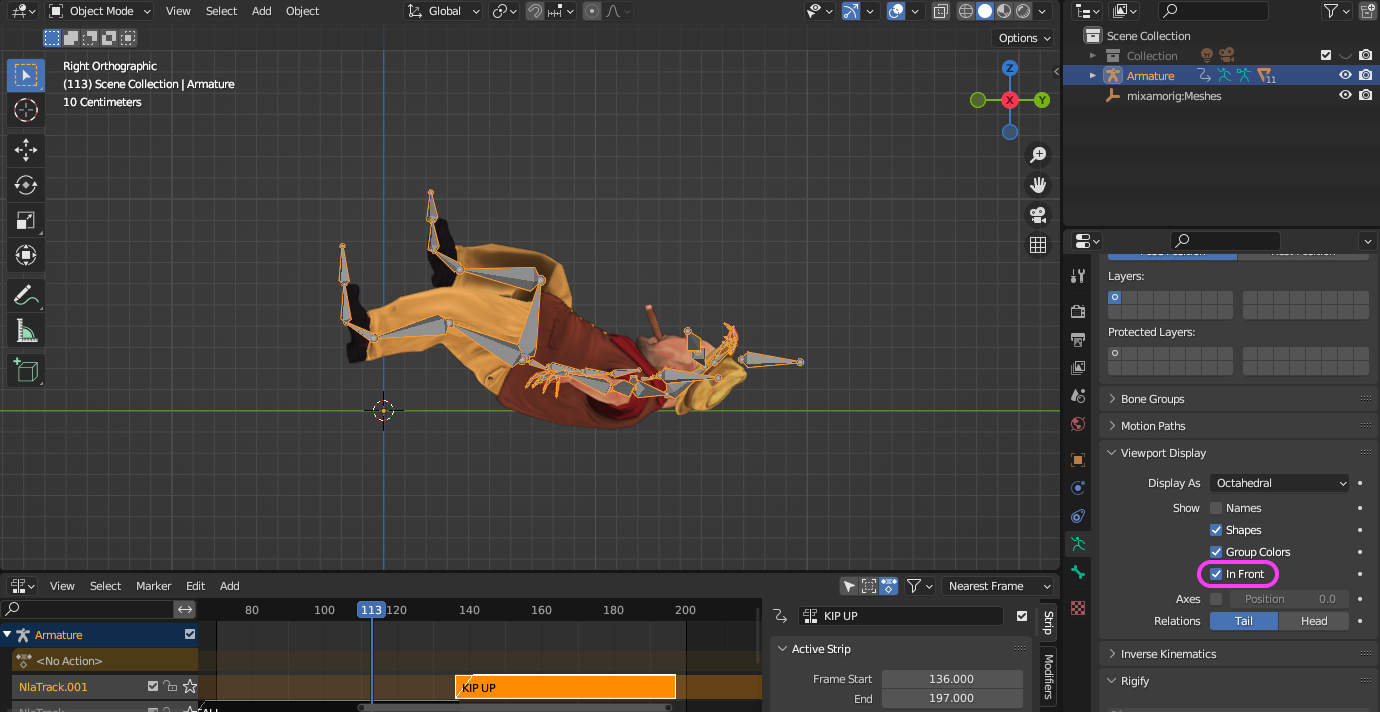
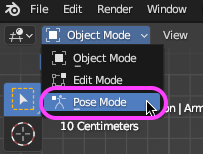
Switch the 3D Viewport to Pose Mode.
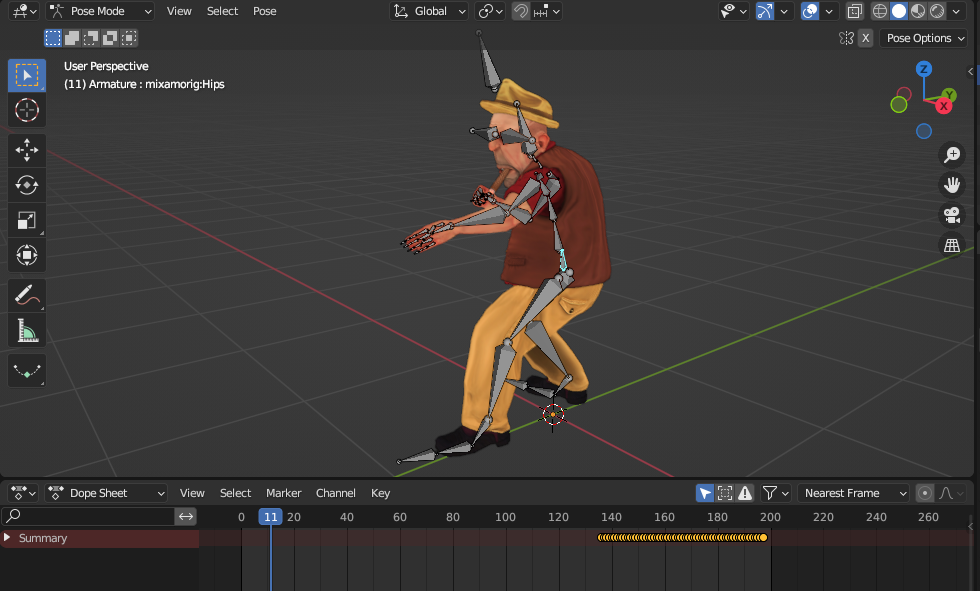
Select the root bone of the Armature, mixamorig: Hips (shown below). The selected bone name appears in the upper-left of the 3D Viewport.
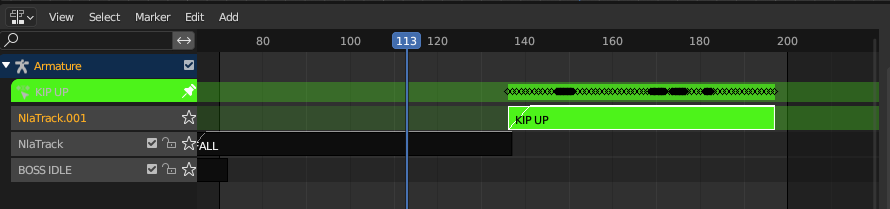
With the KIP UP strip selected, press TAB to enter adjustment mode (shown below).
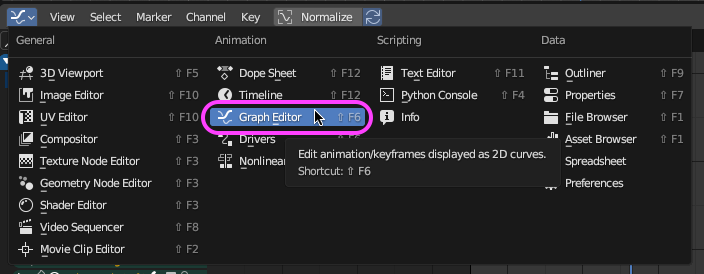
Switch from the NLA Editor to the Graph Editor.
Use View > Frame Selected (Numpad .) or Frame All (Home) to fit the selected keyframes in view. Click the ▶ next to the KIP UP layer to expand all channels.
Click the eye icon to the left of mixamorig:Hips in the Graph Editor to hide all channels.
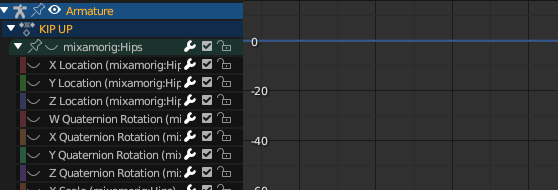
Then show only Z Location.
Graph Editor Display Controls
- Zoom: mouse wheel.
- Pan: middle-mouse drag.
- Select keyframes: left click; left drag for box select.
- Select all keyframes: A.
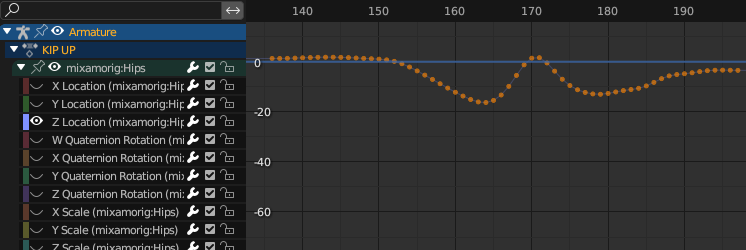
Move the time indicator to around frame 130 (the end of FALL).

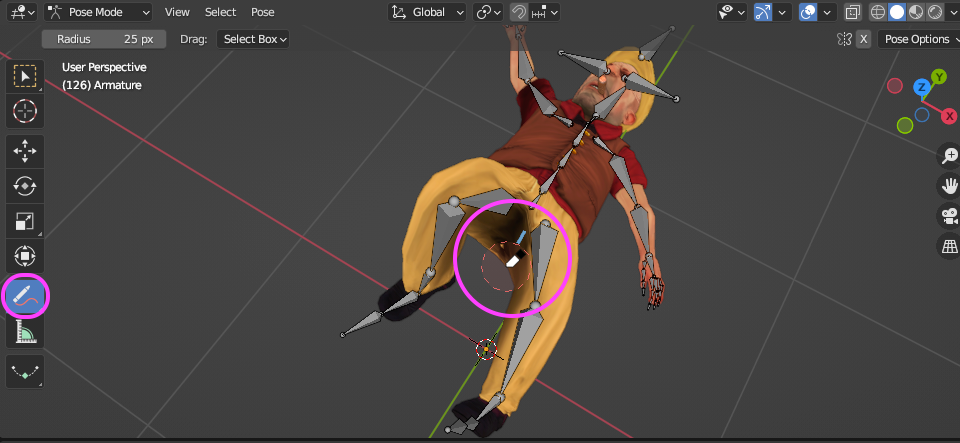
Use the Annotate tool to mark the Hip bone position.
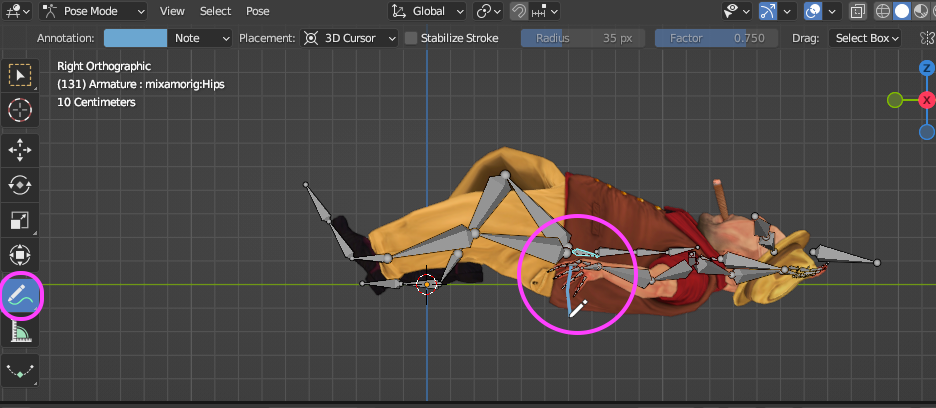
Move the time indicator to around frame 145 (the start of Kip Up — varies depending on your Action Strip placement). You’ll see the Hip bone is offset from the marked line.
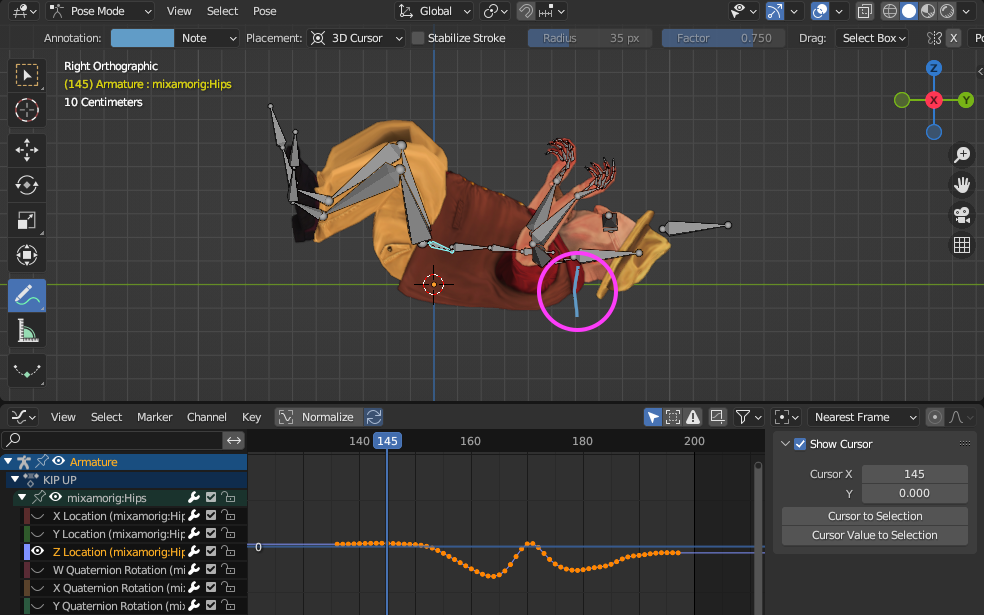
With all Z Location keys selected, press G then Y in succession. Drag the keyframes vertically in the Graph Editor to align the Hip bone with the line you drew.
The misalignment is gone, as shown below.
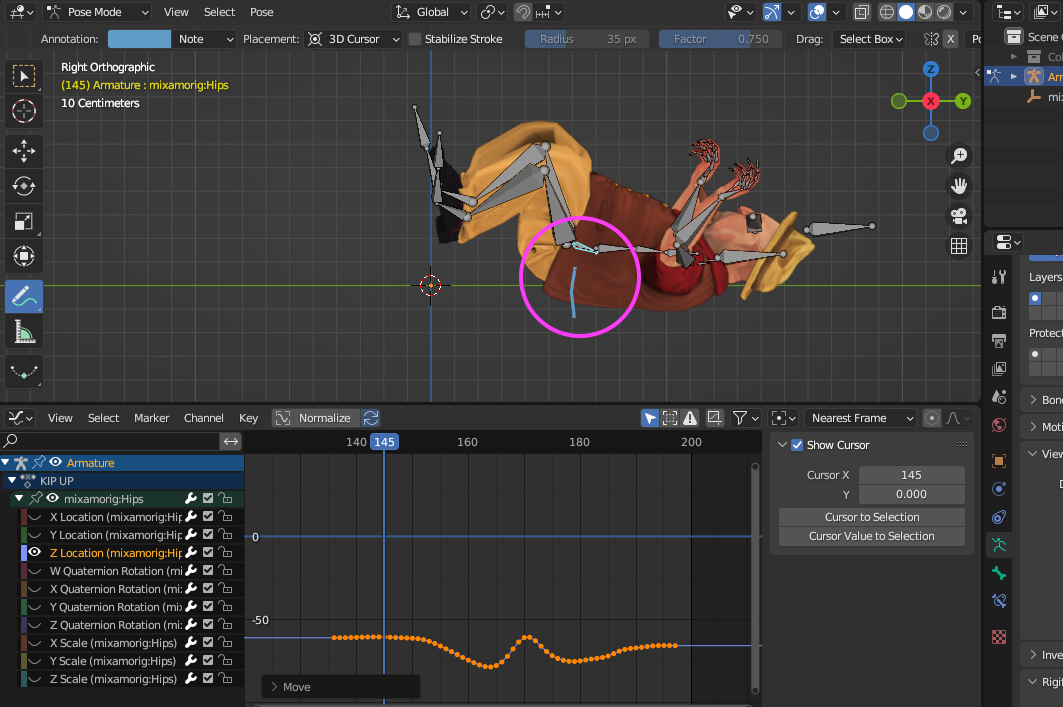
8.3 Top-View Misalignment in Kip Up
Less obvious, but from the top view there is still a slight horizontal offset.
Fix it the same way as before. At the end of FALL, mark the Hip bone position with the Annotate tool. In the Graph Editor, select the X Location keyframes and adjust them with G, Y.
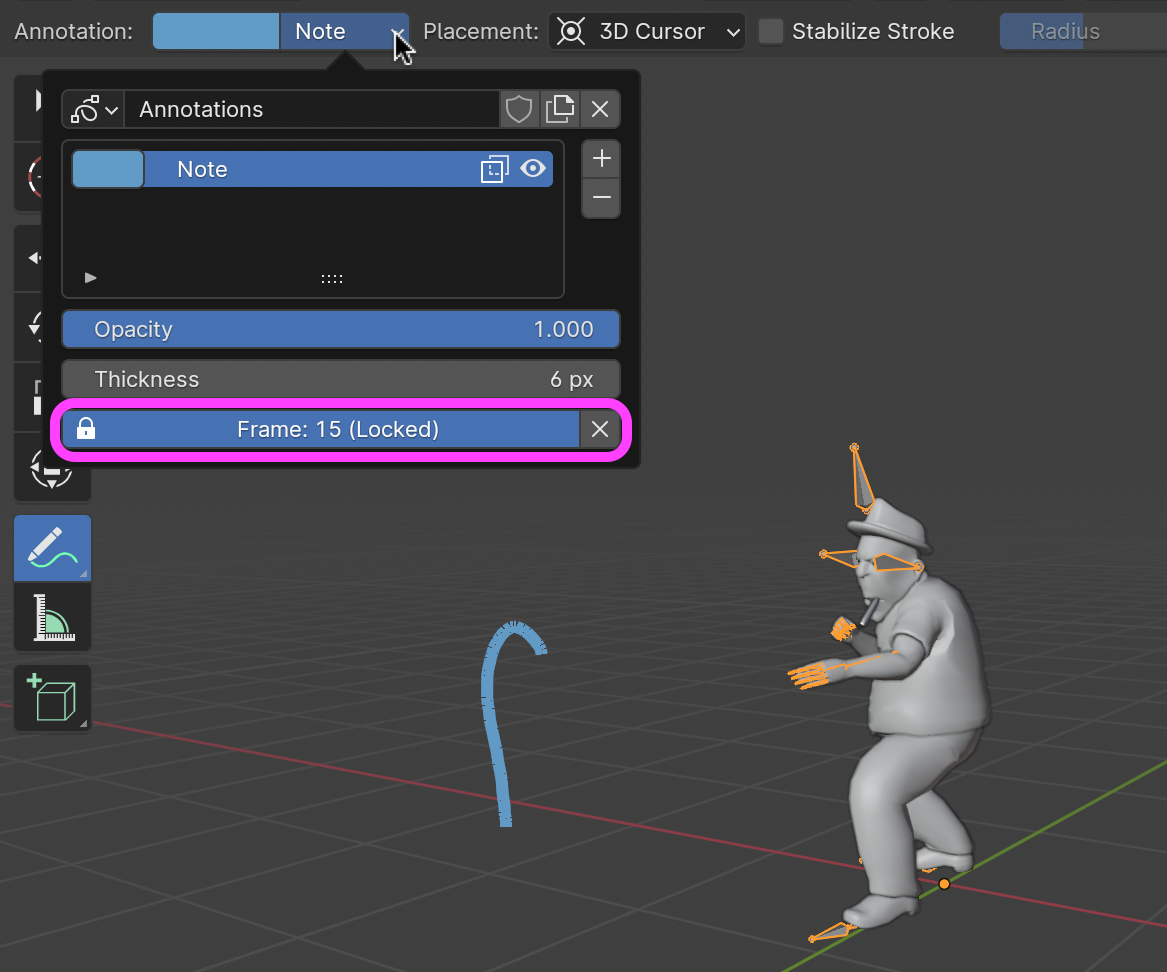
Reference: Annotation Tool Caveats
The Annotate tool adds a keyframe the moment you draw. Even if you delete the annotation later, the keyframe remains, so future annotations will be affected. To work around this, delete all annotation keyframes from the Timeline, or use one of the methods below.
How to make annotations show on every frame
Method 1: In the Annotate tool options, set Note > Locked.
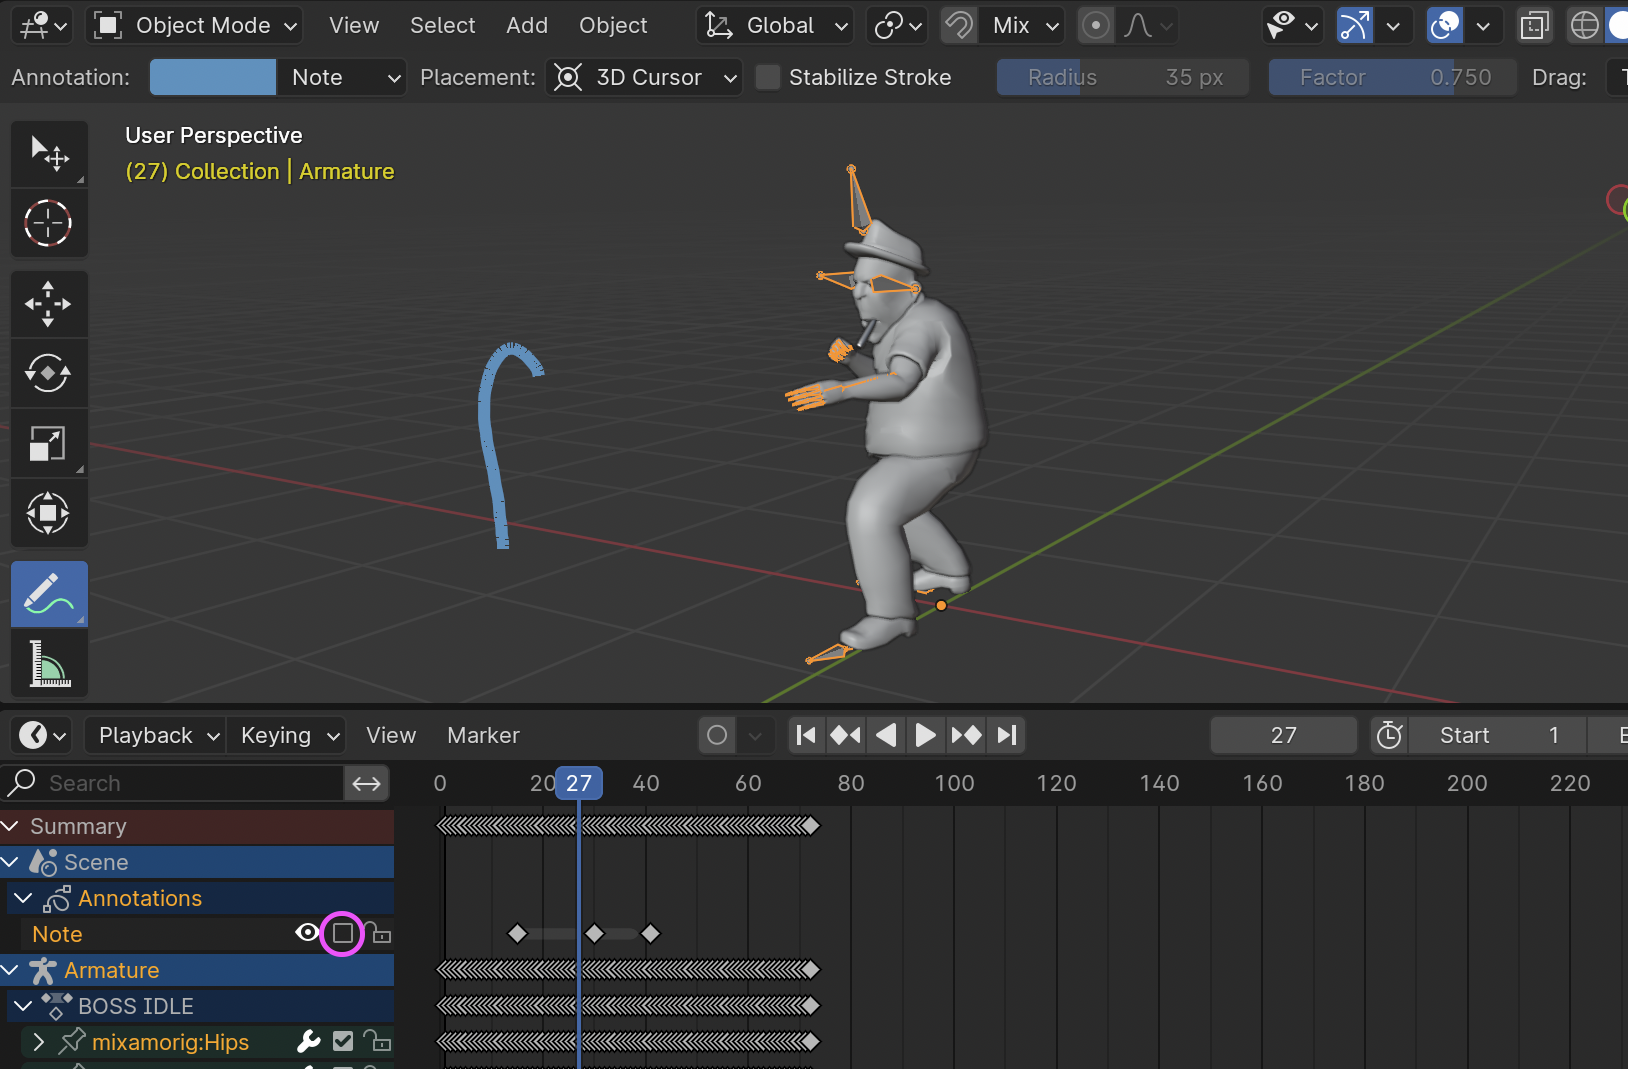
Method 2: In Timeline > Summary > Scene > Annotations, uncheck Note. (The Dope Sheet’s lock icon means “no editing” — different meaning.)
9. Loading the Attacker
9.1 Erasing the Annotations
Switch to the Annotate Eraser and erase the previous annotations.
9.2 Switching Modes
- Switch from Pose Mode back to Object Mode.
- Switch from the Graph Editor back to the Dope Sheet.
9.3 Importing Fighting Idle
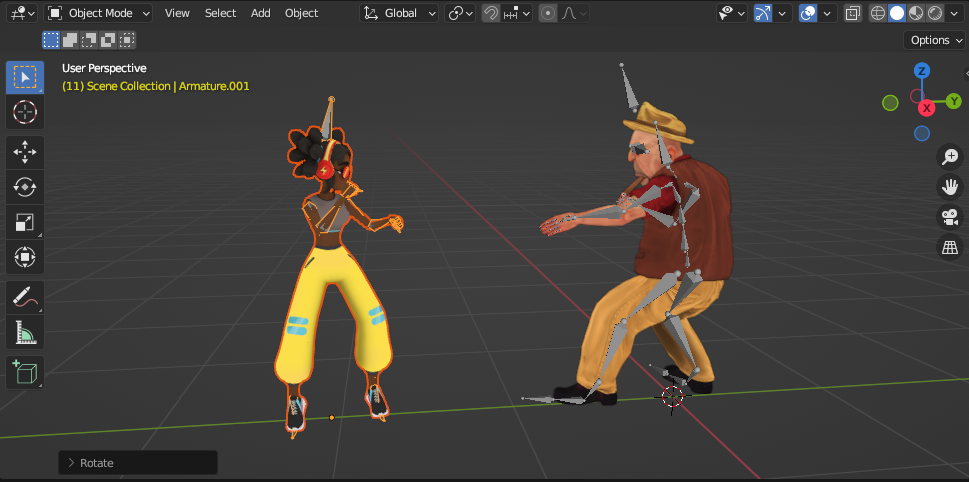
Use File > Import > FBX to import Fighting Idle.fbx. The two characters now overlap.
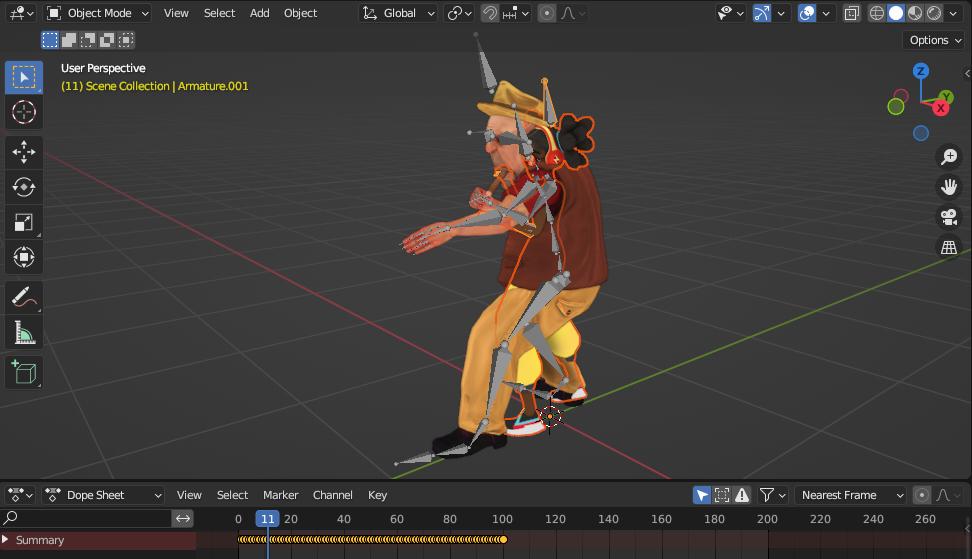
Select the attacker’s Armature, move it along the Y axis (G, Y), and rotate it 180° on the Z axis (R, Z, 180).
Switch to Dope Sheet / Action Editor.
Rename the Action to MAIN IDLE and press the Push Down button.

The Action Editor will now appear empty. You can confirm via Browse Action that MAIN IDLE has been registered.
9.4 Importing Flying Kick
Use File > Import > FBX to import Flying Kick.fbx. There’s no need to change the Armature’s orientation.
Rename the Action to FLYING KICK and press Push Down.

Delete Flying Kick’s Armature.
9.5 Importing Step Backward
Use File > Import > FBX to import Step Backward.fbx.
Rename the Action to STEP BACK and press Push Down.

Delete Step Backward’s Armature.
10. Adjusting FLYING KICK
Switch to the Nonlinear Animation Editor.
Select the attacker’s Armature.
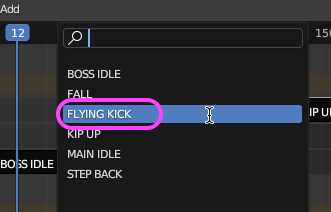
With the MAIN IDLE track selected, click Add Action Strip. (You can’t add a new strip without selecting a track first.)
From the menu that appears, choose the FLYING KICK strip.
As shown below, move the FLYING KICK strip and set Active Strip’s Blend In to 5 frames in the strip sidebar.
Because MAIN IDLE is long, set the sidebar’s Action Clip section Repeat to 0.7. Adjust the FLYING KICK timing to match the defender’s (BOSS) movement.

Set the defender’s (BOSS) FALL Action Clip Playback Scale to 0.9 to make it slightly faster. Move the KIP UP strip as needed.
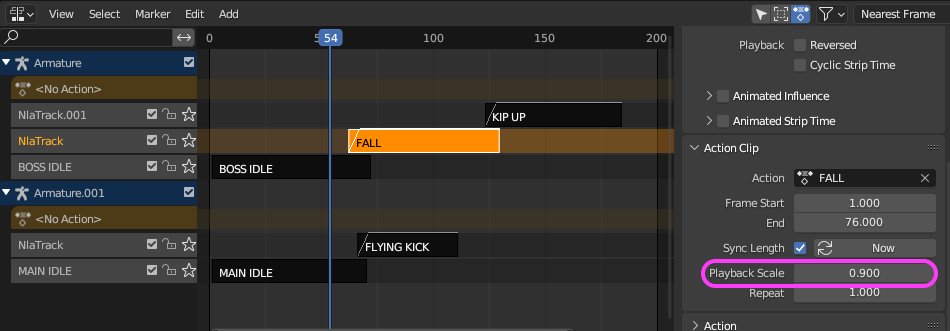
Tweak the timings of FALL, KIP UP, and FLYING KICK so the action looks natural.
11. Fixing STEP BACKWARD’s Misalignment
11.1 Loading the STEP BACK Strip
With the FLYING KICK strip selected, choose Add Tracks Above Selected.
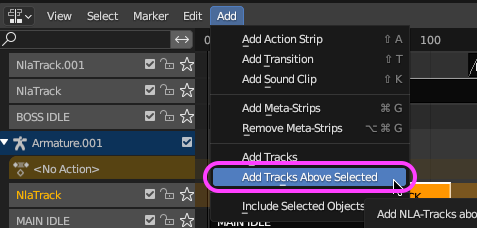
A new track is added.
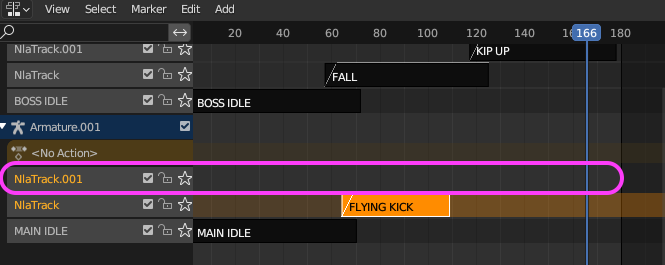
Use Add Action Strip to load STEP BACK.
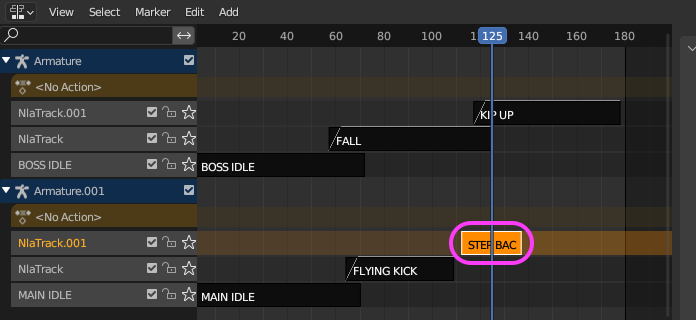
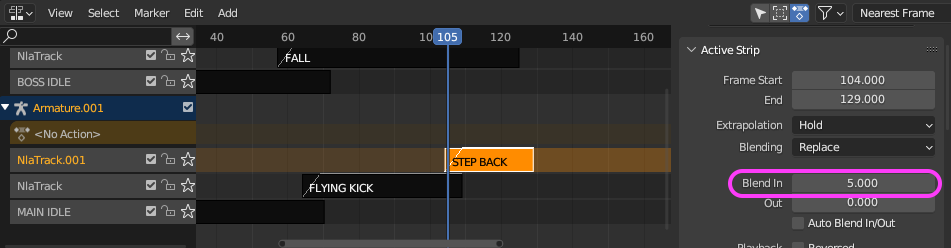
Set the STEP BACK strip’s Blend In to 5 frames.
11.2 Fixing the STEP BACK Misalignment
The position is significantly off, as in the video below.
With STEP BACK selected, press TAB to enter adjustment mode.
Select the attacker’s Armature, and in Object Data Properties > Viewport Display, enable In Front.
Switch to Pose Mode and select the Hip bone.

Switch to the Graph Editor and use View > Frame All.
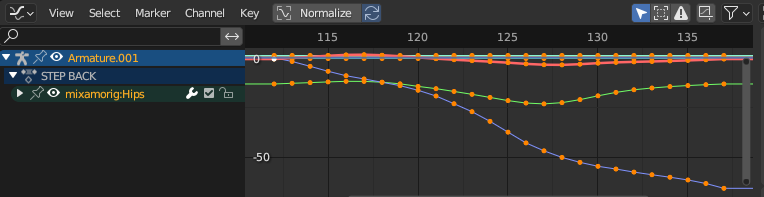
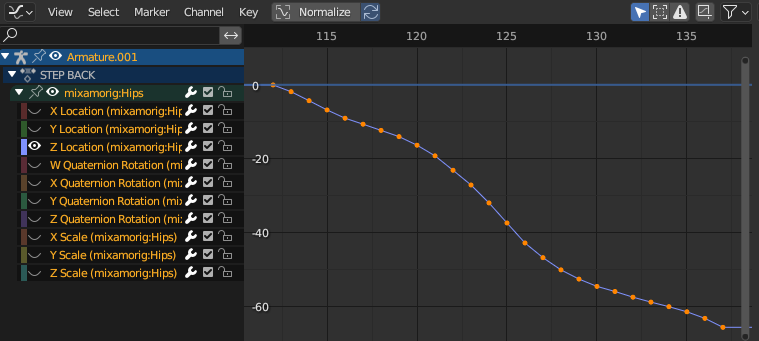
Expand all channels and show only Z Location.
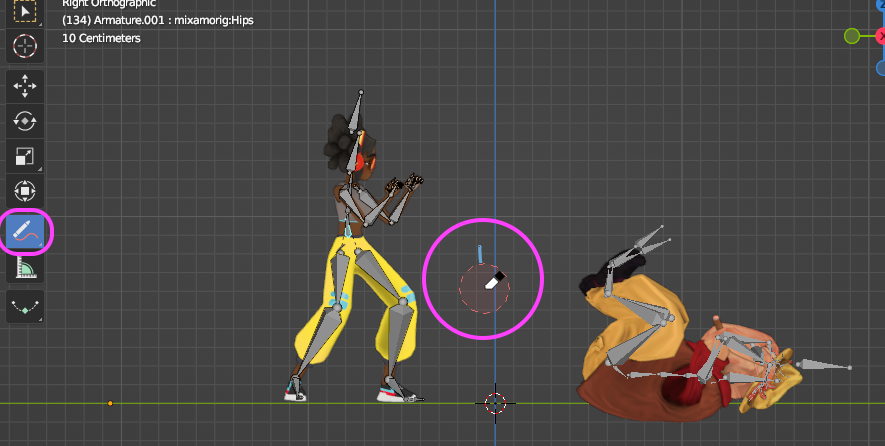
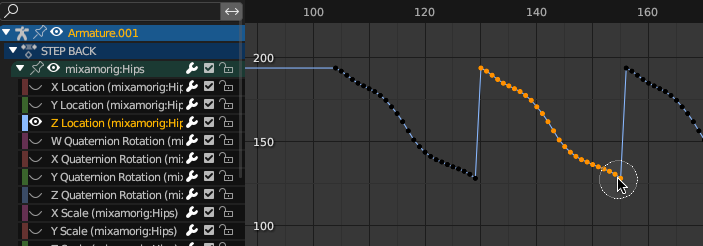
Switch to Right Orthographic view. Use Annotate to draw a line on the Hip area at the end of the previous action (around frame 100).
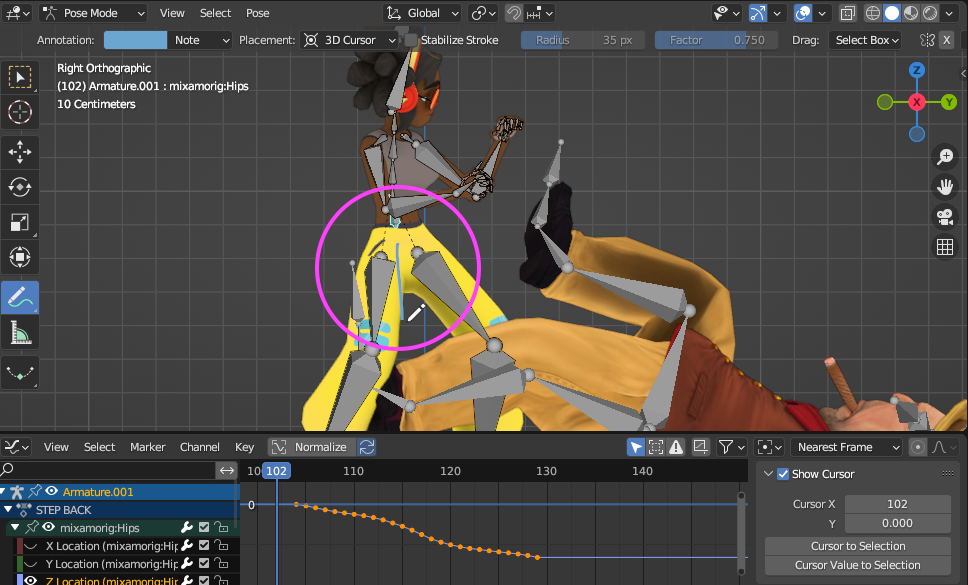
Select all Z Location keys (A), then press G, Y to move the keys upward in the Graph Editor. The offset is large, so zoom out the Graph Editor as needed and move the keys gradually.
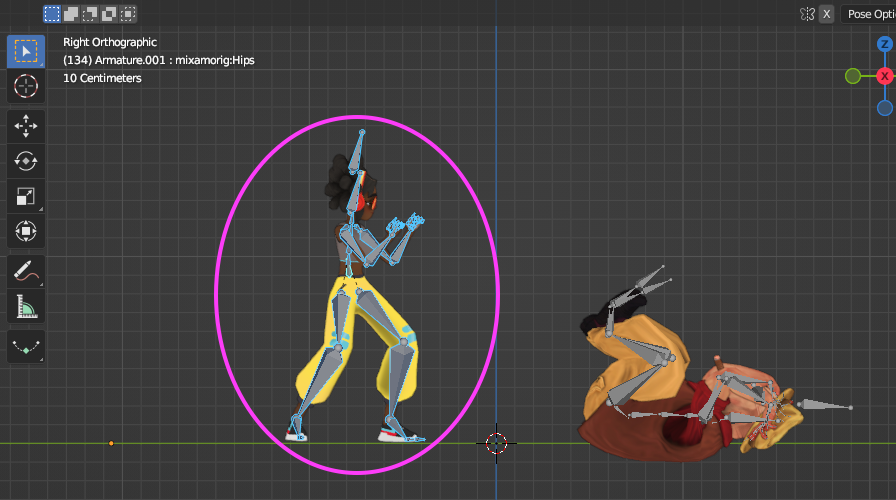
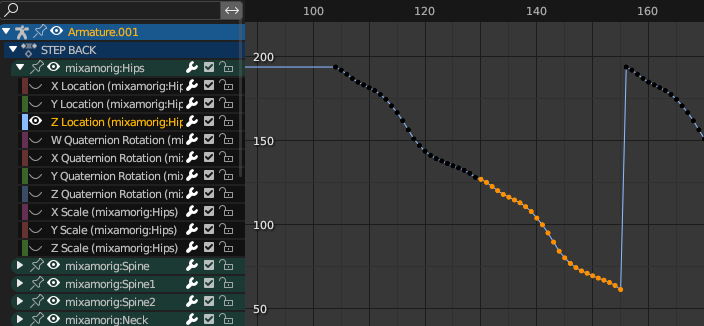
The result after adjusting:
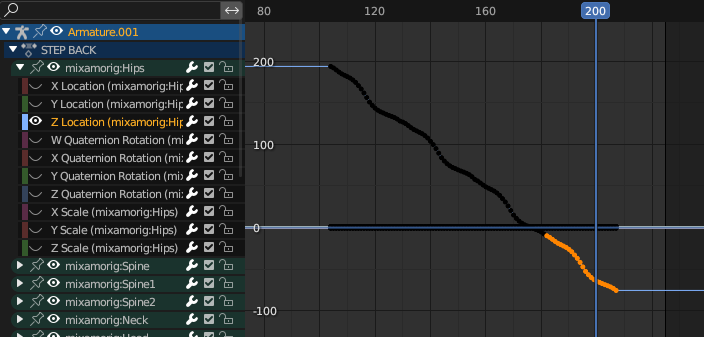
12. Repeating STEP BACK
Erase the annotations.
Switch to the Dope Sheet Editor. If you can’t see the keyframes, scroll the timeline to the right.

Stay in Pose Mode and press A in the 3D Viewport to select all bones.
Duplicate the keyframes to the right with Shift+D.

Press A or use box select (below) to select all keys.

Duplicate the keyframes again with Shift+D.

You’ve now repeated STEP BACK four times, as shown below.
Switch to the Graph Editor.
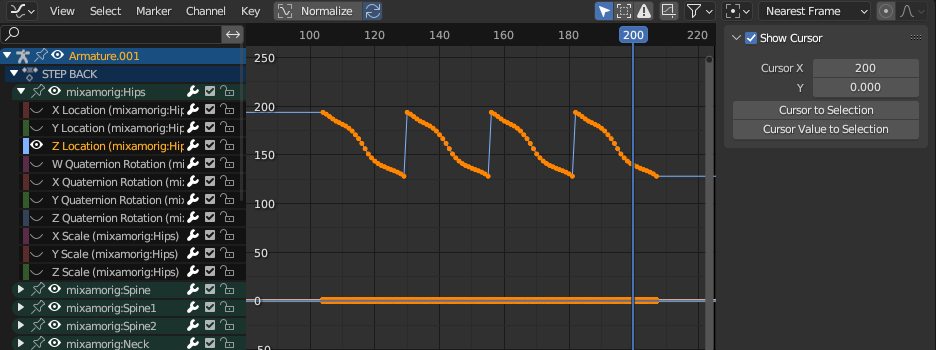
Click an empty area first to deselect all keyframes. Then press C (circle select) and select the second pass of keyframes.
Press ESC to exit circle select. (Without exiting, you cannot move keyframes.) Press G, Y to move them downward.
Reference: Graph Editor Circle Select
- C: enter circle select mode.
- ESC: exit circle select mode.
- Mouse wheel: change circle size.
Repeat the process two more times.
Done.
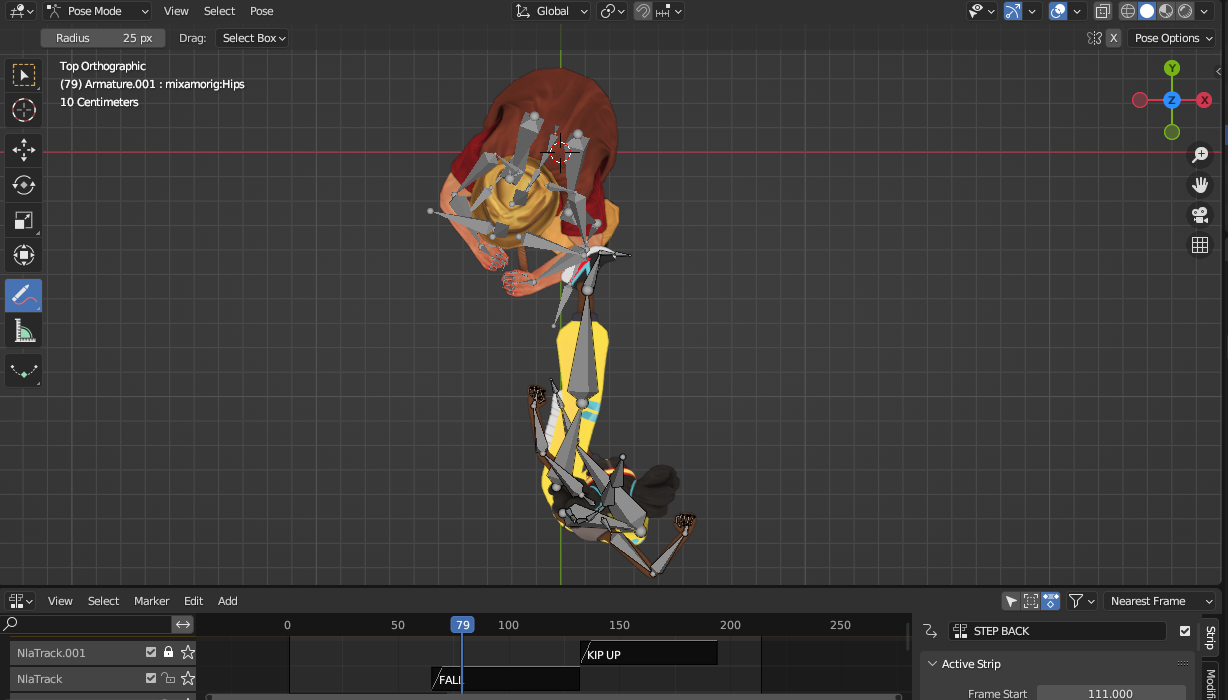
13. Misalignment Between Attacker and Defender (Reference)
Not covered in the YouTube tutorial, but if you check from the top view, the attacker and defender are still slightly misaligned. Try fixing this with the methods you’ve learned.
14. Rendering the Animation
- Set up the camera composition.
- Set the End Frame.
- In Render Properties:
- Render Engine: Workbench
- Lighting: Flat
- Color: Texture
- In Output Properties:
- Output: choose a save location.
- File Format: FFmpeg Video.
- Encoding Container: MPEG-4.
- Render Animation.
Assignment
Create your own scene by freely choosing characters and animations (use at least two characters).
References
Notes
- In Object Mode, select the Armature and switch to Pose Mode.
- The Hip bone is the root of the Armature, so edit it in the Graph Editor.
- Move with Z Location and a Y-axis constraint.
- From the reference site: “The Z position channel’s graph spikes over time, so this channel’s keyframes represent the 3D character’s forward motion. (Normally in Blender animation this would be the Y axis transform, but the FBX format treats Z as Y and vice versa.)”
Bake Action procedure
- First, select all tracks and the Armature.
- Edit > Bake Action
- Uncheck
Only Selected Bones. - Check
Visual Keying. - Bake Data: Pose.
- Click OK to finish baking.
- Uncheck
- Reference: How to bake NLA