Time Remapping
1. What is Time Remap?
Time remapping is a technique that varies the playback speed of a video rather than keeping it constant. By varying the pace—as in the super slow-motion example discussed below—it can create a dramatic effect. At the same time, there are many scenes in TV dramas, movies, and commercials where time remapping is used subtly to control the overall impression. Time remapping features are available in both After Effects and Premiere. In this section, we will conduct a hands-on exercise using After Effects.
2. Use with Super Slow (Introduction Only)
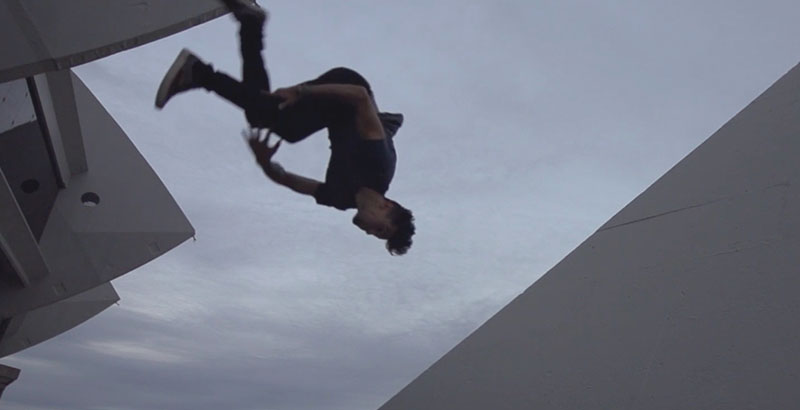
While recent iPhones can shoot slow-motion video at 240 fps, super slow-motion at around 1,000 fps creates visual effects that are unimaginable to the naked eye, resulting in poetic scenes all on their own.Time remapping is most effective when there is a significant contrast in speed, and when used in conjunction with super slow motion, it enables visual expressions such as those shown below. These were achieved using the Twixtor plugin without the need for a high-speed camera. For more information on Twixtor, Kotaro Takano’s tutorial is a useful resource.
In the video below, time-remapping is used extensively in the music video, yet the singer’s lip movements are perfectly synchronized with the music. My guess is that they first decided which parts to slow down and which to speed up, then edited the music to be played during filming at the opposite speed before shooting.
3. Preparing Assets (Pond5)
Go to the video stock site Pond5 and create an account.
On the page at the URL above, click “DOWNLOAD PREVIEW” > “DOWNLOAD A CLIP.”
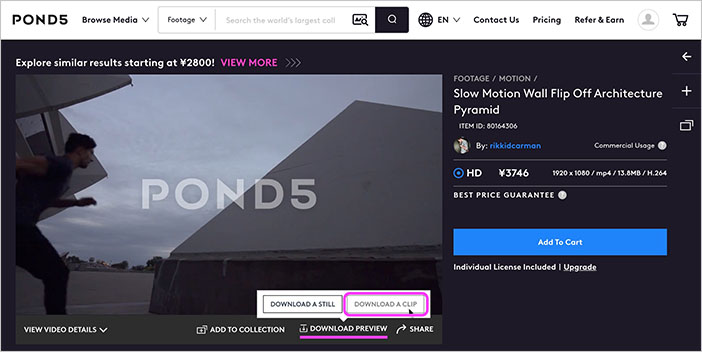
Use the downloaded file 080164306-slow-motion-wall-flip-architec.mp4.

4. Preparing for the Project
4.1 Creating Folders and Organizing Footage (Video Data)
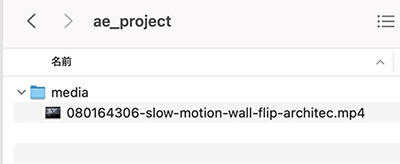
Organize the files in the following directory structure: ae_project folder > media > footage (mp4) (optional).
4.2 Launching After Effects

4.3 Saving a Project
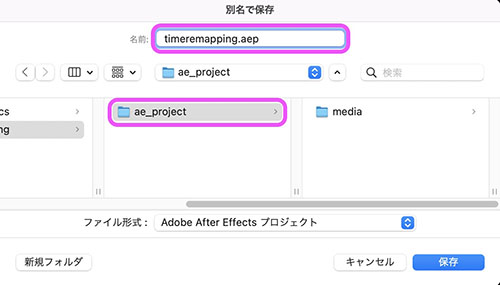
Click “File Menu > Save As > Save As.”

Save the file in the “ae_project” folder and name it “timeremapping.aep” (or any other name).
4.4 Importing Footage
File menu > Import > File, or drag and drop the footage into the Project panel.
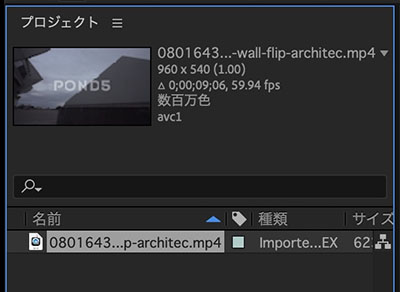
When footage is selected in the Project panel, thumbnails and information are displayed at the top. You can see that the footage being used in this project is as follows.
- Size: 960 x 540
- Aspect ratio: 1.00
- Duration: 9:06
- Frame rate: 59.54 fps
- Codec: avc1 (H.264, MPEG-4 AVC)
4.5 Creating a New Composition
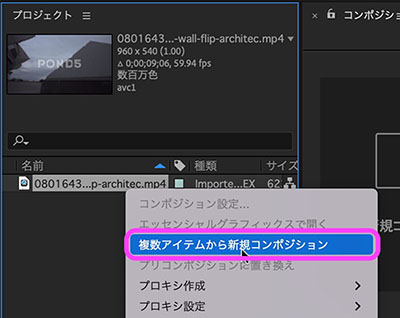
Right-click the footage in the Project panel and click “New Composition from Multiple Items.” A composition tailored to the footage specifications will be created.
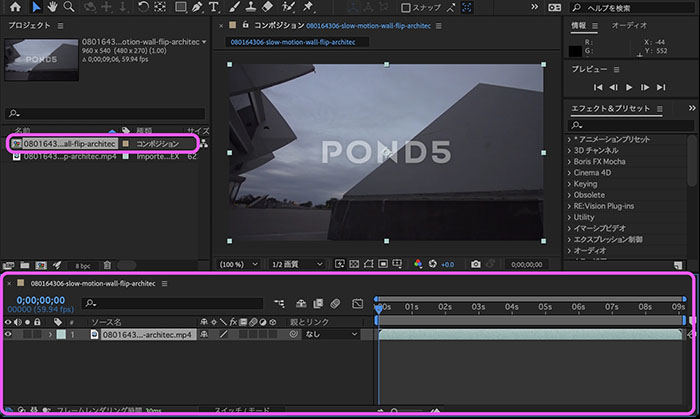
The composition is added to the Project panel, and the footage is loaded into the timeline as a layer.
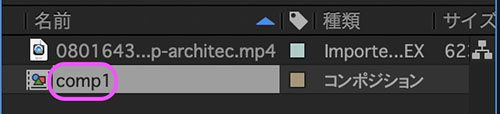
Since the composition name is still the same as the footage name, change it to a shorter name, such as “comp1.” To rename it, select the clip, press the Enter key to enter text input mode, and then press Enter again to confirm.
5. Editing Time Remaps
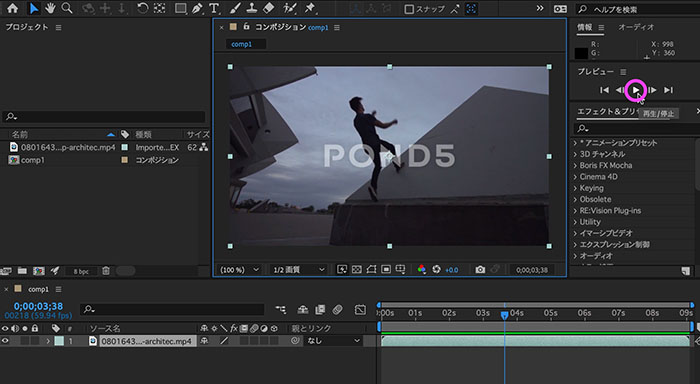
5.1 Reviewing the Video
Click the play button in the preview panel or press the spacebar to play the video and check it.
5.2 Enabling Time Remapping
Right-click a layer in the timeline, then click “Time > Enable Timeline Remapping” in the menu that appears.
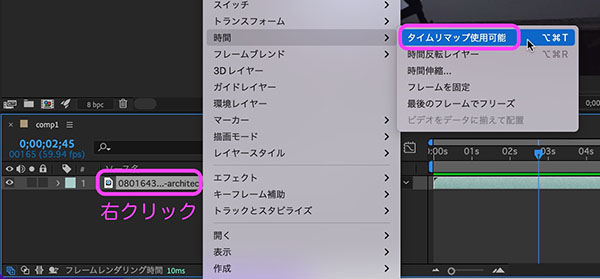
A time remap appears on the footage layer, and start and end keyframes are added.

5.3 Adding Keyframes
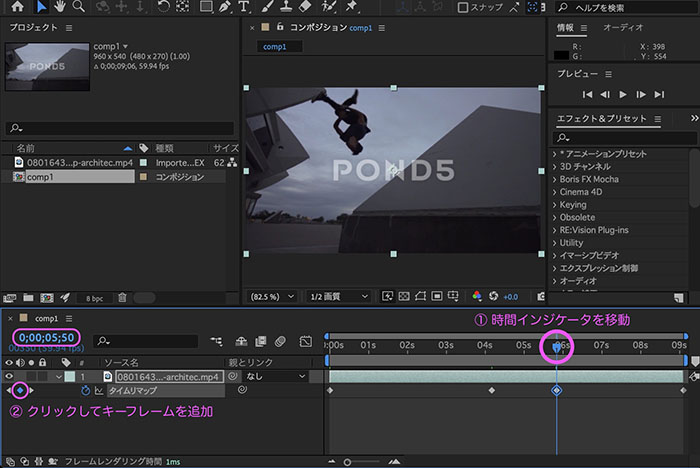
Move the time indicator to the point where you want to start the slow motion. In the image below, this is at the 4-second, 10-frame mark. Then, click the ◆ icon to the left of the layer’s “Time Remap” property to add a keyframe.
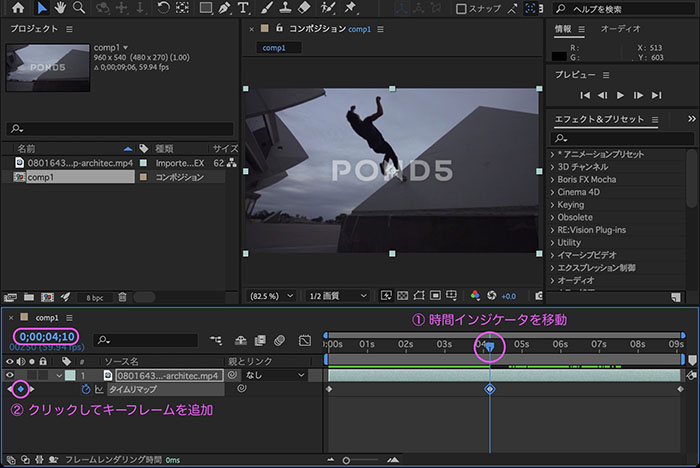
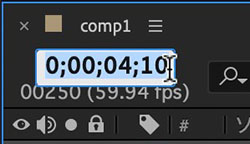
To move to a specific point in time, you can also click on the timecode and enter the value directly. For example, to jump to 4 seconds and 10 frames, enter “410” and press the ENTER key to confirm.
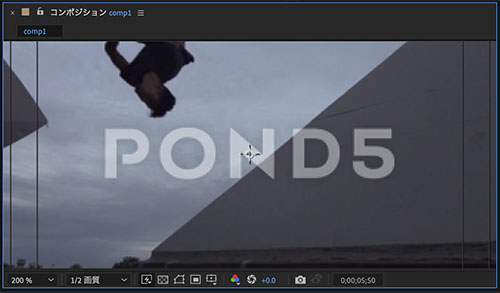
Move the time indicator to the end point of the slow motion. In the figure below, this is at the 5-second, 50-frame mark. Click the ◆ to the left of the layer’s “Time Remap” property to add a keyframe.
5.4 Moving Keyframes
Move the keyframes as shown in the figure below. The sections where the spacing is wider will play in slow motion, while the sections where the spacing is narrower will play in fast forward. Since the original footage is in slow motion, the fast-forwarded sections will appear close to real-time playback.
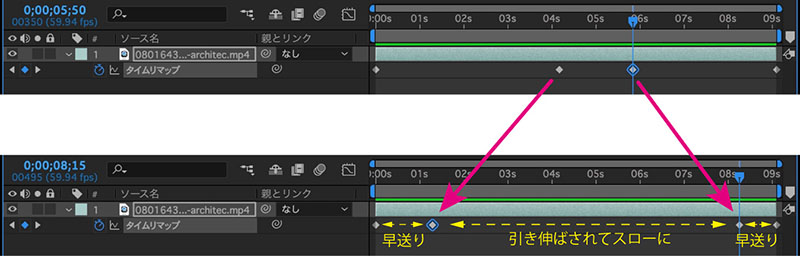
Play the preview and make fine adjustments while reviewing the video. To achieve precise playback speed, you need to calculate the frame rate and the interval between keyframes.
5.5 Points to Note When Readjusting Time Remapping
Unlike standard keyframes, time-remapped keyframes are synchronized with the video frames.
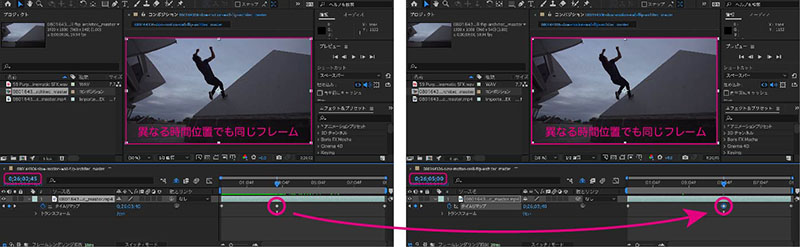
If you want to change the timing of a time remap, you need to move the time indicator while viewing the footage, add keyframes, and then delete the original keyframes. If this is confusing, first delete all the keyframes you added yourself, and then re-set the keyframes while checking the preview in the Composition panel to make adjustments.
5.6 Adjusting Layer Length (Reference)
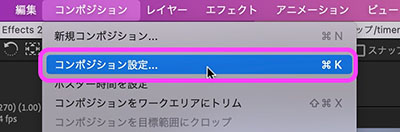
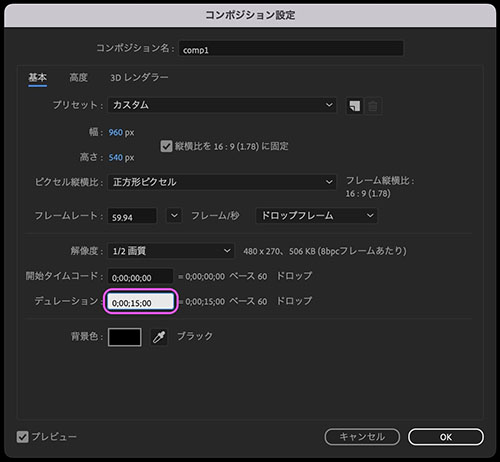
If you enable time remapping, you can set the duration to be longer than that of the original video data.
From the Composition menu > Composition Settings, set the composition duration to be longer than the original video (15 seconds in the figure below).
You can drag the edge of a layer to extend its length. While you can shorten a standard video layer but not extend it, enabling Time Remap allows you to adjust its length just like a still image layer.

6. Logo Adjustments (For Reference)
I will introduce it in class.
- Download a logo image (transparent PNG) from a web search and place it on the topmost layer
- Adjust the size and position of the logo image to match the watermark
- Duplicate the time-remapped MP4 layer
- Assign the logo image to the track matte of the duplicated MP4 layer
- Apply a Tone Curve to the duplicated MP4 layer to adjust the brightness
- If necessary, you can apply a Blur effect and mask to an adjustment layer
7. Export
To export to MP4, use Adobe Media Encoder. See below for instructions on how to use Media Encoder.
https://lecture.nakayasu.com/adobe-media-encoder
