TouchDesigner+2D
1. Introduction
TOP = Texture Operator
TOP is known as the Texture Operator, an operator designed to handle 2D images, including still images and video. By mastering TOP, you can perform image processing in real time, similar to Photoshop filters or After Effects video effects.
2. Reference Sites
The content of this article is based on the following websites.
3. How to Use TOP
With a few exceptions, TOP units are generally categorized into three types based on their functions: input/source, effects/filters, and output.

Input/Source
- Movie File Input
- Video Device Input
- Constant
- Ramp
- Circle
- Noise
- Text
Effects/Filters
- Monochrome
- Level
- Blur
- Flip
- Mirror
- Tile
- Transform
- Compose / Add / Multiply / Over / Screen
- Displace
- Edge
- Lookup
Output
- Output
- Movie File Output
- Video Device Output
4. Preparation
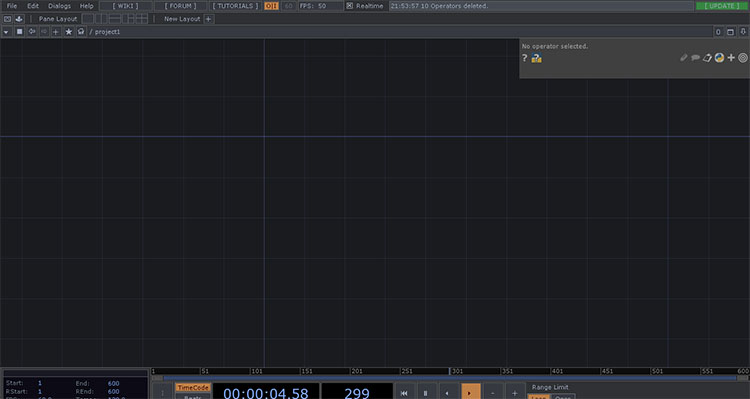
Delete the operator in the sample project and close the Palette.
5. Input/Source
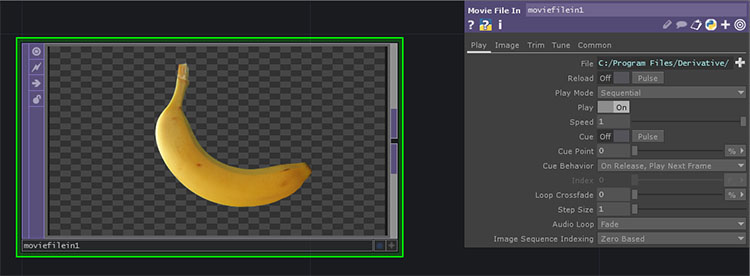
Movie File at the Top
An operator that can load images and videos. Specify image or video files in the File section of the Parameter Window.
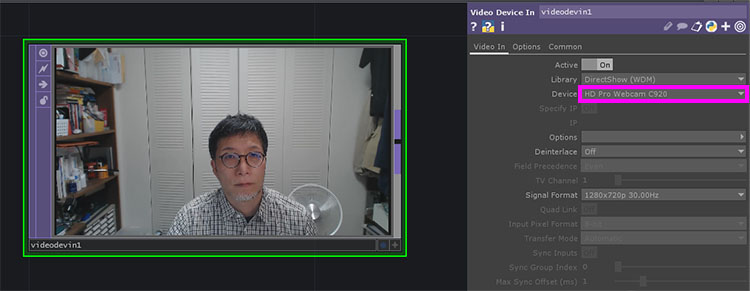
Video Device at the Top
You can connect video devices. On a laptop, a webcam is connected. You can switch between connected devices using the “Device” drop-down list in the Parameters window.
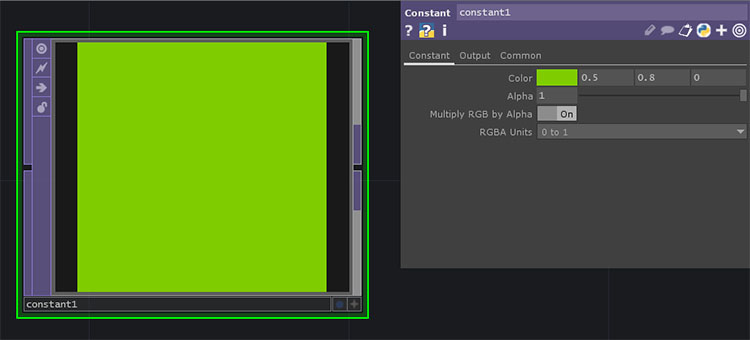
Constant TOP
You can create a color mask using RGBA (values between 0 and 1).
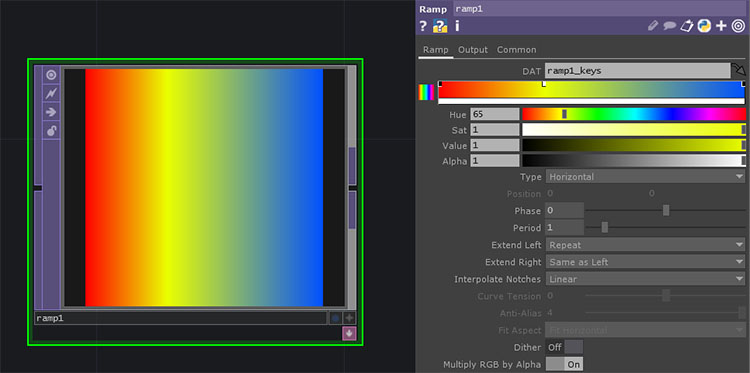
Ramp TOP
You can create a variety of gradients. You can specify colors in the Parameters window and change the gradient type (Vertical, Horizontal, Radial, etc.) in the Type field.
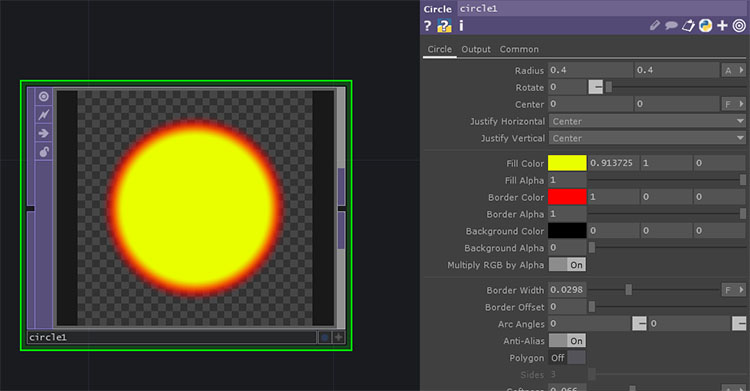
Circle TOP
You can create perfect circles and ellipses. You can also set the border.
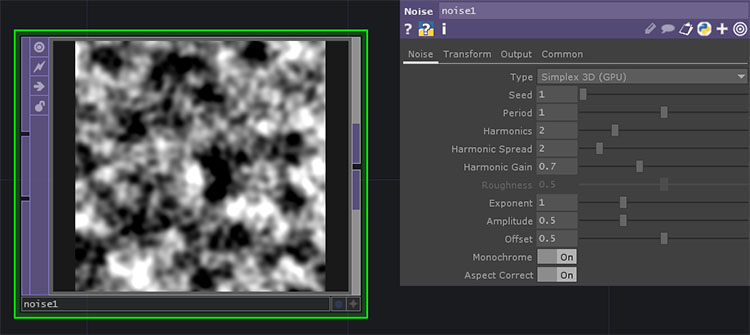
Noise TOP
Various types of noise can be generated using the parameters.
Top of Page
You can create text. You can specify the font and set the text and background colors.

6. Output
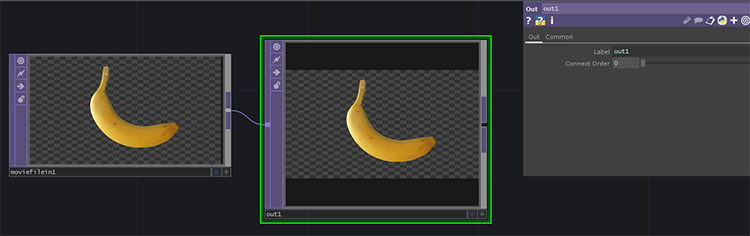
Out TOP
Output TOP. In the sample project, “out1” is specified in the root Container COM. Since it works even if the name of the Null is set to “out1,” it is unclear whether the Out TOP is strictly necessary.
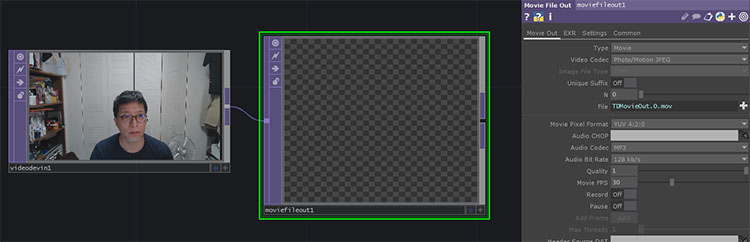
Movie File Out TOP
Recording is enabled or disabled by toggling the “Record” setting. It supports various formats and allows you to export not only video data but also image sequences.
Video Device Out TOP
By connecting compatible devices such as Blackmagic Design, you can output video directly through the device.
7. Effects/Filters
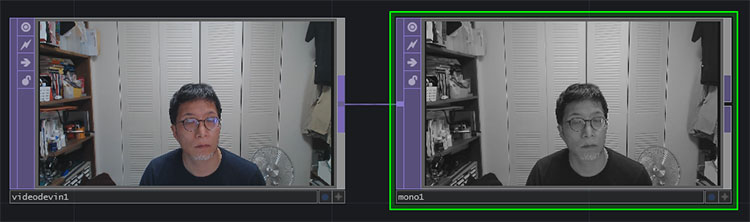
Monochrome TOP
Convert to black and white.
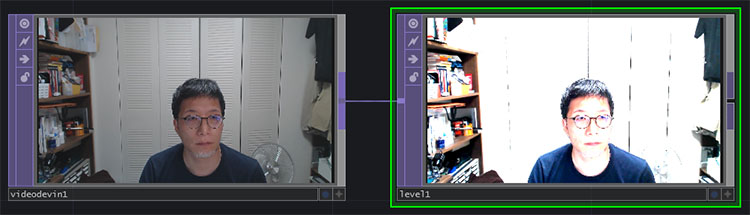
Top Level
You can adjust brightness, gamma, contrast, and other settings.
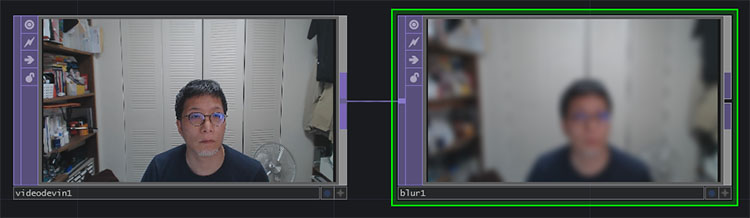
Blur TOP
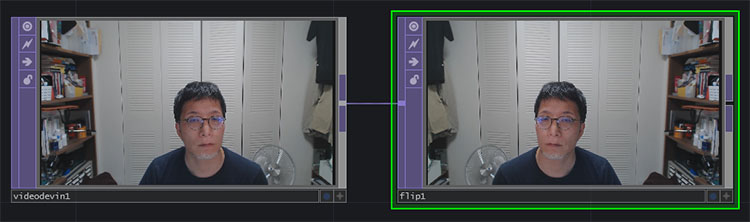
Flip TOP
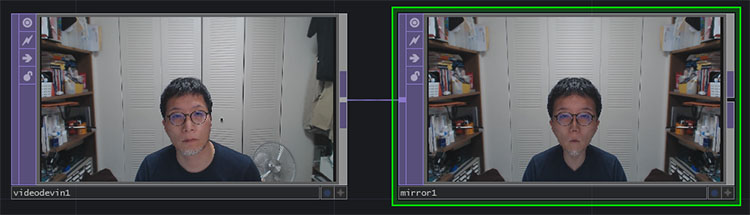
Mirror Home
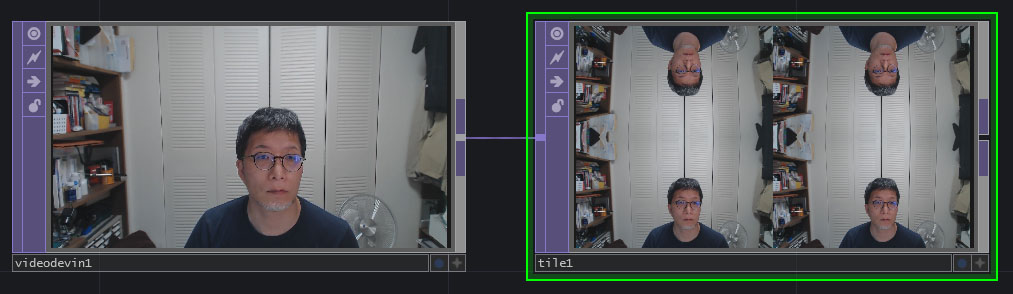
Top Tile
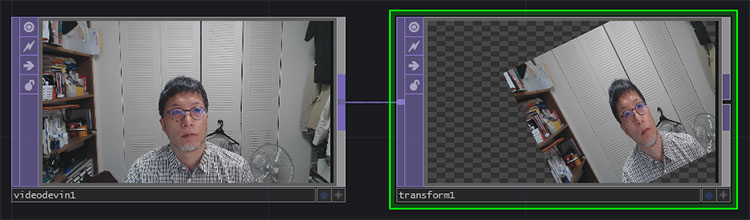
Transform TOP
You can move, rotate, and scale it.
You can enable tiling by setting “Extend” to “Repeat” in the Tile tab. While Tile TOP is limited to four sections, you can create an unlimited number of tiles using Transform TOP.

Composite TOP (Add / Multiply / Over / Screen, etc.)
An operator that composites two or more images. From the Operation drop-down list, you can perform various compositing operations, including Add, Multiply, Over, Screen, and others.
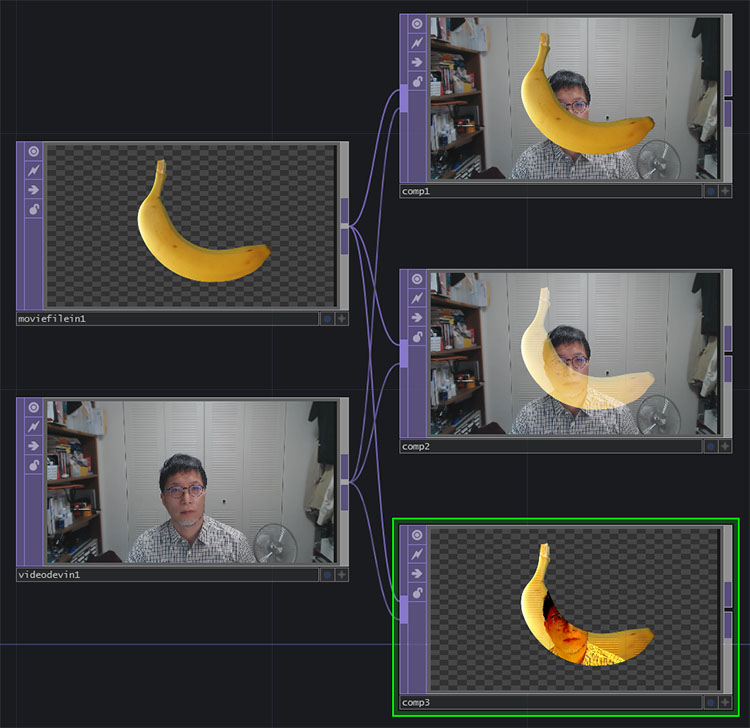
*Note: “Add TOP,” “Multiply TOP,” “Over TOP,” “Screen TOP,” etc., are equivalent to changing the “Operation” setting in “Composite.”
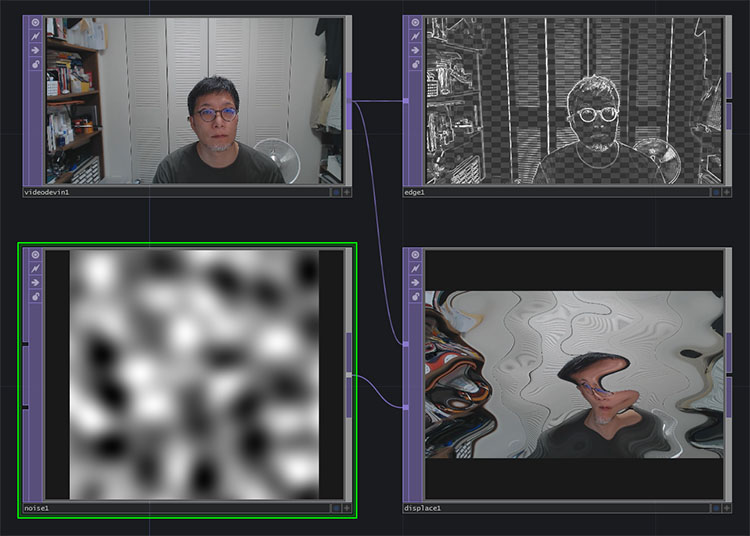
Displace TOP
You can use a grayscale image as a displacement map to deform the model.
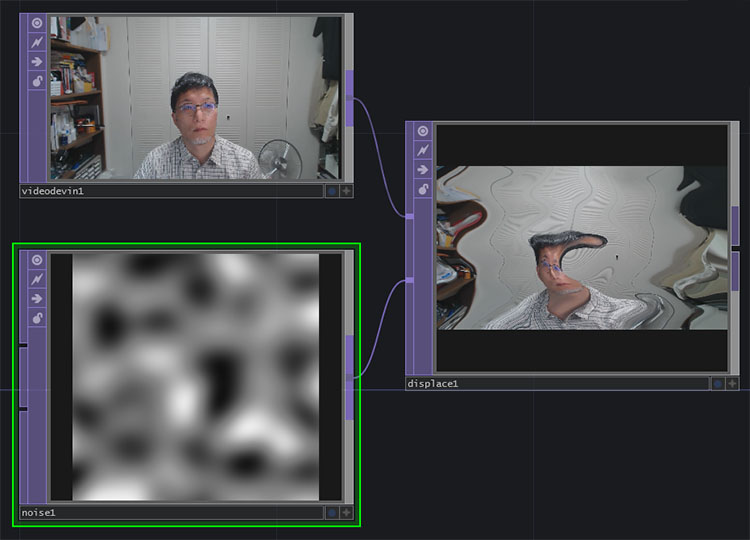
The image above shows the settings for the Displace TOP (Displace Weight: 0.1, 0.1) and the Noise TOP (Harmonics: 0, Exponent: 1.0). You can create interesting animations by adjusting the Transform X parameter on the Noise TOP.
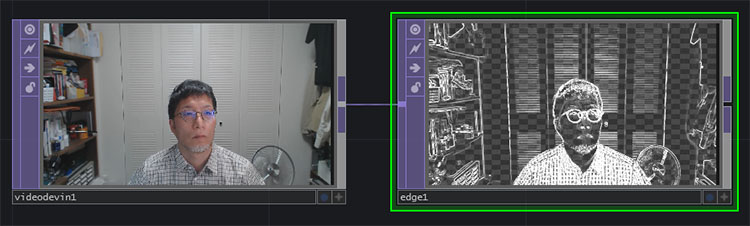
Edge TOP
Edge detection.
Lookup TOP
When used with Ramp TOP, you can create illustration-style effects.
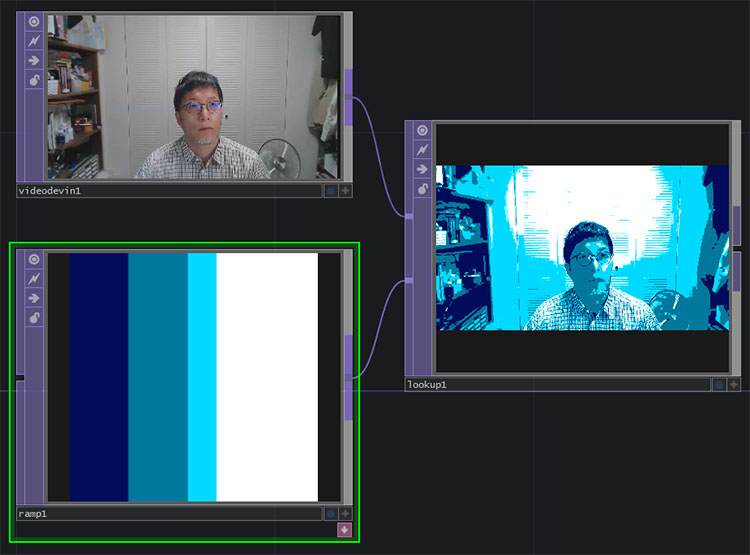
The image above shows the Ramp TOP with “Interpolate Notches” set to “Step” and color adjustments applied, and the Lookup TOP with the “Index Channel” set to “Luminance.”
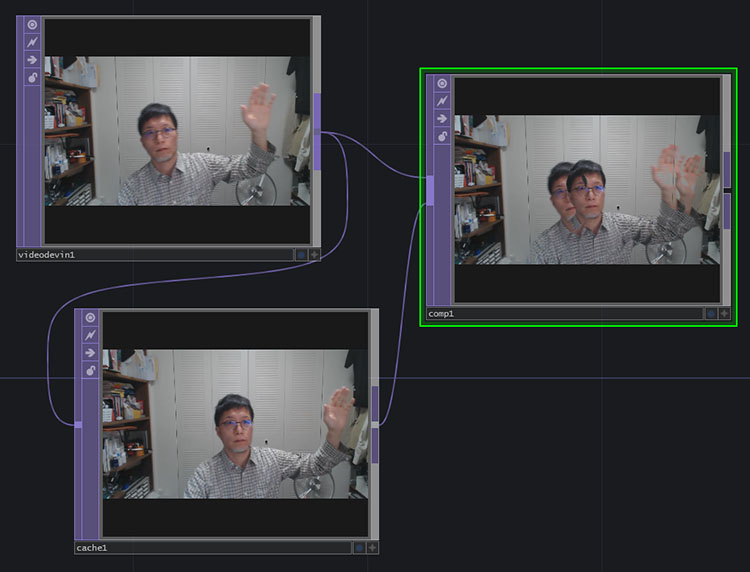
8. Alter Egos
Set the Output Index of the Cache TOP to -32, then composite it with the original image using the Daken Color of the Composite TOP. This creates a visual effect through time-lagged compositing.
(Source) https://qiita.com/takashi_kawamura/items/405f356bd9a835d8540f
9. Tutorial Examples
Once you understand Lookup and Displacement, you can create tutorials like the one below.
JavierCasadidio’s YouTube channel features a wide variety of stylish tutorials that are great for inspiration.
10. How to Change a Transparent Background to Black
Transparent areas in an image are displayed as checkered patterns in the Network Editor’s Operator view. While these areas appear black in Viewer or Perform Mode, there are often cases where you want to display them as black in the Network Editor as well. There are five possible methods for doing this. Method ④ is the simplest.
Method 1: Over
Compose the source image (labeled “Movie File In TOP” in the figure below) and the Constant TOP (black setting) using the Over TOP effect.
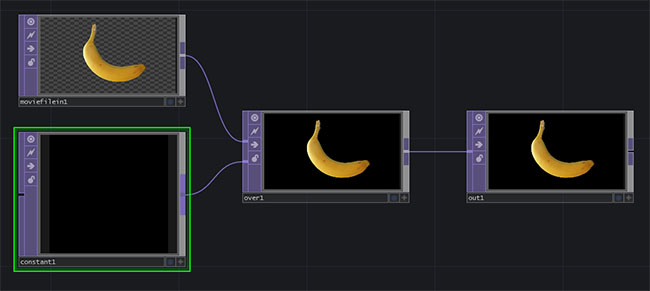
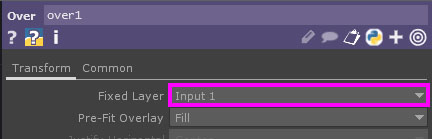
Set the Fixed Layer in the Over TOP to Input 1 and match it to the resolution of the Movie File In TOP.
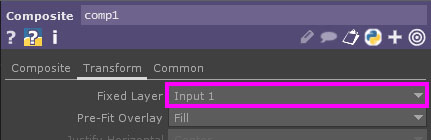
Method 2: Composite TOP
This is Method 1 with “Over TOP” replaced with “Composite TOP.”
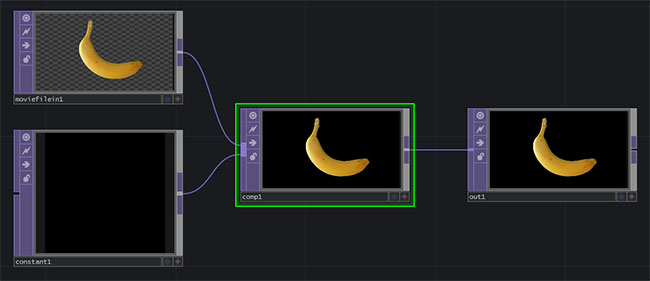
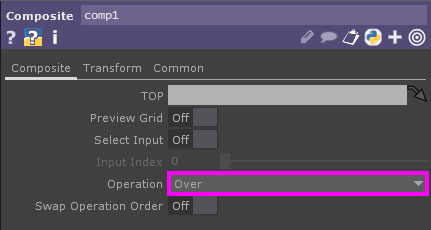
Set the “Operation” property of the Composite TOP to “Over”.
Set the Fixed Layer to Input 1 and match it to the resolution of the Movie File In TOP.
Method 3: Transform TOP
You can set the background to black using just the “Transform TOP” option.

Turn on “Comp Over Background Color” and set the Background Color to 0:0:0:1 (R:G:B:A).
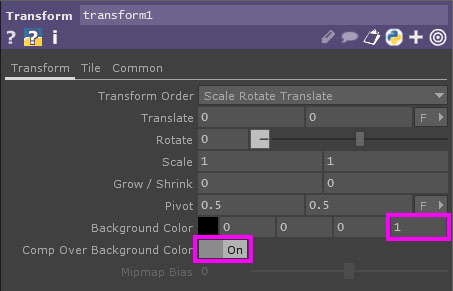
In methods 1 through 3, you can also set colors other than black.
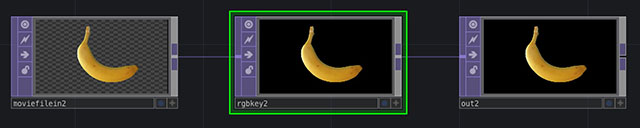
Method 4: RGB Key TOP
Although this feature is primarily intended to remove (make transparent) areas within a specified RGB color range, you can set the default value to make transparent areas black. This is the simplest method.
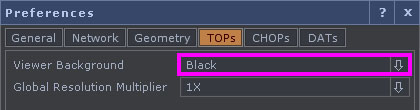
Method 5: Preferences
Open Preferences from the Edit menu. On the TOPs tab, change the Viewer Background from Checkerboard to Black. However, I do not recommend this method because it makes it impossible to tell whether the source image is black or transparent.