Deleting faces in Blender
1. Introduction
As a continuation of the Metashape tutorial, this guide explains how to remove unnecessary faces from 3D scan data and fill in holes. Please note that this method is intended as a temporary fix; if you plan to use the model as footage for video production, you will need to perform additional processing, such as retopology.
Here, we will use the Shiisaa model as it is, without cropping it in Metashape.
Prepare the following data.
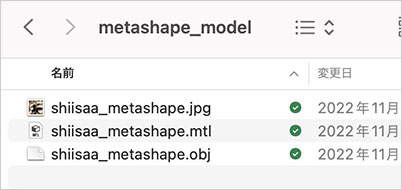
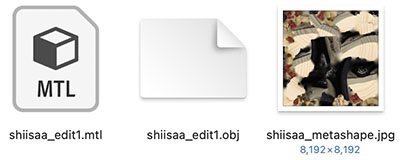
- OBJ (Model)
- MTL (Material)
- JPG (Texture)
2. Importing 3D Models into Blender
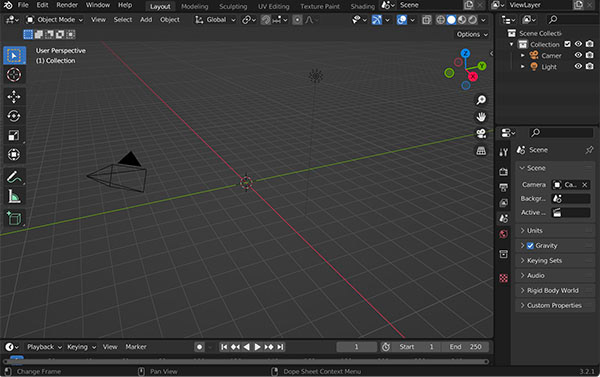
2.1 Launching Blender
Delete the first box.
2.2 Loading OBJ Files
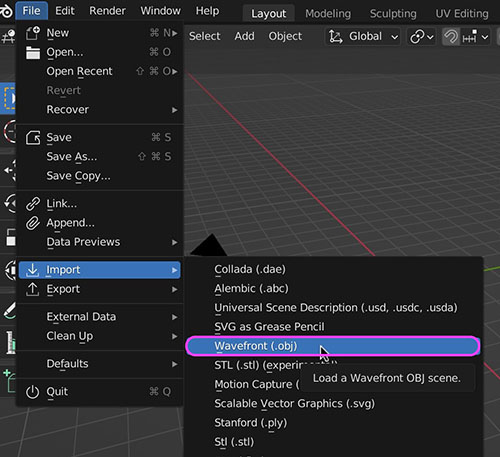
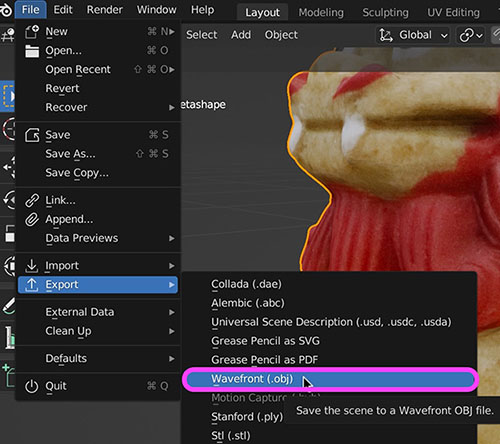
Go to File > Import > Wavefront (.obj) to import the OBJ file. .mtl and .png files will be imported along with the OBJ file.
3. Origin Adjustment, Rotation, and Translation
Proceed with the Viewport Shading set to “Solid.”
The mesh exported from Metashape has an offset in the object origin.
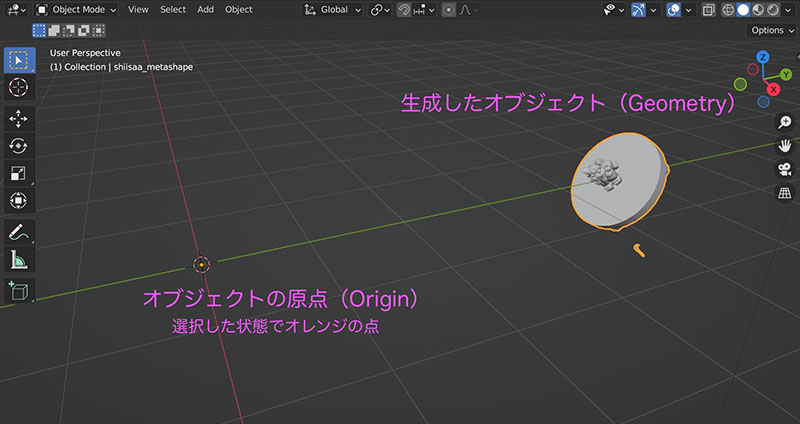
With the object selected, go to the Object menu > Set Origin > Geometry to Origin.
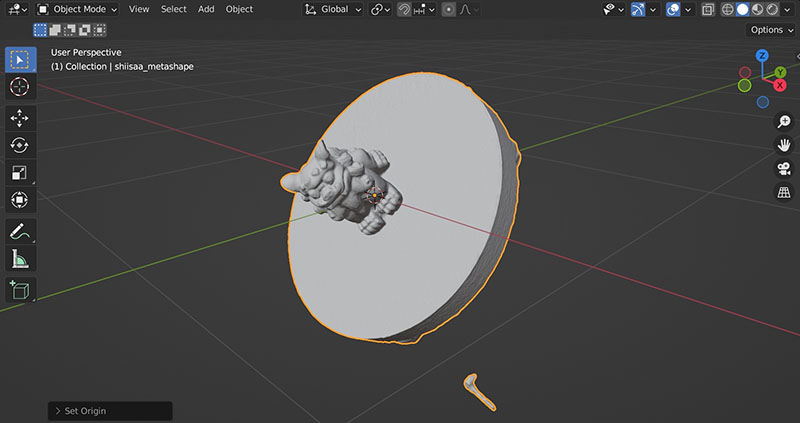
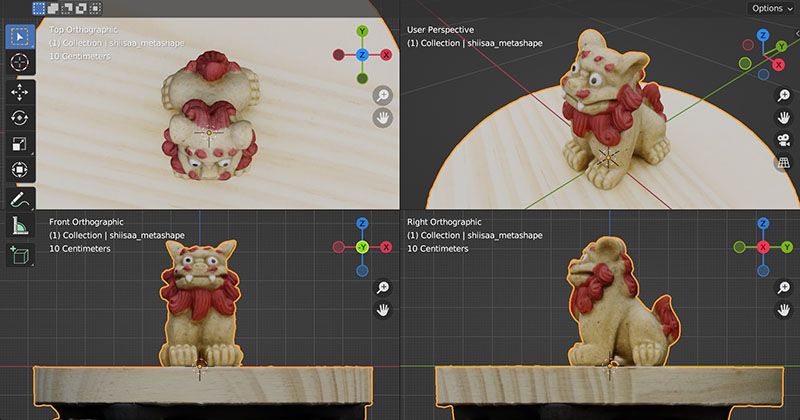
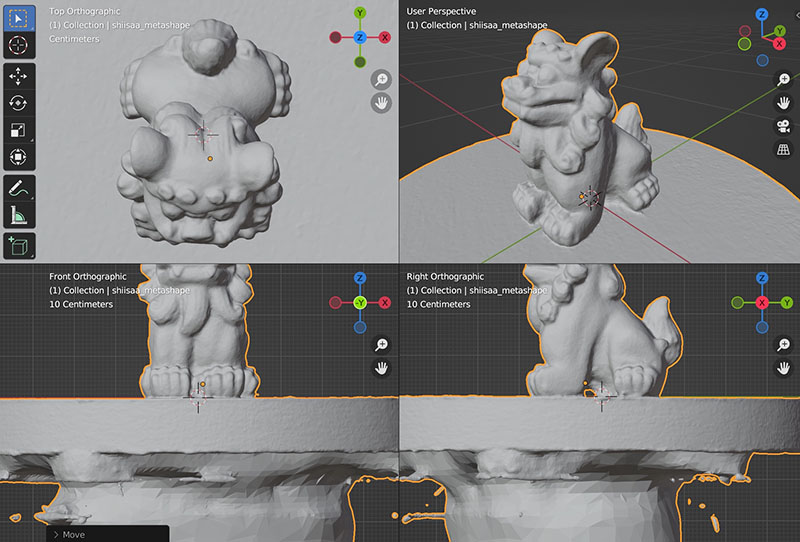
Switch the view to Front (Num Pad 1) or Right View (Num Pad 3). Alternatively, switch to Quad View (see figure below). Use the Rotate (R key) and Move (G key) functions to align the Shisa model with the origin.
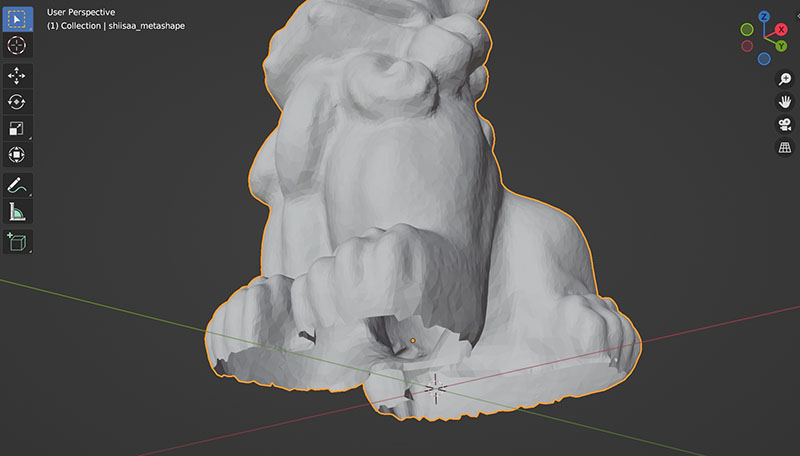
4. Deleting Unnecessary Faces
Switch to the Front (Num Pad 1) view and Edit Mode (Tab key).
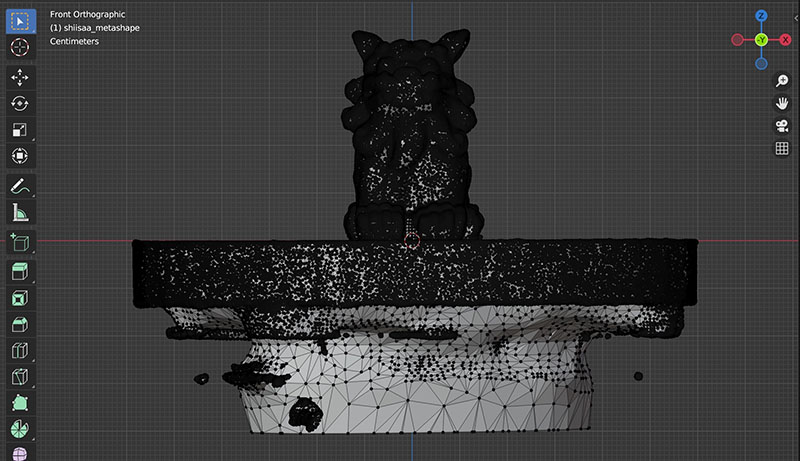
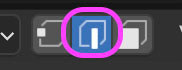
Turn on X-Ray mode.

Select the base area.
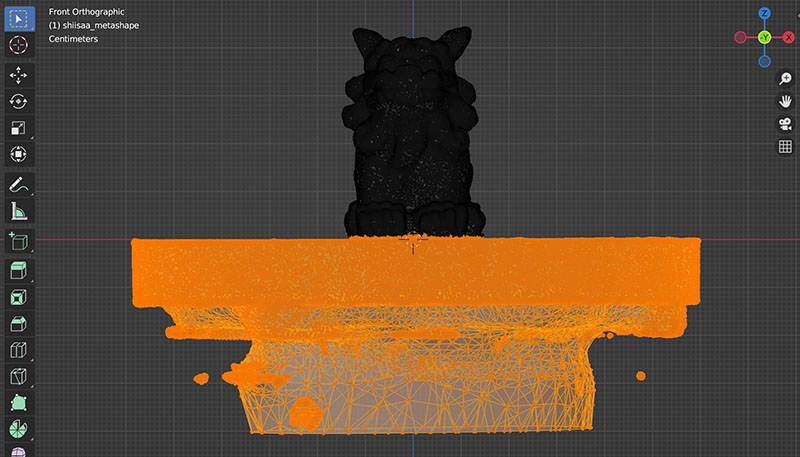
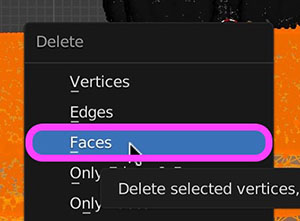
Press the Delete key and click “Faces” in the menu that appears.
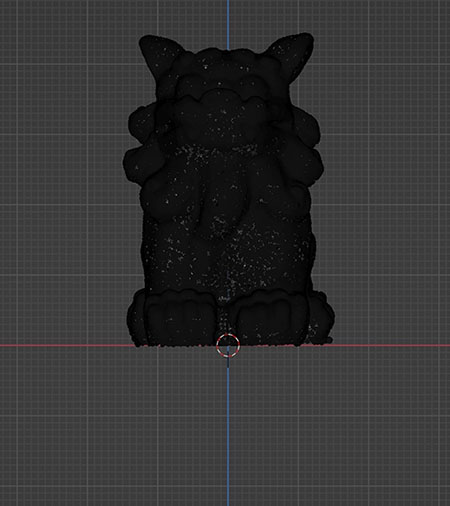
If you can’t delete it successfully on the first try, repeat the steps above a few times to remove the unwanted parts.
5. Fill-in-the-Blanks
Switch to Edge Selection (Key 2) in Edit Mode.
Turn off X-Ray mode.

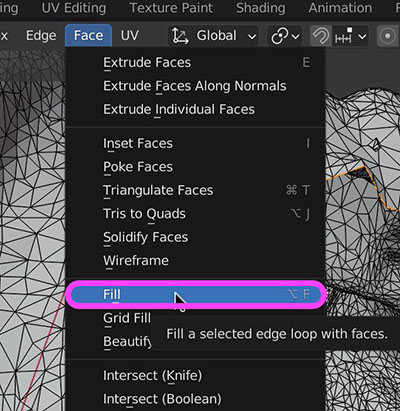
Select the edge of the first hole using a loop selection (Option + double-click with the left mouse button).
Click Face > Fill.
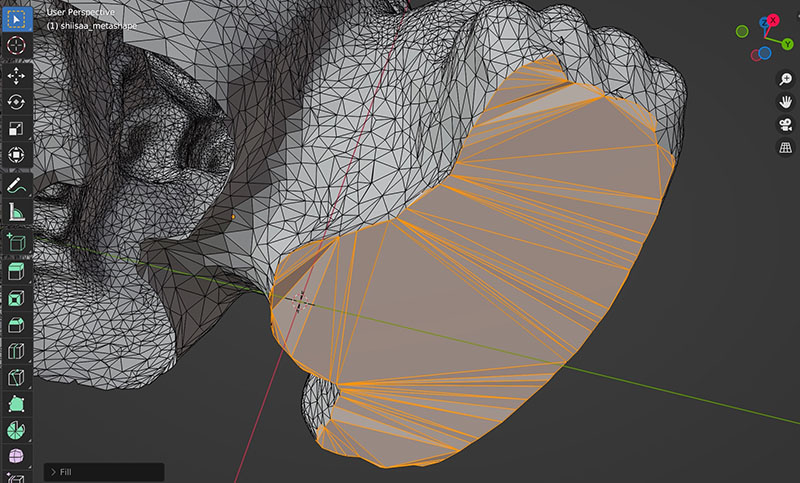
Plug the second hole in the same way.
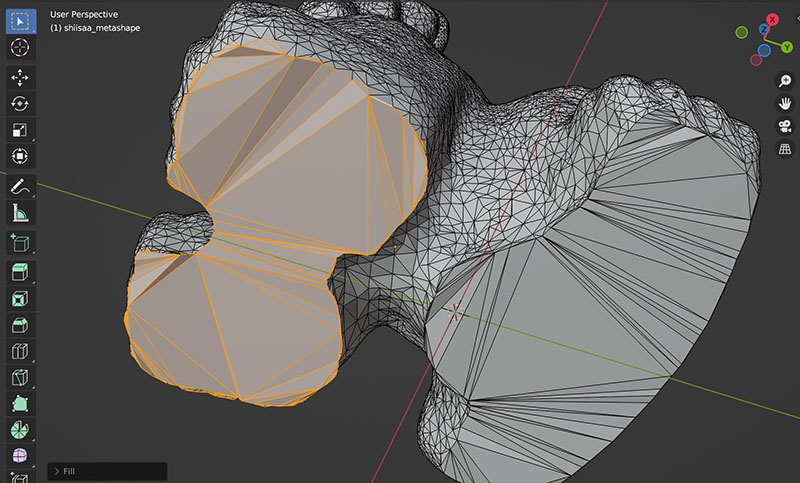
If filling the hole doesn’t work, cut around the edge of the hole you want to fill and try the Fill command again.
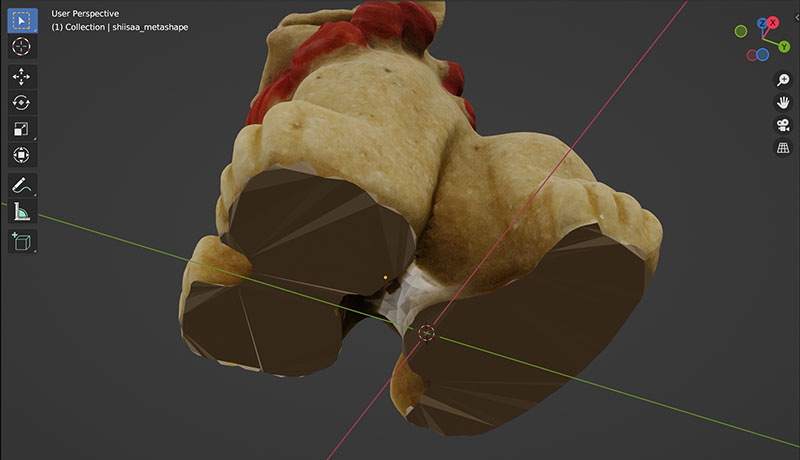
To check the texture, switch the Viewport Shading to Material Preview.

For now, we won’t be processing the texture on the bottom surface.
6. Adjusting the Origin
Switch to the Front or Right view and move the geometry onto the XY plane. This step is unnecessary if you have already adjusted it.
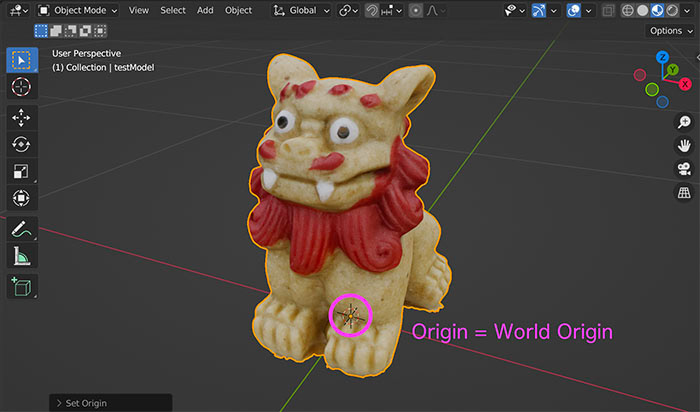
The origin remains at the center of the geometry before any unnecessary faces are removed. The location of the origin depends on the specific application. Since 3D software loads models with the origin at the center, you should adjust the origin to the location you want to be the center when the model is loaded.
This time, we’ll configure the area near the center of the bottom surface of shiisaa.
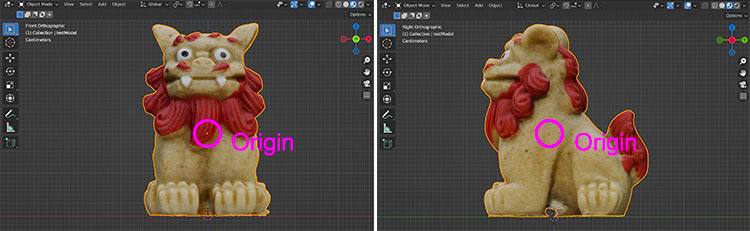
Click Object menu > Set Origin > Origin to 3D Cursor (if the World Origin is in position) to align the origin with the center of the bottom face of the geometry, i.e., the origin (World Origin).
7. Exporting OBJ, MTL, and JPG Data
Click File > Export > Wavefront (.obj).
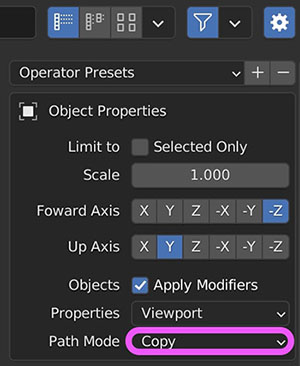
If textures are included, the path is saved in MTL so that it refers to the location of the source image by default.
In this case, since you want to copy the texture image to the export destination, you need to switch the Path Mode in the Object Properties section on the right side of the export dialog to “Copy” (see figure below).
8. Considerations for Finishing the Bottom Surface and Edges (For Reference)
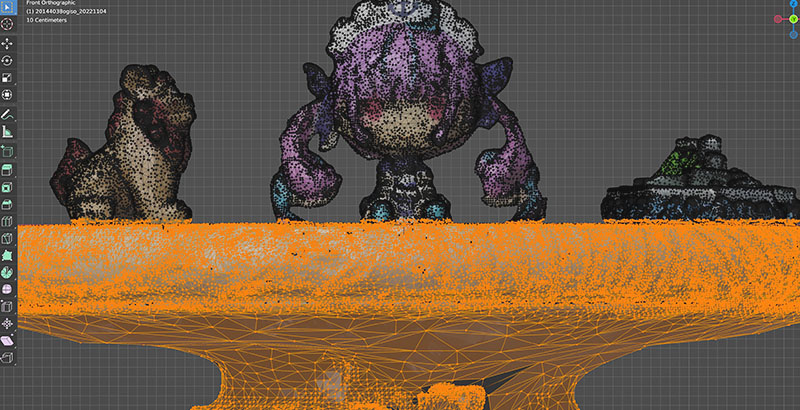
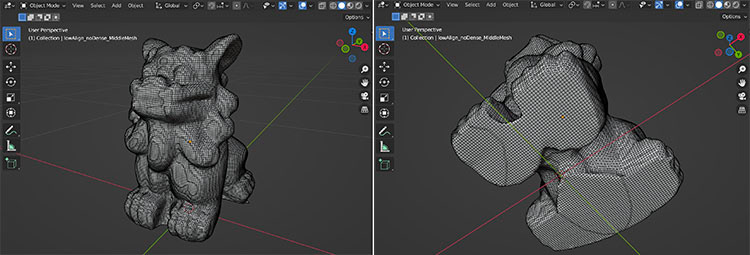
With this method, since the mesh is forcibly deleted before creating the bottom surface, the edges of the bottom surface become jagged. While you can manually adjust the Subdivide settings or vertices, this is not efficient. You can make some adjustments using the Smooth Tool in Sculpt. However, since the texture on the bottom surface is projected from other parts, the appearance will be distorted. If you use Dyntopo, the texture will become misaligned.If you Remesh the entire mesh, large holes will be automatically filled, and the bottom surface’s subdivision will look clean, but the texture will become misaligned (see figure below).
Except for direct 3D printing, 3D-scanned data typically contains too many polygons to be used in video productions such as animations. It is often used as a reference model for remeshing, retopologizing, and retexturing.
9. Uploading to Sketchfab (Assignment)
Upload the generated 3D data to Sketchfab. This will be explained in the Sketchfab article.