Azure Kinect DK
1. Introduction
This guide explains how to set up the Azure Kinect DK (Developer Kit), including how to install the SDK and mount it on a SLIK GX-N tripod.
*Although it is sometimes referred to as “Kinect Azure,” the official name is “Azure Kinect DK.” There are several versions of Kinect, including the original Kinect for Xbox 360 and Kinect V2.
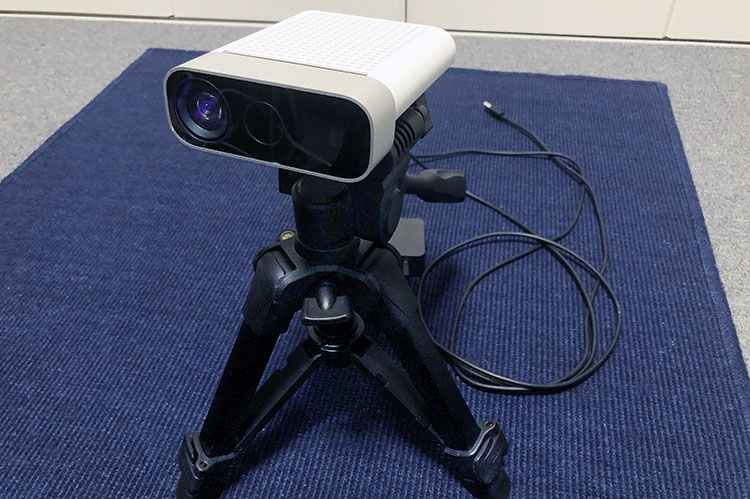
2. What We’ll Be Using This Time
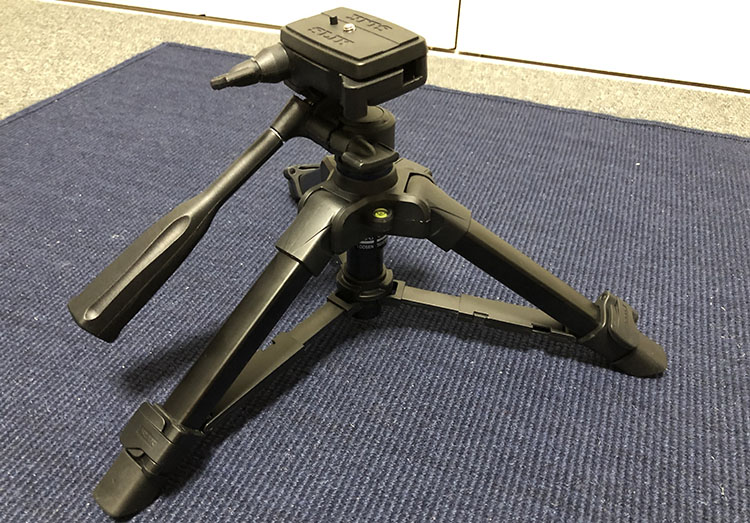
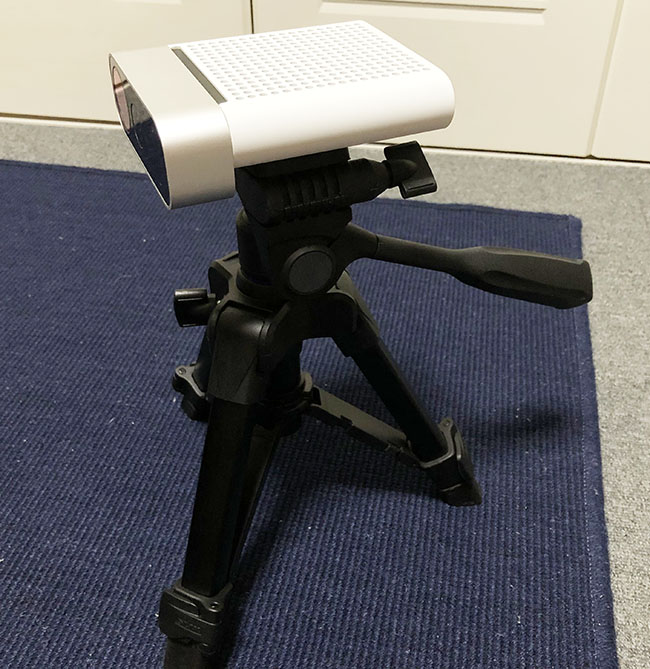
Azure Kinect DK (top) and SLIK GX-N (bottom)
3. Azure Kinect DK Accessories
In this case, we will not use the simple stand shown in the upper left of the figure below.
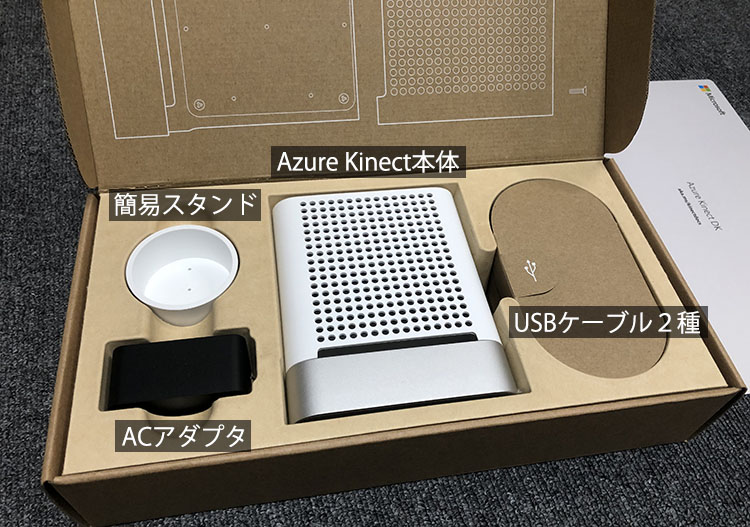
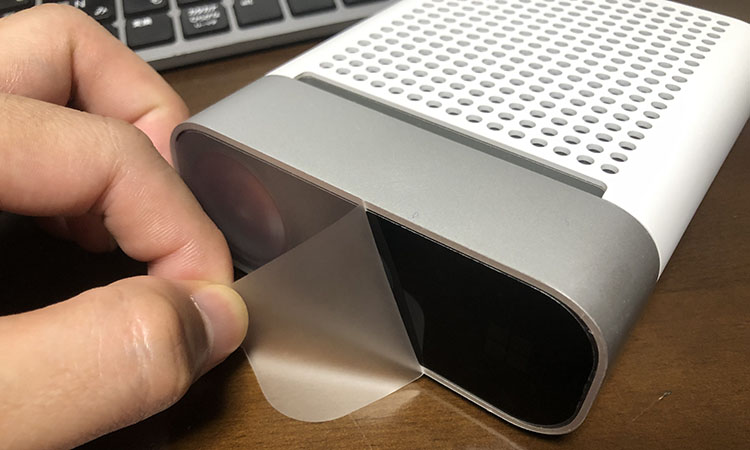
(For new units) Remove the Azure Kinect unit from the packaging and peel off the protective sticker on the front.
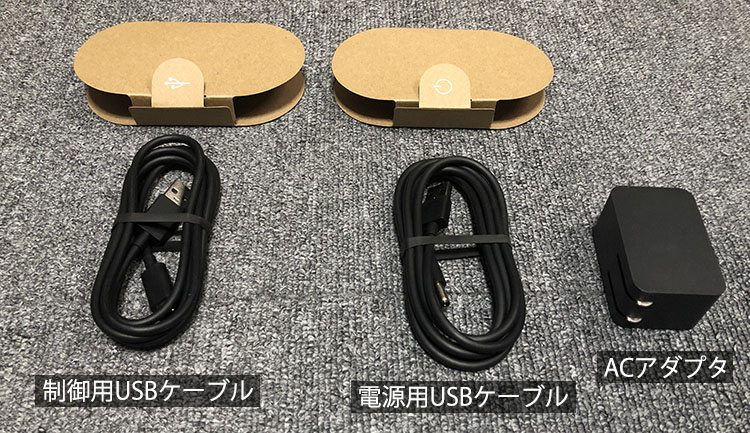
Remove the control USB cable, power cable, and AC adapter shown in the figure below.
(For Reference) [Lots of Photos] Microsoft Azure Kinect DK Unboxing Review
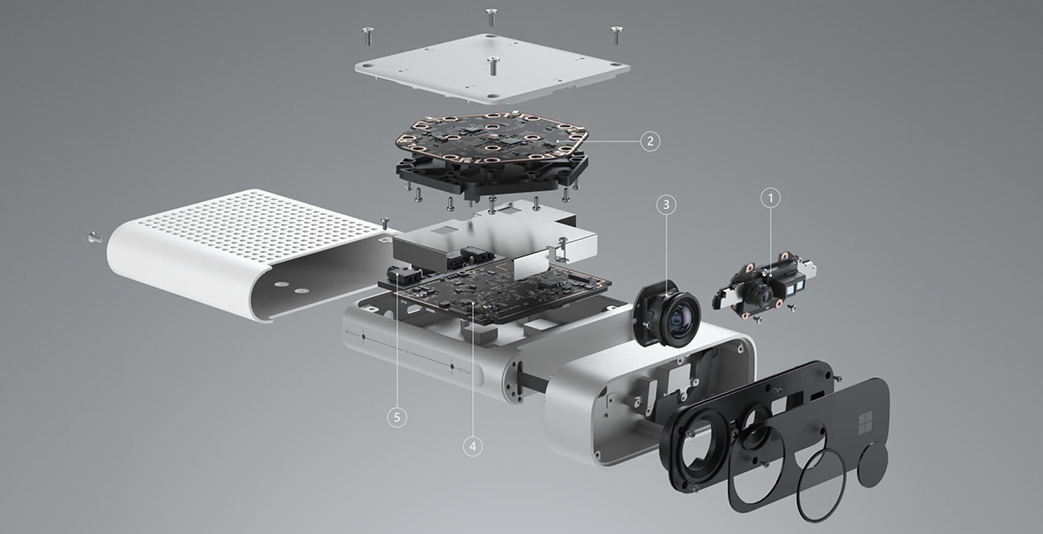
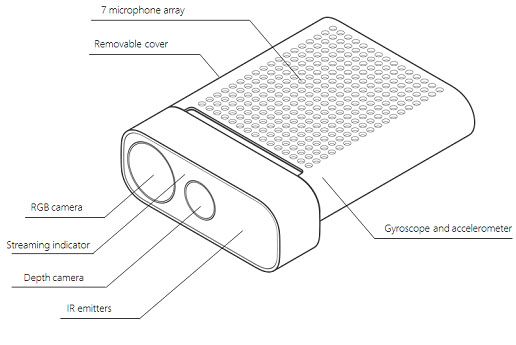
4. What is the Azure Kinect DK?
At first glance, the Azure Kinect DK looks like a large webcam, but it is actually a developer kit (DK) equipped with an RGB camera, an infrared depth sensor, a motion sensor (accelerometer and gyroscope), and a microphone array. By using the Body Tracking SDK, Computer Vision API, and Speech SDK, it enables 3D spatial recognition of the real world, human motion analysis, and speech recognition.
You can find technical specifications and SDK installation instructions on the official website.
(Product Overview) https://azure.microsoft.com/ja-jp/services/kinect-dk/ (Specifications, SDK, etc.) https://docs.microsoft.com/ja-jp/azure/Kinect-dk/
5. Installing the SDK
For this exercise (including the upcoming Body Tracking exercise), you will need to install the following two SDKs.
- Azure Kinect Sensor SDK (approx. 34 MB)
- Azure Kinect Body Tracking SDK (approx. 1.6 GB)
*Depending on your system, you may need the latest GPU drivers.
1. Downloading and Installing the Azure Kinect Sensor SDK
Download the latest installer (Azure Kinect SDK ***.exe) from the URL below.
https://github.com/microsoft/Azure-Kinect-Sensor-SDK/blob/develop/docs/usage.md
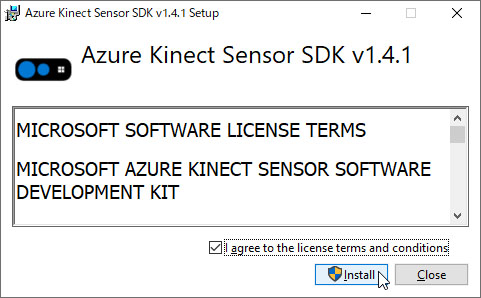
Double-click the downloaded EXE file (see below).
Follow the on-screen instructions to complete the installation.
2. Downloading and Installing the Azure Kinect Body Tracking SDK
Download the latest installer (Azure Kinect Body Tracking SDK ***.msi) from the URL below.
https://www.microsoft.com/en-us/download/details.aspx?id=104221
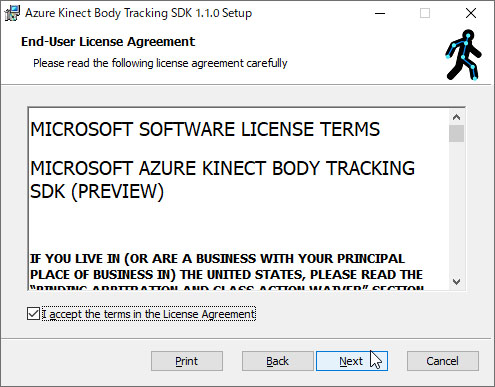
Double-click the downloaded MSI file (see figure below).
Follow the on-screen instructions to complete the installation.
(References)
- Installing the Azure Kinect Body Tracking SDK, Part 2
- Notes on Getting the Azure Kinect DK Up and Running
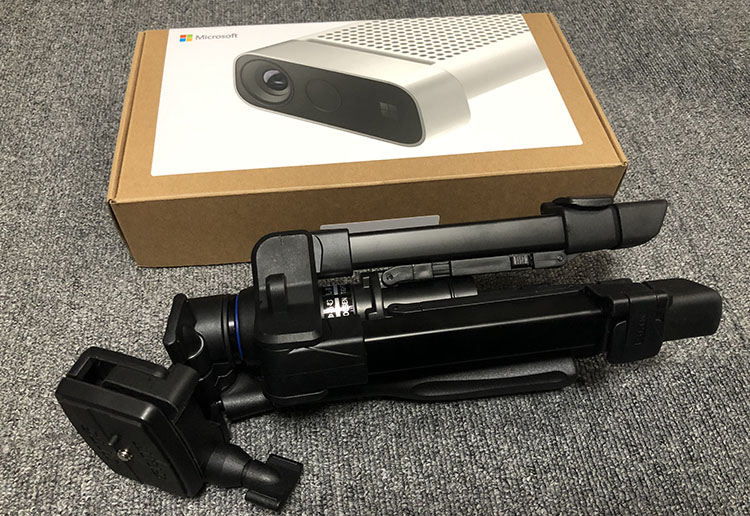
6. Setting Up the Tripod
The Azure Kinect DK weighs 440 grams—about the same as a tablet—and since its center of gravity is slightly shifted forward toward the camera, it needs to be securely mounted on a tripod.
SLIK GX-N
The SLIK GX-N used in this exercise is a special tripod that can also be used as a monopod, but here we will remove the pole and use it as a small tripod (see figure below).
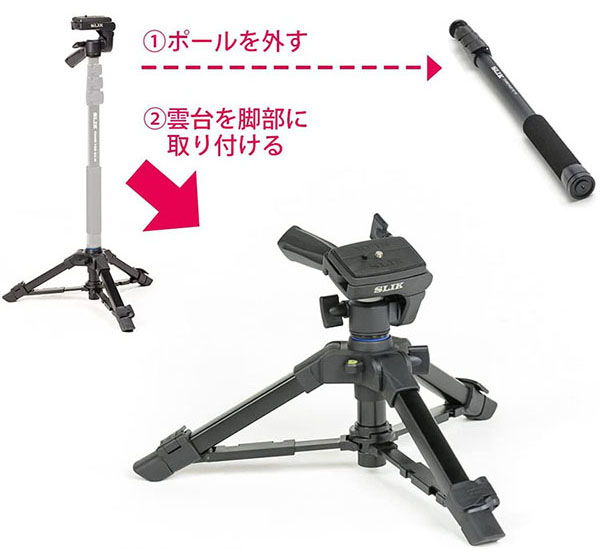
(Image source) https://www.amazon.co.jp/dp/B0787G4BTT/
7. How to Use the SLIK GX-N
Four Features
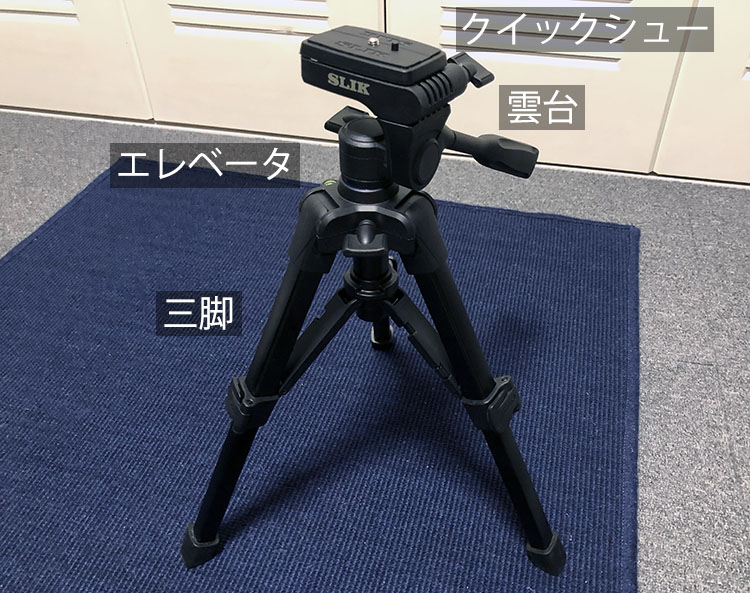
The SLIK GX-N has the following four functions; be sure to understand each one before operating the device.
- Tripod
- Elevator
- Ball head
- Quick-release plate
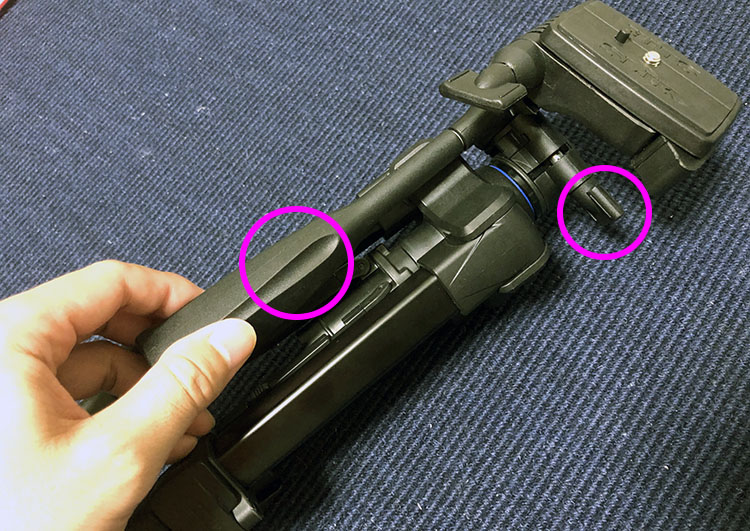
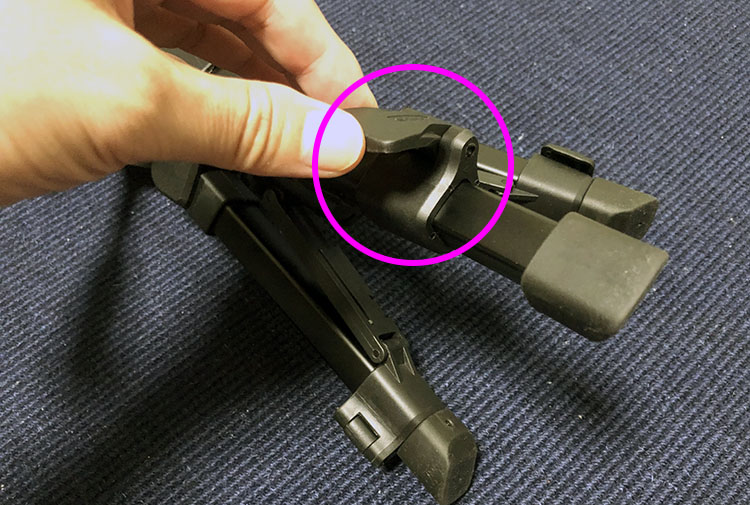
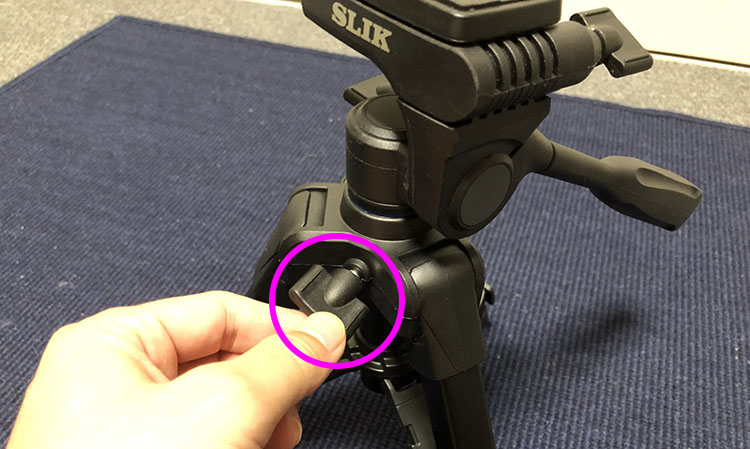
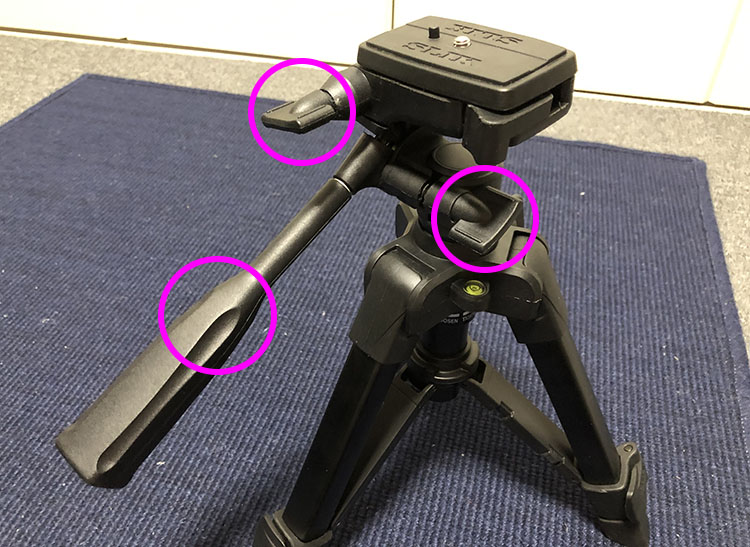
Operations from a Closed State
Loosen the two points shown in the figure below.
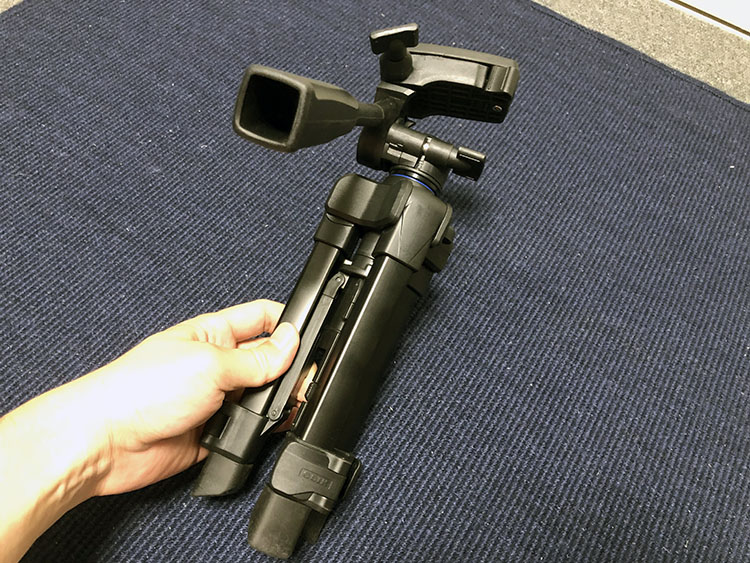
Stand with your legs apart as shown in the figure below.

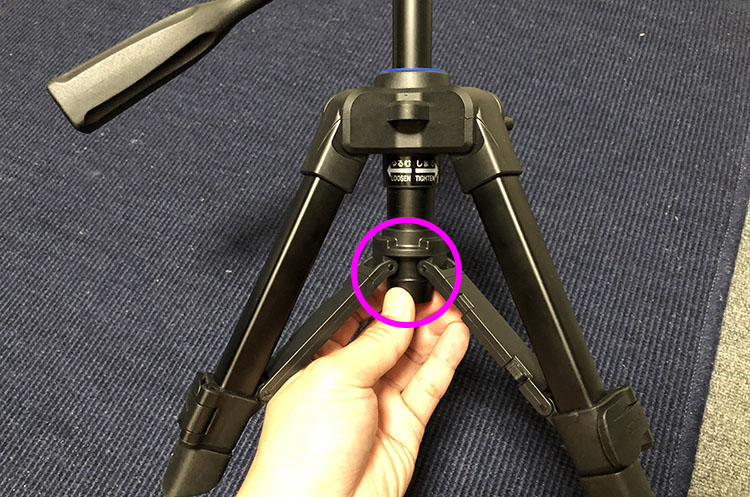
Using a Tripod (Unfolding)
You can open the spreader by pressing the area shown below.
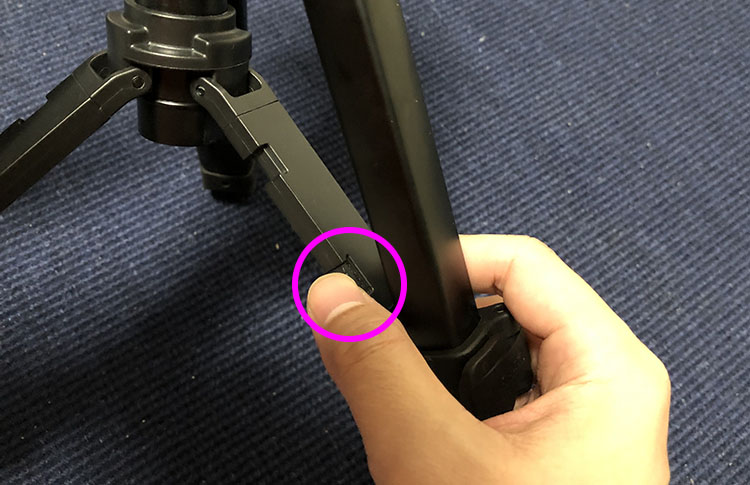
Spreading the spreader out results in a slightly lower and more stable position than the initial state.
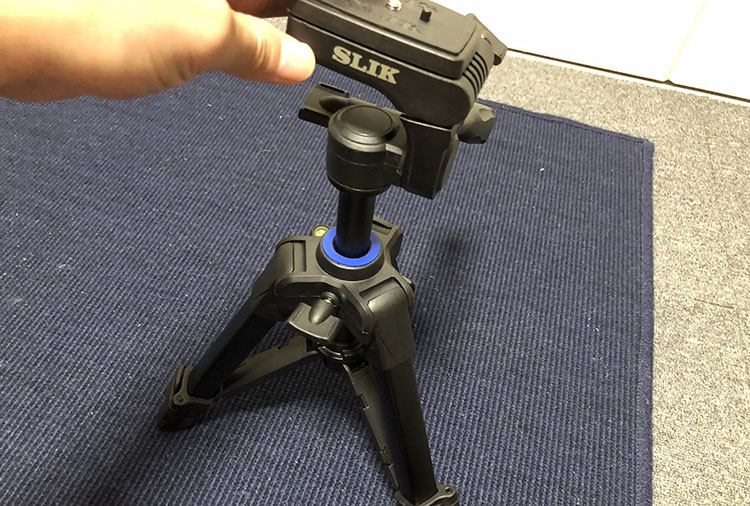
Operating the Tripod (Extending) Note: The spreader is in the retracted position
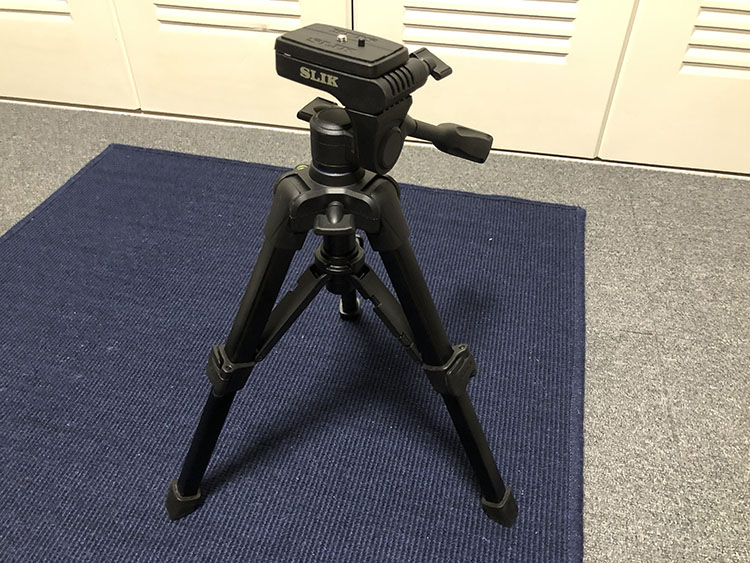
Lift the lever shown below to extend the legs.
As shown in the figure below, you can make it taller.
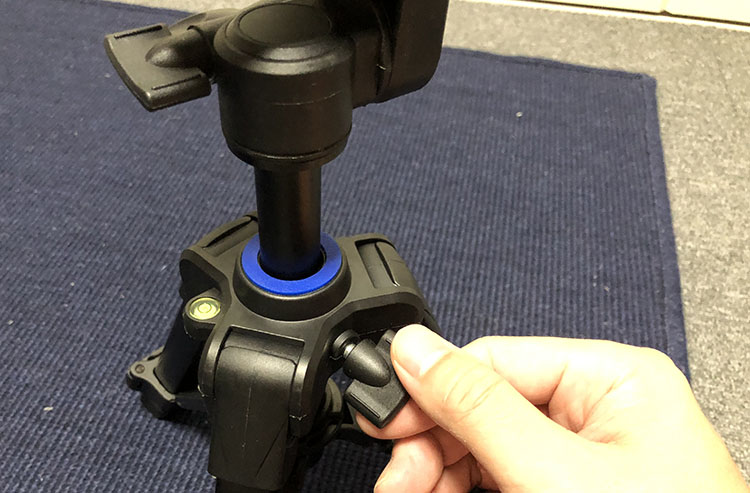
Operating the Elevator
Loosen the knob shown below.
Rotate the part shown below to loosen it. The elevator is secured in two stages.
Adjust the height by moving the elevator up and down. While doing this, use one hand to move the elevator up and down, and use the other hand to tighten or loosen the screw at the bottom.
Once you’ve determined the height, tighten it securely.
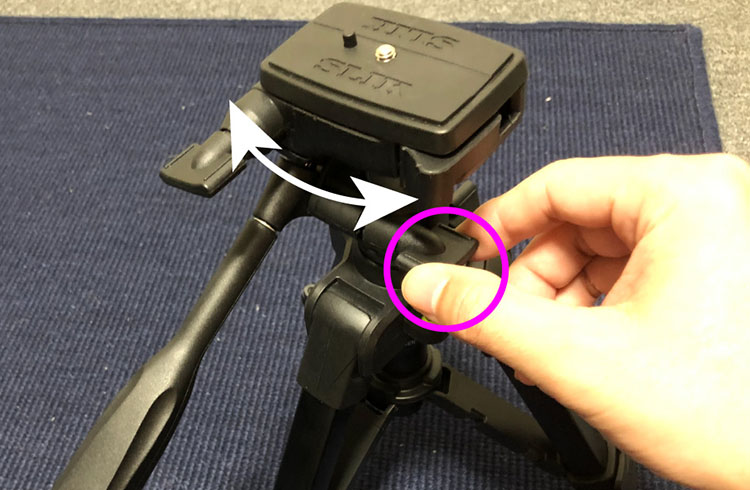
Operating the Tripod Head
The tripod head can be adjusted at the three points shown in the figure below.
In the figure below, the head can be rotated in the pan direction (horizontally).
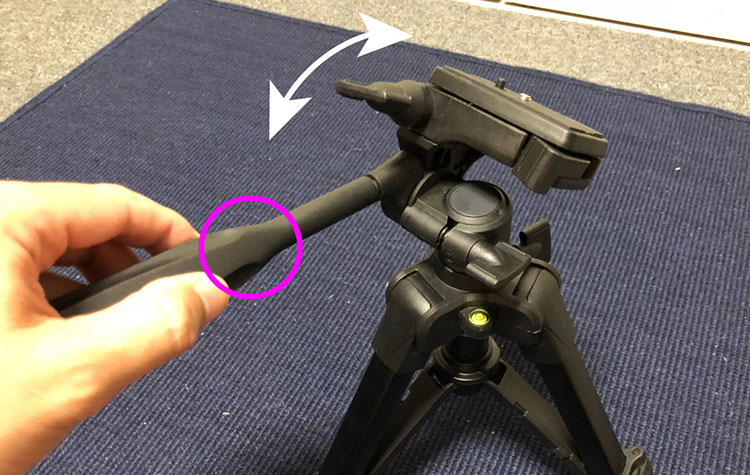
In the figure below, the device can be tilted in the tilt direction (forward and backward).
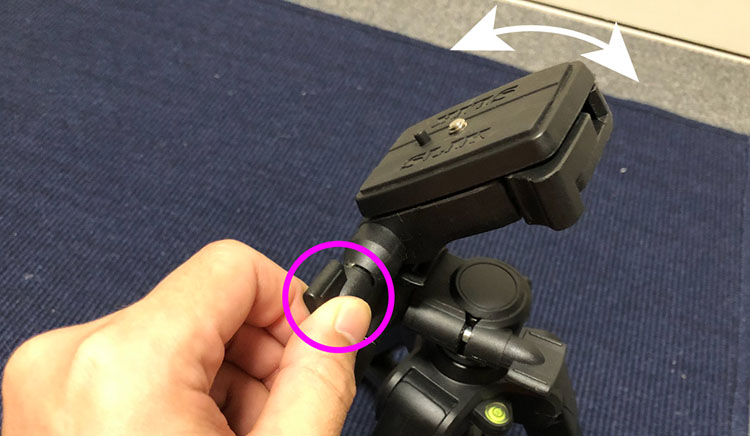
In the figure below, you can switch between portrait and landscape orientations. While this feature is commonly used with DSLRs and similar cameras, we won’t be using it in this case.
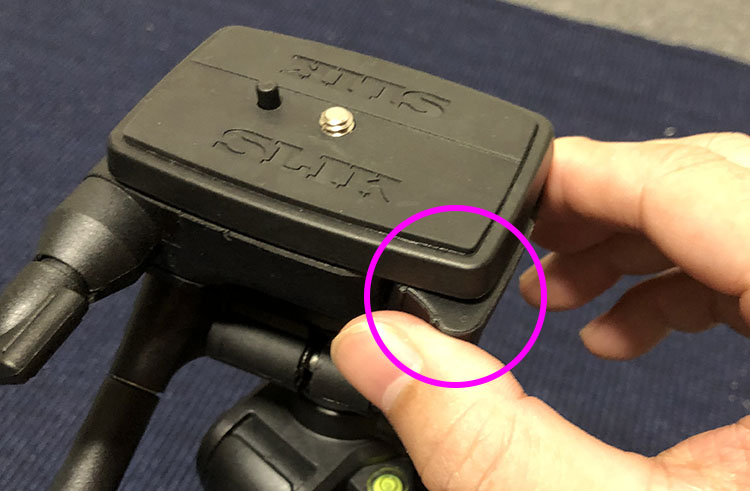
How to Use the Quick-Release Plate (Removal)
Pull the lever shown below.
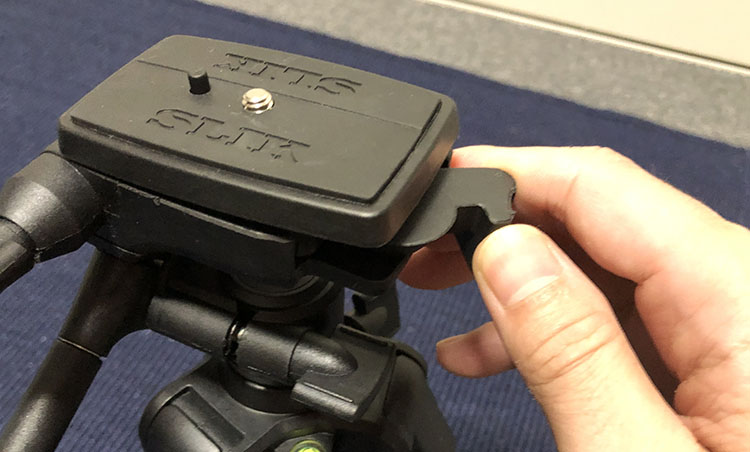
Open it until it looks like the illustration below. If it’s only partially open, the quick-release plate won’t come off.
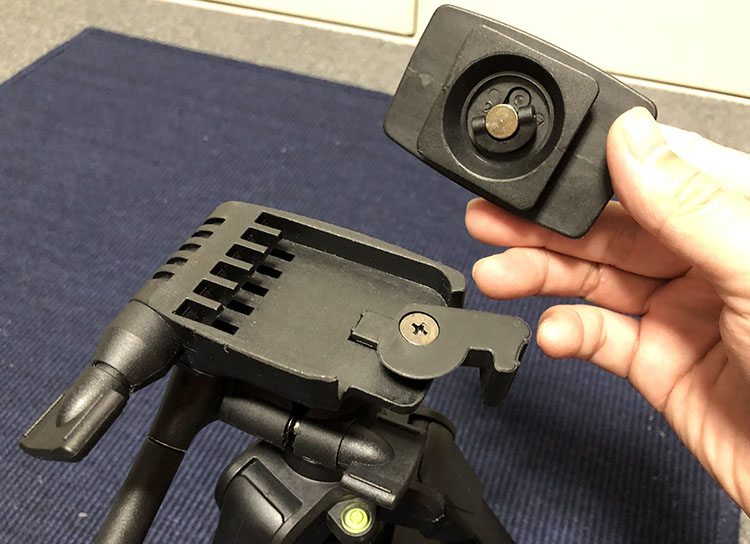
Remove the quick-release plate.
How to Use the Quick-Release Plate (When Attaching)
Attach the quick-release plate and push it in. If it doesn’t fit, open the lever fully.

If you push it in a little, the lever will close halfway.
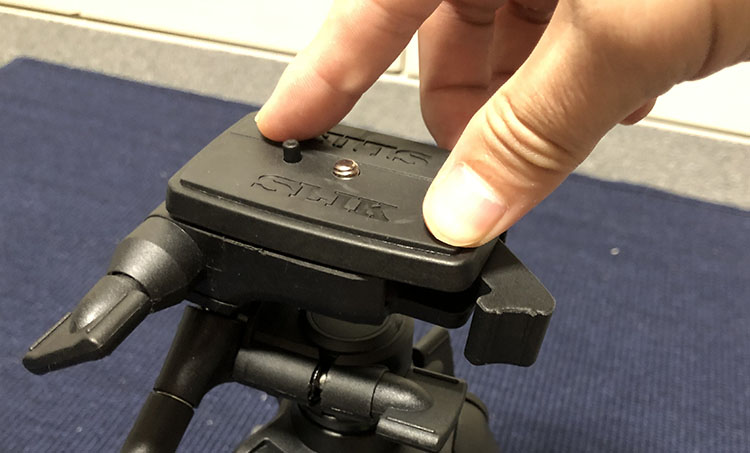
Push the lever all the way down.
Push it in until it looks like the illustration below. If it is not fully seated, there is a risk that the installed equipment could come loose.
Mounting the Azure Kinect on a Tripod
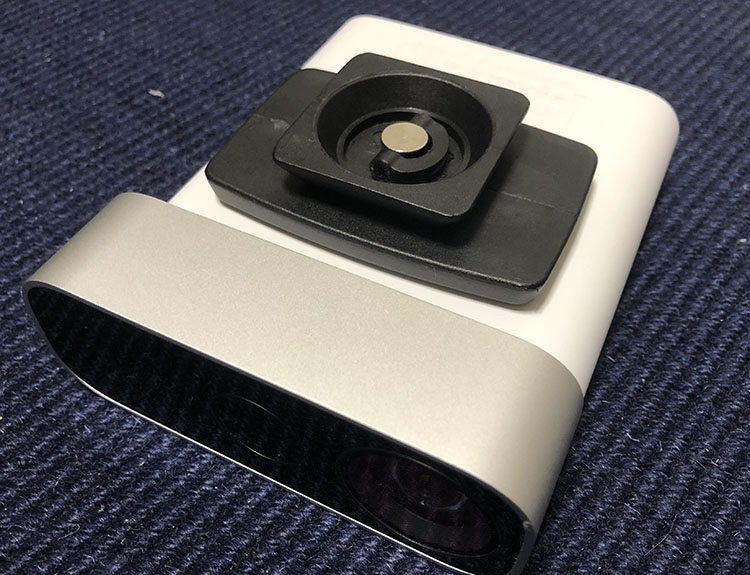
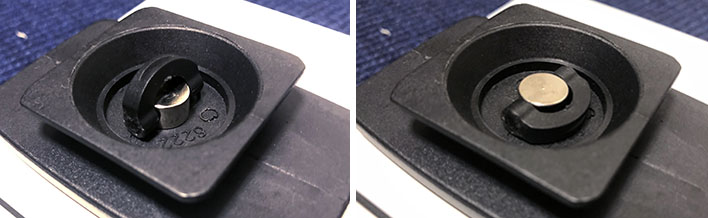
Attach the quick-release plate to the Azure Kinect unit. There is a protrusion on the top of the quick-release plate, but it can be pushed in.
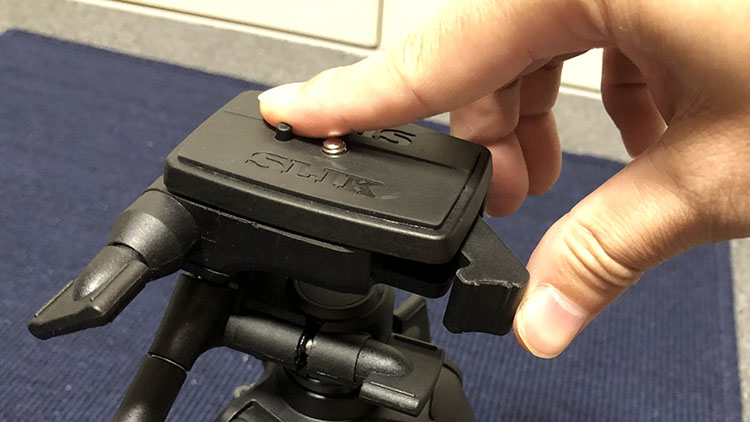
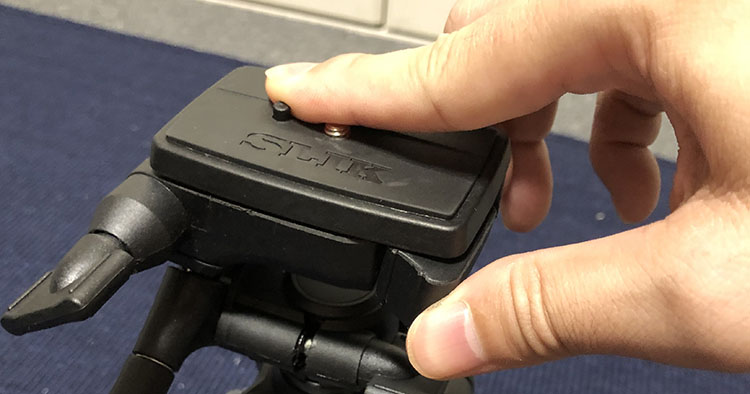
To adjust the quick-release plate screw, lift the handle and turn it as shown on the left in the figure below, then lower the handle as shown on the right.
Attach the quick-release plate to the tripod so that the pan bar is at the back. Make sure to push the quick-release plate’s lock firmly into place.
8. Connecting the Unit to the PC and Power Supply
Connecting to a Power Source
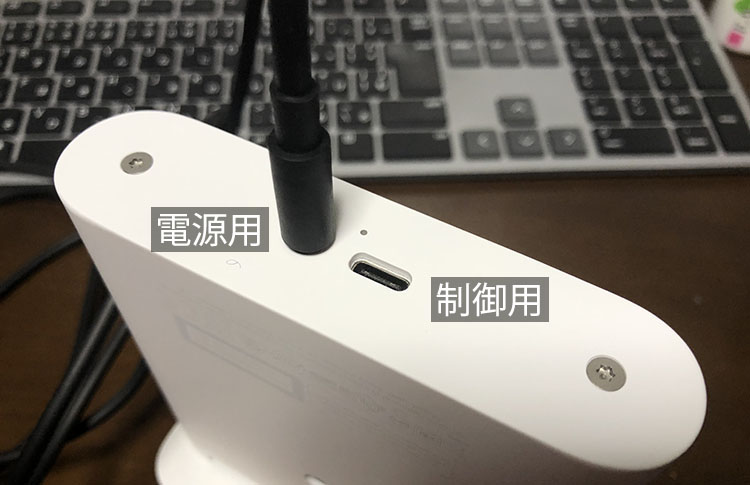
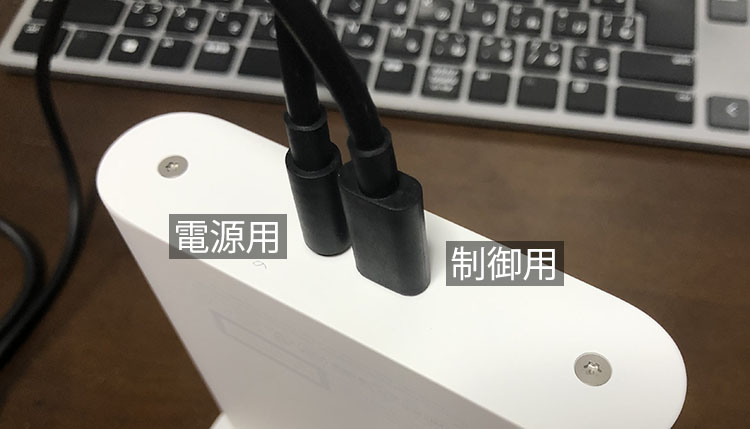
Plug the DC jack of the power supply USB cable (with a USB Type-A connector and a DC jack) into the connector on the back of the unit, as shown on the left in the figure below (for power).
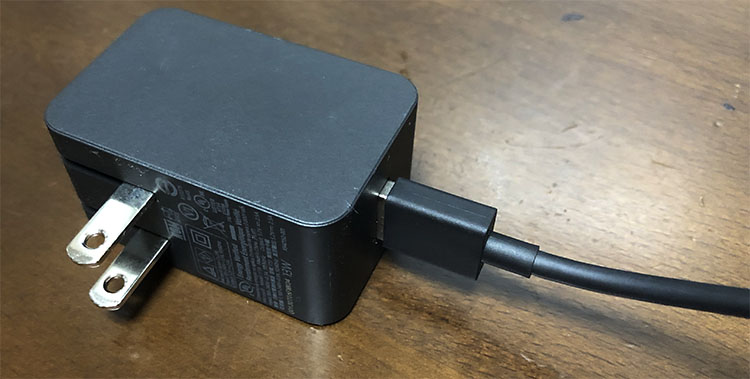
Connect the Type A connector to the AC adapter. The AC adapter has a fold-out plug, so extend the plug and plug it into an outlet.
*Please note that the device will not work if you connect the USB power cable to your PC.
Connecting to a PC
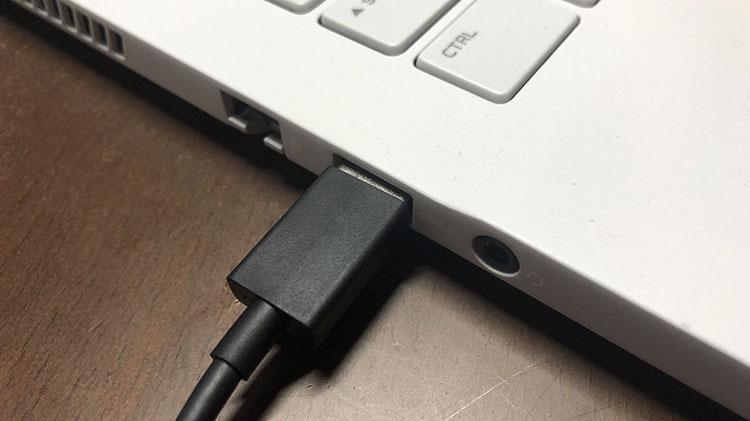
Plug the USB Type-C connector of the control USB cable (with a USB Type-A connector and a USB Type-C connector) into the control connector on the back of the unit (on the right in the figure below).
Connect the USB Type-A connector to the USB 3.0 port on your PC.
*Please note that even if a PC is listed as USB 3.0-compatible, some of its ports may actually be USB 2.0 ports.
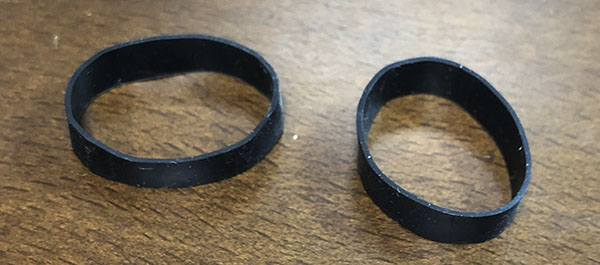
Keep the rubber band that was holding the USB cables together in the box, as you’ll need it when you return the item.
9. Functionality Test 1: Azure Kinect Viewer v1.4.1
Type “azure” in the search bar and launch Azure Kinect Viewer v***.

The application shown below will launch.
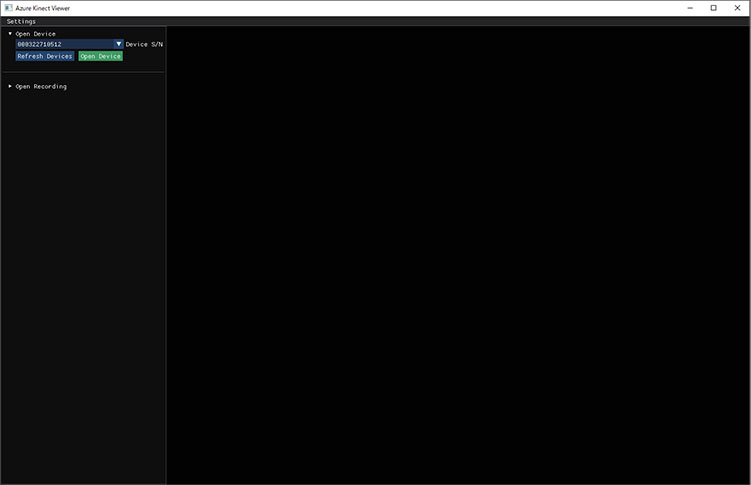
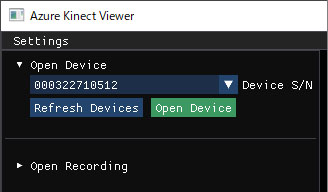
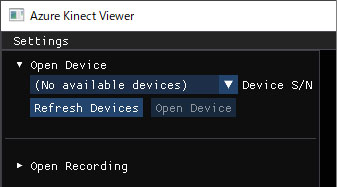
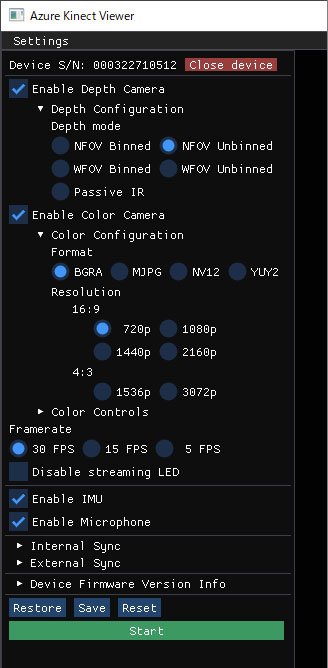
If the serial number appears under “Open Device” in the upper-left corner, the Azure Kinect has been recognized. If it has been recognized successfully, click “Open Device.”
If the message “No available device” appears as shown below, check whether the device is connected to a USB 3.0 port and verify the power status.
After clicking “Open Device,” the screen shown below will appear; click “Start” at the bottom.
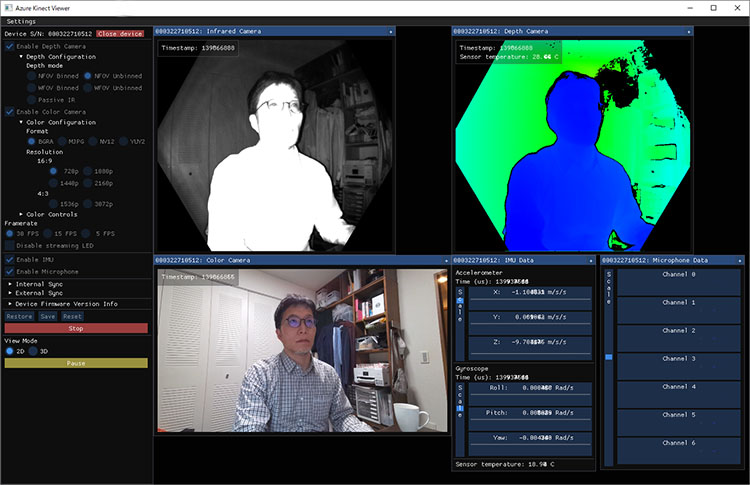
The following information is displayed in real time on the screen on the right in the figure below.
- Infrared Camera
- Depth Camera
- Color Camera
- Accelerometer
- Gyroscope
- Microphone Data
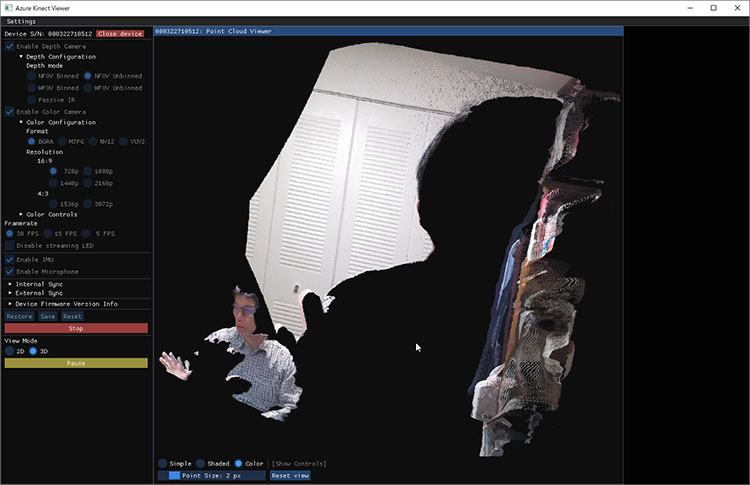
You can view the depth camera in 3D by changing the View Mode to 3D.
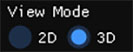
You can rotate and scale the view using the mouse.
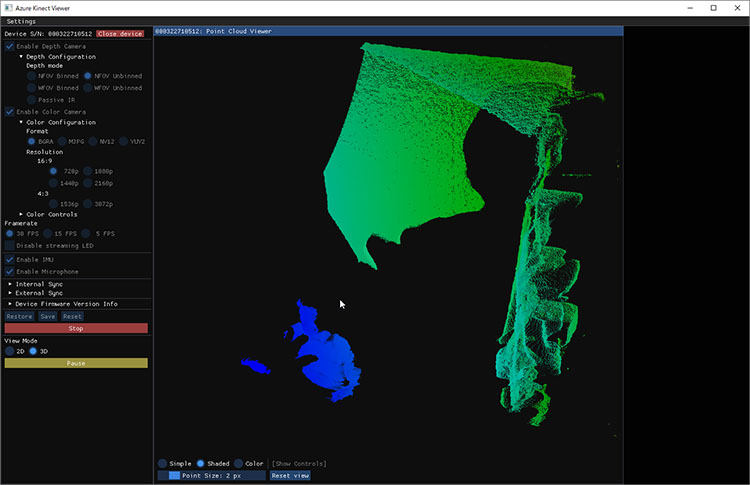
Setting “Show Controls” to “Color” enables texture display.

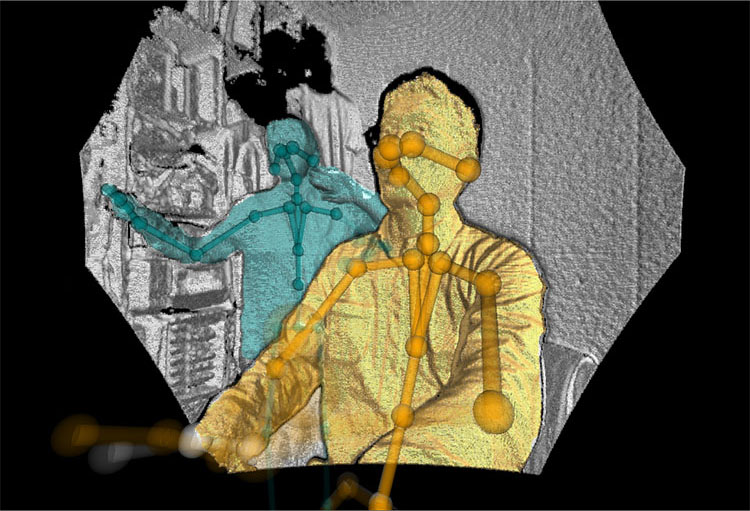
10. Functionality Test 2: Azure Kinect Body Tracking Viewer
Type “azure” in the search bar to launch the Azure Kinect Body Tracking Viewer.

A window opens and displays the analysis results. It can analyze multiple people (up to six?) simultaneously.