Matterport Pro Camera
1. The Popularization of Spatial Scanning Content
(Reference) https://lecture.nakayasu.com/matterport
Thanks to advances in 3D scanning technology, virtual content (digital twins) created using spatial scanning is becoming increasingly widespread. In particular, the emergence of the novel coronavirus has led to the rapid proliferation of content that allows people to experience art museums and events via computers or VR devices without having to visit the actual locations. Even now that the pandemic has subsided, this technology has become commonplace, including for archiving construction sites and events as an alternative to photographs and videos.
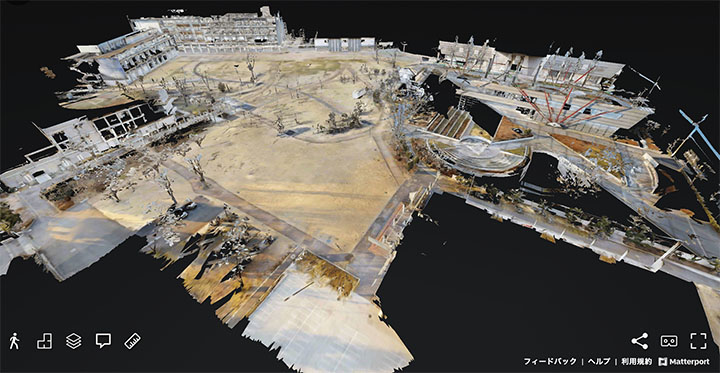
The image below shows virtual content for the Hino Campus of the University of Tokyo (currently unavailable).
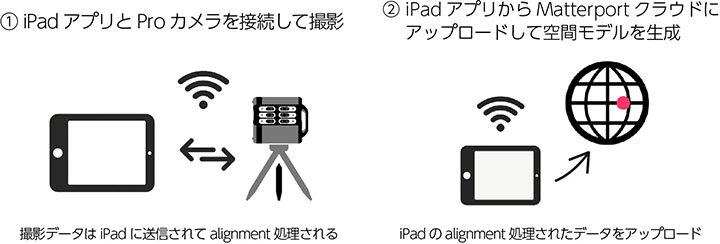
2. The Matterport Content Creation Process
Since the camera and iPad connect via Wi-Fi, you’ll need to switch the Wi-Fi connection between steps ① and ②.
Information on editing content after generating a model in the cloud can be found on the Matterport page of this website.
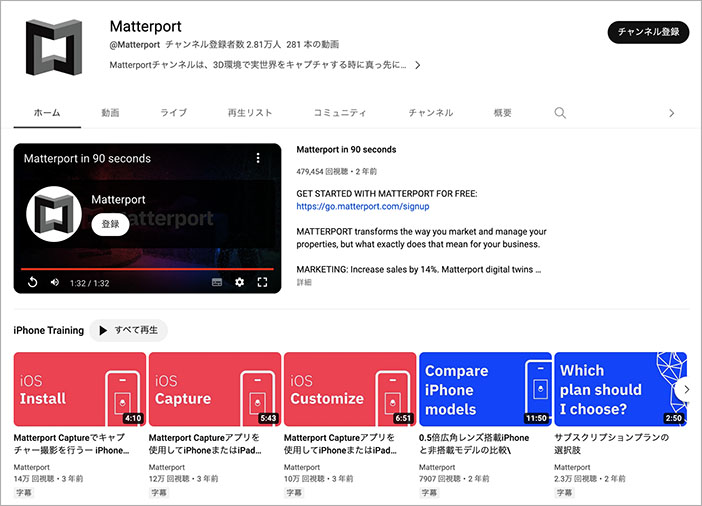
3. YouTube - Matterport Channel
Basic operations and photography tips are explained in detail on the Matterport official website and the YouTube channel listed below.
https://www.youtube.com/ @Matterport
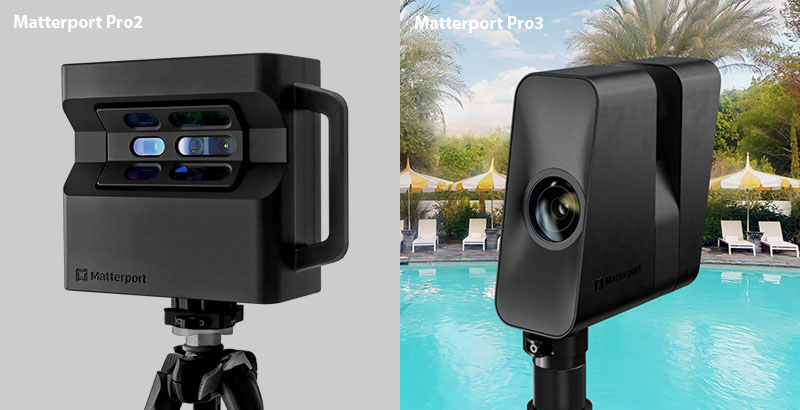
4. Differences Between Pro2 and Pro3
The following are the Pro 3’s specifications (for reference)
- Equipped with a LiDAR sensor capable of capturing data indoors, outdoors, and even in direct sunlight. (The Pro2 cannot be used outdoors.)
- Features a 20-megapixel (20 million-pixel) sensor and a 12-lens ultra-wide-angle camera.
- Captures 100,000 points per second at depths ranging from 50 cm to 100 m. (Pro2: approximately 10 m)
- Pro2: 50,000-polygon limit; Pro3: over 1,000,000 polygons.
- Pro2: built-in battery; Pro3: removable, rechargeable battery that fully charges in 3.5 hours.
(For reference)
- Official - Pro3 Overview (Comparison with Other Models)
- Official - Pro2 Specifications (English)
- Official - Pro3 Specifications (English)
- Advalay - What Is the Matterport Pro3? Explaining the Differences from the Pro2 and Its Three Key Features
- drift-photo - Matterport Releases Its Latest Spatial Scanner, the “Pro3”
5. Camera Setup
5.1. Setting Up the Pro2
(Reference) Living CG - Matterport Pro 2 Installation Guide
5.2 Setting Up the Pro3
(Reference) Official - Matterport Pro3 Quick Start Guide
6. Setting Up the Matterport App (iPad)
6.1 Launching the App
(Coming soon)
6.2 Connecting to the Pro2 (via Wi-Fi)
Connection: Select the Matterport camera from your iPad’s Wi-Fi settings, then return to the Matterport app to connect.
Disconnect: To connect to the internet for uploading, disconnect the camera from the Wi-Fi settings and connect it to a Wi-Fi router or similar device.
6.3 Connecting to the Pro3 (Wi-Fi + Bluetooth Detection)
Connection: Although the Pro3 uses Wi-Fi to connect to an iPad, it also searches for devices via Bluetooth during the connection process, so you can connect to the camera from the iPad app. You must have Bluetooth enabled on your iPhone or iPad.
Cutting: Same as the Pro2
(For reference) Connecting the Pro3 to the Matterport app
7. Filming
Press the record button in the app. Both the Pro2 and Pro3 rotate their cameras 360 degrees horizontally. Since the Pro2 has all its sensors clustered on one side, it can hide behind the subject as it rotates (though reflections from glass and other surfaces may still occur); however, with the Pro3, you need to hide it in the shadow of a building.
The video below shows a demonstration of the Pro2 camera setup and filming.
8. Photography Tips
While Matterport is a system that allows you to scan spaces quickly and easily, errors can occur during cloud processing if you simply capture images haphazardly in large spaces, multi-story buildings, or hallways with few distinctive landmarks. When shooting with a Matterport Pro camera, applying certain techniques—such as ensuring consistent positioning of capture points and aligning the camera in a specific direction—can stabilize the cloud processing and improve the quality of the generated model.
Below is a lecture by Mr. Nakayama of exAgent, who has extensive experience with Matterport photography (using the Pro2 camera). It offers many helpful tips, including key points to keep in mind during shooting.
9. Window, Mirror, and Trim Settings in the iPad App
10. Upload
When uploading, you need to switch your iPad’s Wi-Fi connection from the camera to the internet. It is not possible to connect to both the camera and the internet at the same time.
Even with just one or two shooting points, cloud processing takes more than 10 minutes. For the Pro2 camera with 100 shooting points, it takes about 2 to 3 hours.