After Effects Part 2
1. Shape Layer
1.1 What Is a Shape Layer?
The Shape Layer is a powerful tool that allows you to create shapes using vector data. With some practice, you can even create motion graphics using only Shape Layers (see the YouTube video below). In this lesson, however, we will use it solely for creating simple shapes. It is also common to import data created in Illustrator into After Effects for production.
(For reference)
- Adobe Official - Creating Shape Layers
- PC Kobo NEXMAG - Adobe After Effects Basics: An Explanation of Shape Layers
1.2 Locking a Plane Layer
Lock the plane layer you created in Part 1 to prevent selecting it by mistake.

1.3 How to Create a Shape Layer
There are several ways to create a shape layer. You can create an empty shape layer by selecting “Layer Menu > New > Shape Layer” or by right-clicking in the composition area and selecting “New > Shape Layer” from the context menu.
Another common method is to create a shape layer directly in the Composition panel using various shape tools while no layers are selected; this creates the shape layer as you draw. We’ll use this method in this tutorial.
Please note that if you use the shape tools while a layer is selected, the shape will be drawn as a mask on that layer rather than as a shape layer (see below).
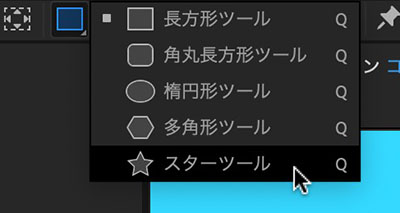
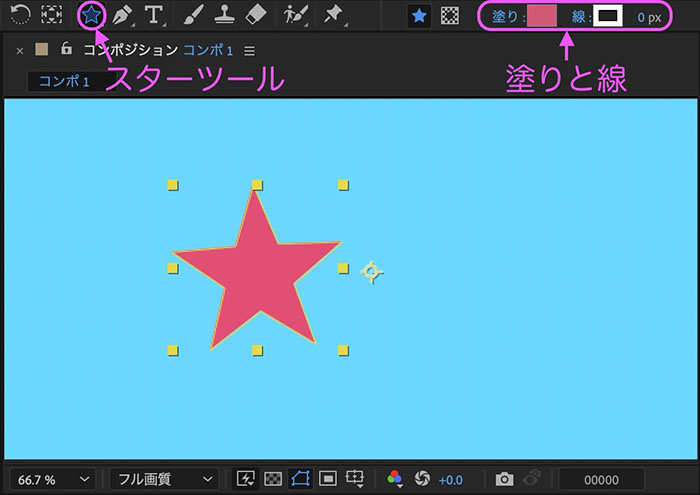
1.4 Creating a Star Shape
Use the Star Tool to draw a star-shaped shape on the composition. Change the fill color as desired. Set the stroke width to 0px.
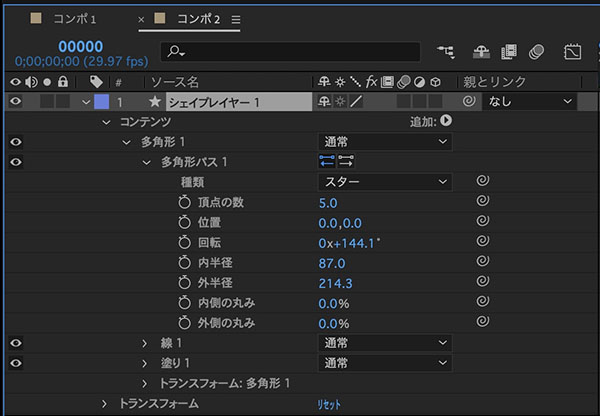
1.5 Multiple Hierarchical Properties
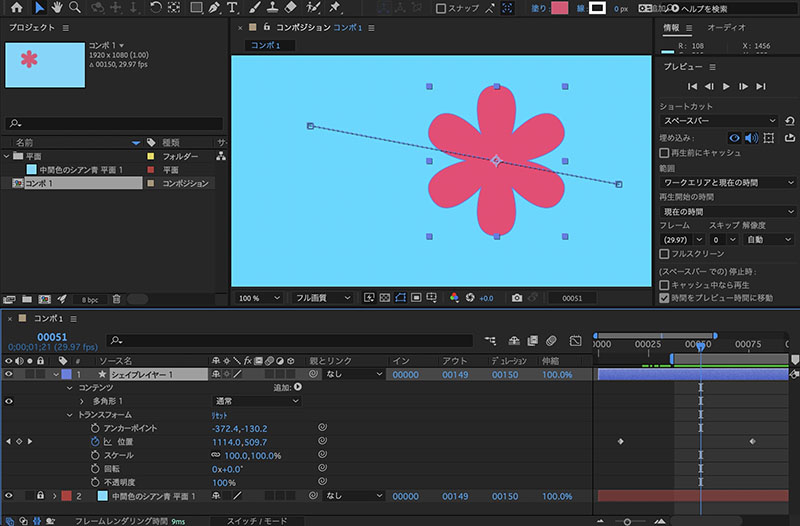
As you draw the shape, a “Shape Layer 1” is created on the timeline. Click the “>” on the left to view its various properties.
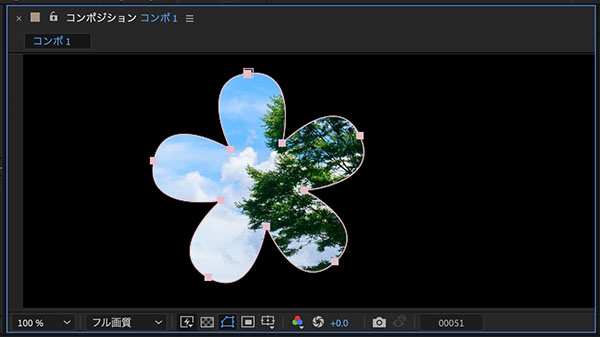
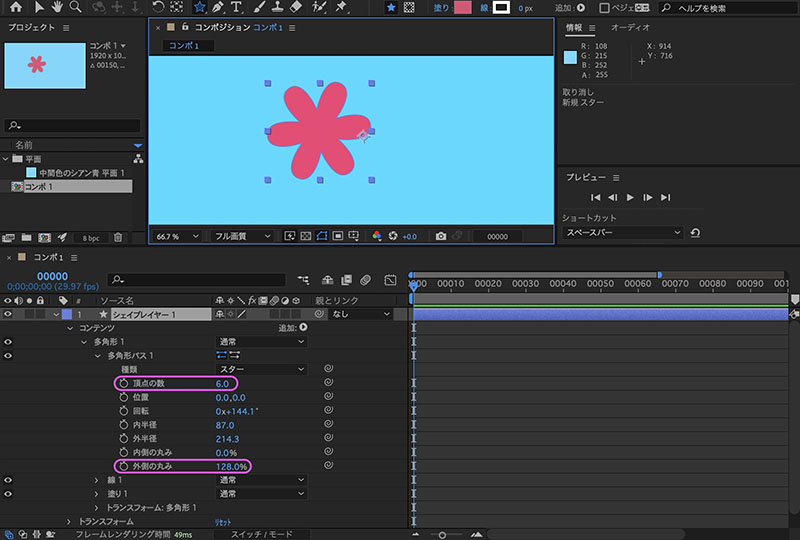
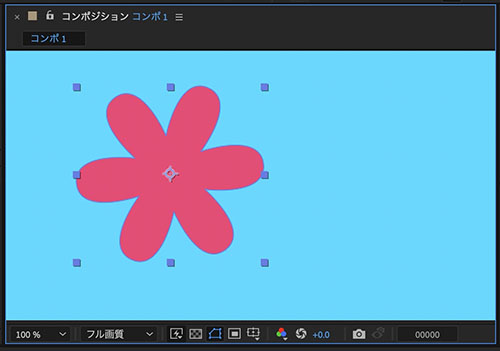
To make the center of rotation easier to understand, we’ll use an even number of vertices (6 in the figure below). By adjusting the outer curvature, you can modify the shape to be more rounded.
2. Using the Composition Panel
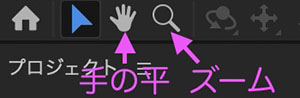
2.1 Zoom and Pan
Zoom Tool: Zoom in the Composition panel (OPTION + Mouse Wheel) Hand Tool: Pan in the Composition panel (Spacebar)
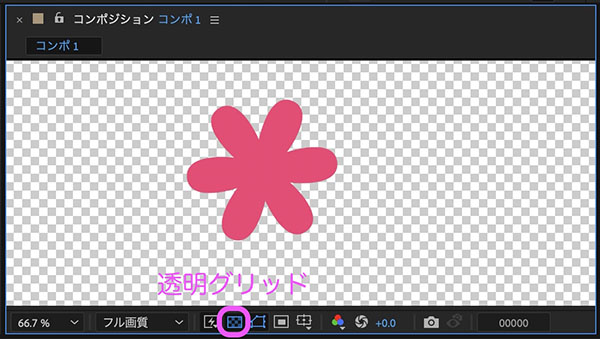
2.2 Transparent Grid
By default, transparent areas are displayed in black, but you can make them easier to see by clicking on the transparency grid.
2.3 Display of Guides, etc.
You can display guides, grids, and other reference lines by clicking the icon shown below.
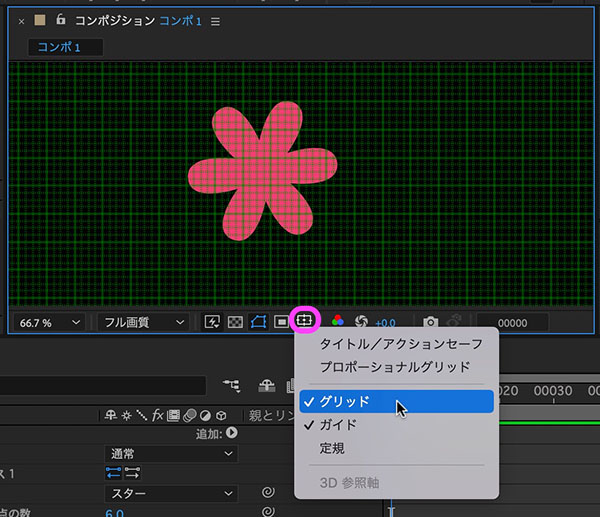
You can enable snapping to guides and grids from the View menu.

3. Position Keyframe Animation
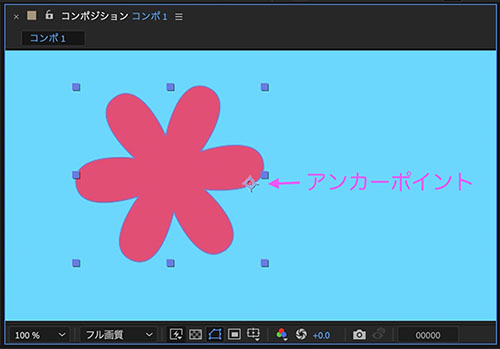
3.1 Move the anchor point to the center of the shape
When you create a shape freehand, the anchor point is set at the center of the composition. The anchor point serves as the origin for transformations, so we will set the anchor point at the center of the shape in order to add rotation keyframes later.
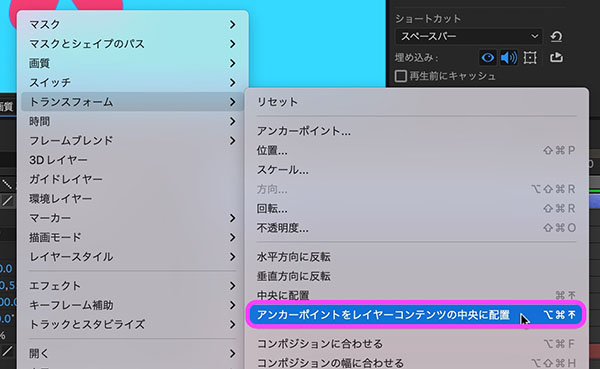
Right-click the shape > Transform > Select “Center Anchor Points in Layer Content.”
As shown in the figure below, the anchor point moves to the center of the shape. If the star shape has an odd number of vertices, it will be offset from the center of the rectangle, so adjustments will be necessary.
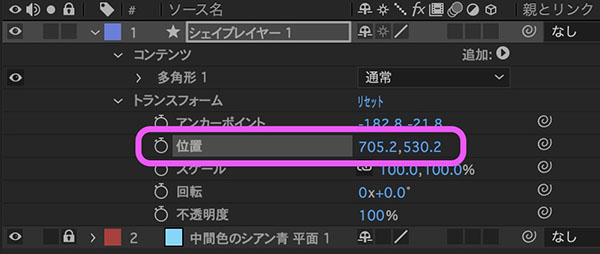
3.2 Position Properties
In this section, we’ll use the Position property found under Shape Layer > Transform.
Content > Polygon 1 > Transform: Polygon 1 also has position properties. Select the one that best suits the animation you are creating.
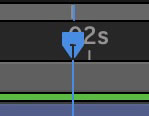
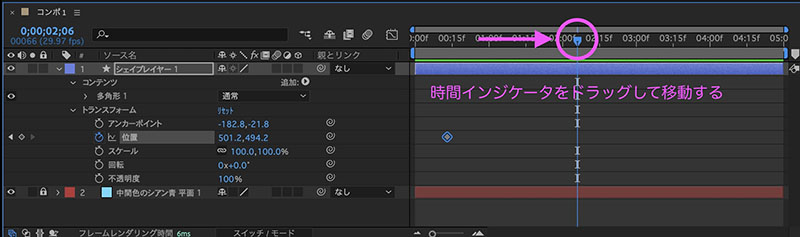
3.3 Using the Time Indicator
The time indicator (see figure below) shows the current time position (playhead). Drag left or right, or click on the time ruler to move the current position.
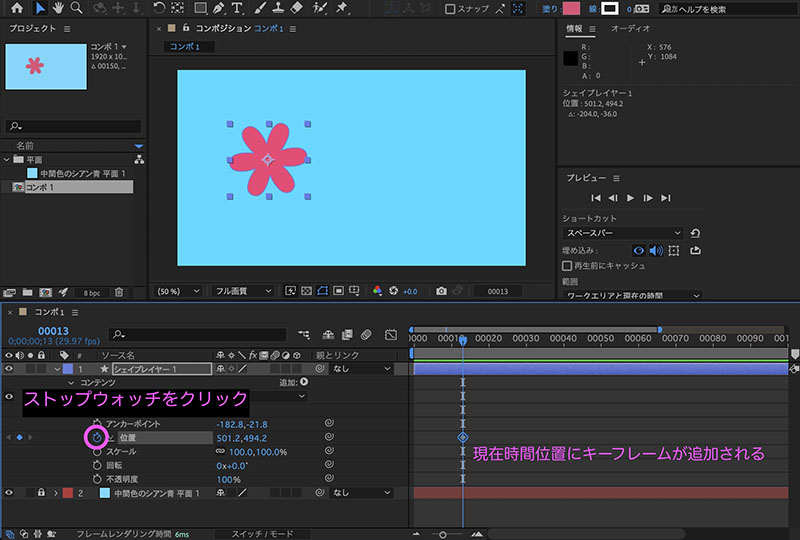
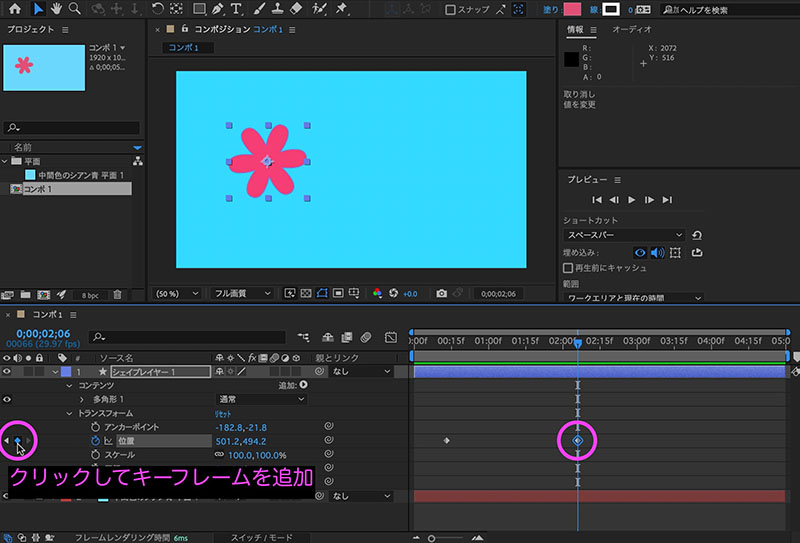
3.4 Enabling Keyframes (Adding the First Keyframe)
Click the stopwatch icon to the left of the Position property to enable keyframes. At the same time, a keyframe will be added at the position of the time indicator on the timeline (the starting point of the animation).
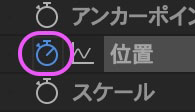
Click the stopwatch icon again to disable keyframes and delete all of them.
3.5 Moving the Indicator
Move the time indicator to the end point of the animation (optional).
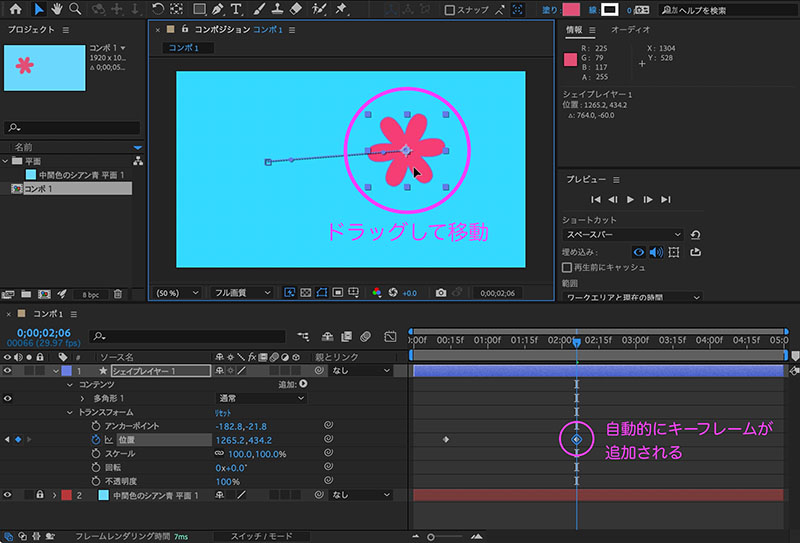
3.6 Adding a Second Keyframe (Method 1)
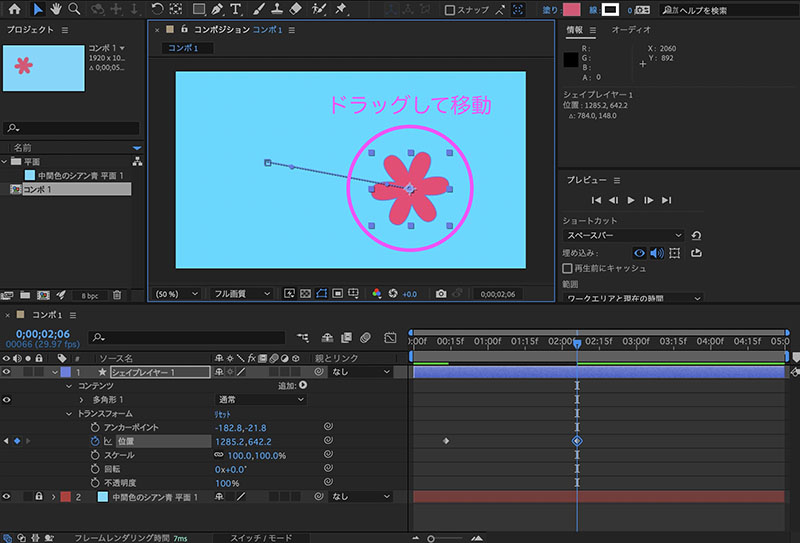
Drag the shape in the Composition panel. A second keyframe is automatically added at the current position of the time indicator on the timeline.
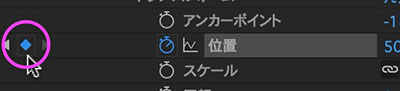
3.7 Adding a Second Keyframe (Method 2)
Click the diamond-shaped icon at the far left of the Position property. A keyframe will be added to the timeline. This keyframe will record the same position data as the first keyframe.
Drag a shape in the Composition panel to move it. The position of the second keyframe will be overwritten.
3.8 Play/Pause
You can play or pause the timeline by pressing the space bar.
3.9 Moving Keyframes
Drag the ◆ to move it.
3.10 Deleting Keyframes
With ◆ selected, press the Delete key. Even if you delete all keyframes, keyframe input remains enabled; to disable it, click the stopwatch icon.
3.11 Move the time indicator to a keyframe position
◀▶ Click the icon (shown below) to move the time indicator to the time where a keyframe is located. If the indicator turns faint, it means you cannot move it any further.
Move left: ◀ (j) Move right: ▶ (k)

3.12 Modifying Properties Through Numerical Manipulation
You can drag the blue number to the right of the property to change it. You can also click and type in a value. Please note that if you change the value at a time where there is no keyframe, a keyframe will be automatically added.

4. Working with the Timeline
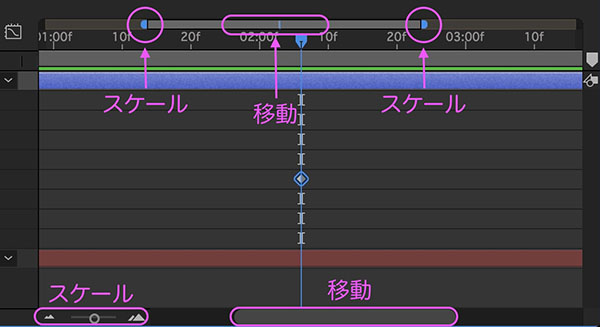
4.1 Scaling and Moving the Timeline
You can drag the various sections shown below to scale and move the timeline.
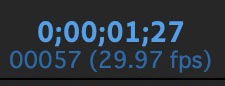
4.2 Timecode
The display in the upper-left corner of the Timeline panel. Clicking while holding down the Command key toggles the display to show the total number of frames (the In, Out, and Duration fields update accordingly).
4.3 Preview Panel
In the Preview panel, you can configure various playback settings. If the panel is hidden and not fully visible, drag it down to expand it.
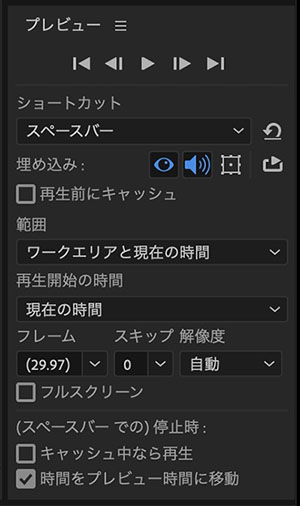
I often use shortcuts for playback-related tasks.
- Play/Pause: Space bar
- Move 1 frame: Cmd + Left/Right Arrow Keys *Note: The Left/Right Arrow Keys control the position property, so please be careful
- Move 10 frames: Shift + Cmd + Left/Right Arrow Keys
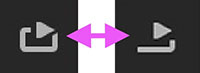
By default, the preview panel is set to loop playback. Clicking the left icon shown below switches to single playback (the right icon).
4.4 Work Area
This serves as the playback and export range. Drag the left and right edges to adjust the length. You can move the range by dragging the center section left or right.
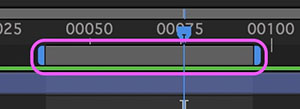
The video below shows an example of using the work area as the preview range. After setting the work area, you must move the time indicator within the work area before playing the video.